Back to blog
Article
Container House Assemblable Installation Guide: A Complete Walkthrough
Admin November 03, 2026
The installation of foldable container houses requires consideration of their structural characteristics and functional design. Although there is no complete step-by-step process, key installation points can be outlined based on available information:

1. Pre-installation Preparation
- Materials and Tools: Ensure all steel structural components (2.5mm galvanized square tubes, Q235/Q234 galvanized steel support beams) and insulation layers (rock wool/glass wool) are intact and undamaged. Prepare tools such as electric wrenches, spirit levels, and welding equipment (if on-site reinforcement is required).
- Site Conditions: Choose a flat and hard ground surface, ensuring the foundation bearing capacity is ≥1.5kN/m² (matching the floor live load) to prevent structural deformation due to foundation settlement.
- Transportation and Unpacking: The house is transported in a flat-pack form and requires unloading using a flatbed truck or specialized trailer. During unpacking, store components according to their numbers to avoid confusion.
2. Structural Unfolding and Initial Fixing
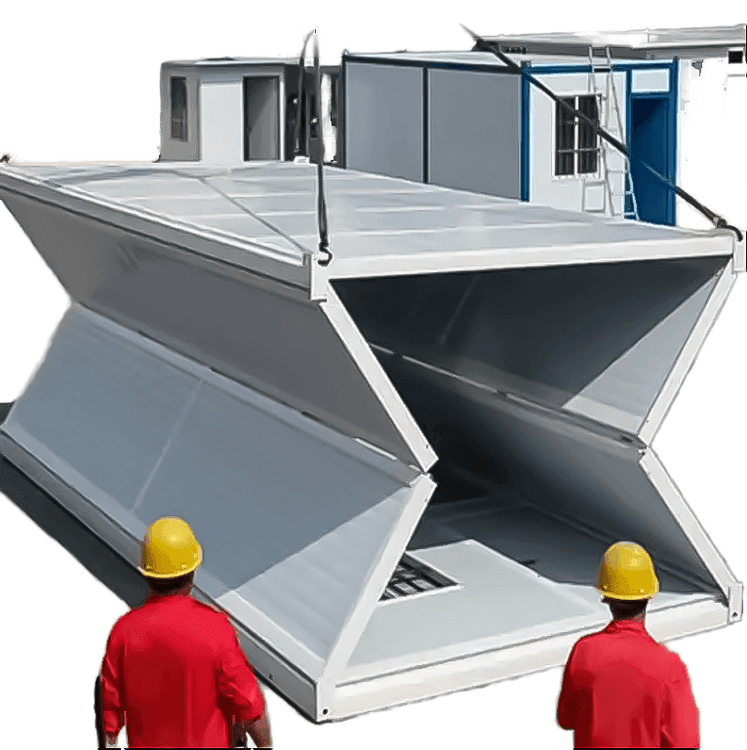
- Unfolding the Frame: Use hydraulic devices or manual operation to unfold the folded roof frame, base frame, and corner columns to the design angle (external dimensions 6055mm×2438mm×2896mm), ensuring alignment of all connection nodes.
- Temporary Support: Use temporary supports to fix the frame during unfolding to prevent overturning due to self-weight or wind, especially considering the structural stability requirements for 11-level wind resistance design.
- Frame Welding/Bolt Connection: Complete the rigid connection between the roof and base frames according to the supplier's provided connection method (welding or high-strength bolts), focusing on checking the perpendicularity of the corner columns to the frame (error ≤3mm).
3. Module Assembly and Functional Integration
- Wall Installation: Embed wall modules pre-installed with insulation (K-value ≤0.442W/m²·k) into the frame and secure them with bolts or hinges, ensuring complete sealing strips for leak-proof and moisture-proof performance.
- Floor and Ceiling: When laying the floor, meet the live load requirement of ≥1.5kN/m². After ceiling installation, check the bearing capacity of the live load of 0.5kN/m² to avoid overloading in later use.
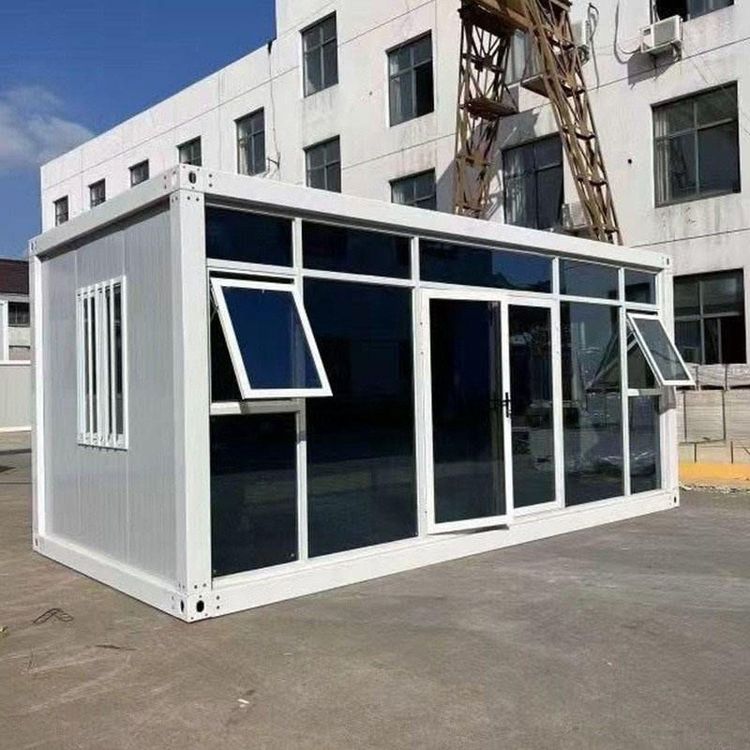
- Doors, Windows, and Piping: Install doors and windows after embedding waterproof sealing strips and reserve interfaces for water and electricity piping, ensuring environmental protection materials (such as Class A flame-retardant insulation) are not damaged.
4. Final Acceptance and Commissioning
- Structural Inspection: Use a spirit level to recheck the overall levelness and inspect all connection nodes for tightness and welding parts for cracks.
- Functional Testing: Test wind resistance under simulated 11-level wind conditions, check the thermal insulation effect of the insulation layer (K-value compliance), and verify leak-proof and moisture-proof sealing.
For more detailed step-by-step guidelines (such as specific bolt torque values and welding parameters), it is recommended to contact the supplier directly for an operation manual or technical documentation to ensure installation complies with design specifications.
Related