How to Make the Inside of a Mobile Toilet
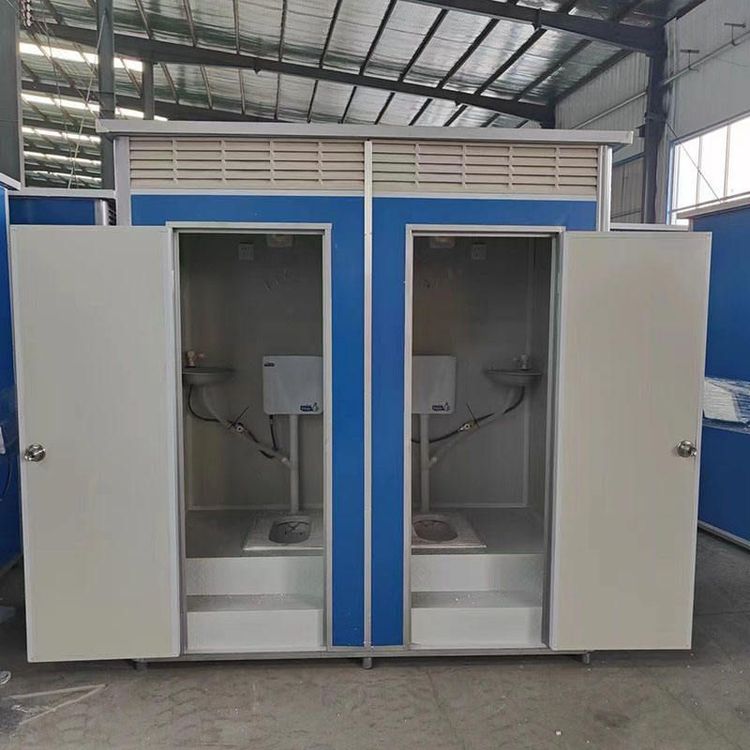
The production of a mobile toilet requires the sequential completion of steps such as basic structure construction, water storage tank modification, door opening and drain hole creation, and installation of toilets and hand-washing devices. Details are as follows:

1. Basic Structure Construction
The base of a mobile toilet needs to be stable and movable. Typically, a plastic pallet is chosen as the basic framework due to its lightweight and corrosion-resistant properties. Install universal wheels at each of the four corners of the pallet to ensure the toilet can move flexibly. If enhanced load-bearing capacity is required, metal supports or crossbeams can be added inside the pallet to form a grid-like structure that distributes pressure.
2. Water Storage Tank Modification
The water storage tank is a core component of a mobile toilet and needs to be functionalized through cutting and assembly. First, cut a square opening at the top of a recycled plastic water storage tank to create a tank space that can accommodate a person. To increase water storage capacity, two open tanks can be stacked on top of each other and secured with self-tapping screws to the outer frame. The outer frame should be wrapped with a waterproof material (such as PVC board) to prevent sewage leakage. If it is necessary to distinguish between clean water and sewage tanks, this can be achieved through color coding or the installation of a partition.
3. Door Opening and Drain Hole Creation
Cut a rectangular door opening 180 centimeters high and 50 centimeters wide on the side of the water storage tank's outer frame to ensure easy access for people. The edges of the door opening should be polished smooth to avoid scratches. A hole should be made in the interior floor and fitted with an elbow and pipe as a drain hole. It is recommended that the elbow be at a 45-degree angle to reduce the risk of blockage. The drain pipe should extend to an external sewage tank or connect directly to the municipal drainage system, with the connection sealed with sealant.
4. Toilet Installation
Choose a lightweight toilet (such as one made of plastic or ceramic), align it with the drain hole, and secure the surrounding gaps with waterproof glue to prevent odor leakage. The inlet pipe of the toilet tank should be connected to the clean water tank, and it is recommended to install a float valve for automatic water replenishment. If a tankless toilet is used, it can be directly connected to a high-pressure faucet for flushing.
5. Hand-Washing Device Installation
Fix a PVC pipe to the interior wall of the toilet with clips, connecting one end to the clean water tank and the other end to a faucet. A stainless steel basin can be selected as the hand-washing basin, fixed to the wall with a bracket, and connected to a drain pipe leading to the sewage tank below. To conserve water, a foot-operated switch can be installed to control the water flow.
6. Shower and Door Production
If a shower function is required, install a shower hose and bracket, fixing a showerhead at an appropriate height. It is recommended to make the door from wooden boards, coated with waterproof paint, and connected to the door frame with hinges. Install a door handle for easy opening and closing. Seal strips should be attached to the door gaps to enhance odor prevention.