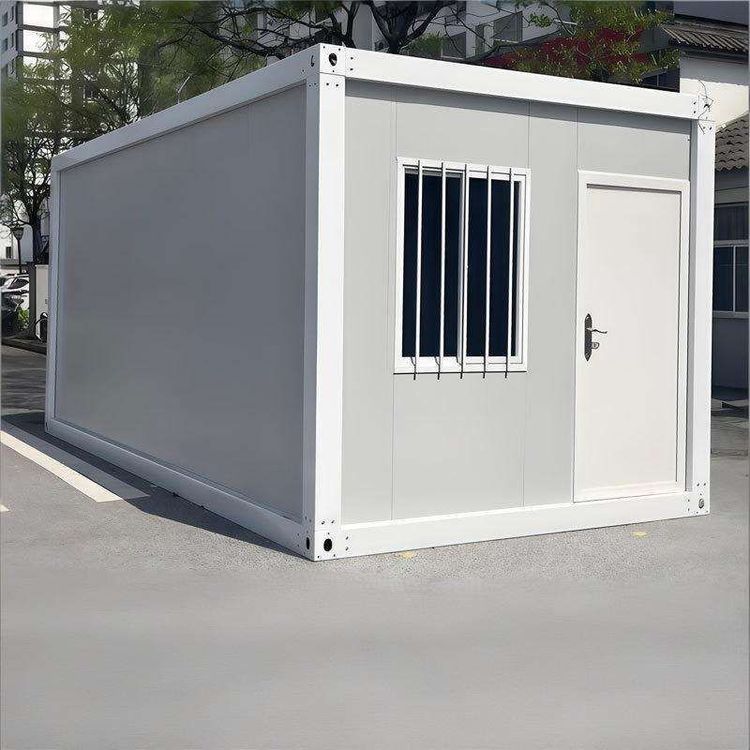
How to Install a Portable Toilet
The installation steps for a portable toilet need to be determined based on its specific type. The installation process for a common assembled portable toilet is as follows:

Prepare Tools and Check Components
After receiving the goods, prepare tools such as an electric drill, a 4.2-millimeter drill bit, and a rivet gun in advance. At the same time, check whether all components are complete, including panels, slots, rivets, etc., to avoid installation interruptions due to missing parts. For special types like portable toilets, additionally check the component list in the instruction manual to ensure nothing is missing.Install Inner Corner Structures
Install the inner corner components one by one according to the design drawings or instructions. Inner corners are usually located at the corners of the toilet frame and serve to fix and support it. During installation, ensure that the connection between the inner corners and the panels is aligned to avoid gaps or unstable structures during subsequent assembly.Assemble Panels and Slots
Insert the panels one by one into the pre-installed slots. When assembling, pay attention to aligning the upper and lower edges to ensure that the gaps between the panels are even and tight. The design of the slots usually has a guiding function to help the panels quickly position, but manual adjustment is required to achieve a fully fitted state to prevent the overall structure from tilting due to misalignment.Drill Holes and Secure
Use a 4.2-millimeter drill bit to drill holes at the connections between the panels and the inner corners. The hole positions should be pre-marked according to the rivet specifications to ensure that the depth and spacing meet the requirements. After drilling the holes, insert the rivets into the holes and then secure them with a rivet gun. The rivet gun should be pressed vertically to ensure that the rivets fully expand and lock the panels tightly, avoiding looseness due to inadequate fixation.Overall Inspection and Debugging
After installation is complete, conduct a comprehensive inspection of the portable toilet, including structural stability, panel gaps, and door lock functionality. If loose rivets or misaligned panels are found, promptly re-rivet or adjust them. For types like portable toilets, also connect the water source and test the flushing function to ensure there is no leakage or blockage.
Precautions: The installation steps for different models of portable toilets may vary. For example, some high-end models may require additional installation of ventilation systems or sewage pipes. If users lack installation experience, it is recommended to contact the manufacturer or a professional for assistance to avoid affecting usage safety or lifespan due to improper operation.