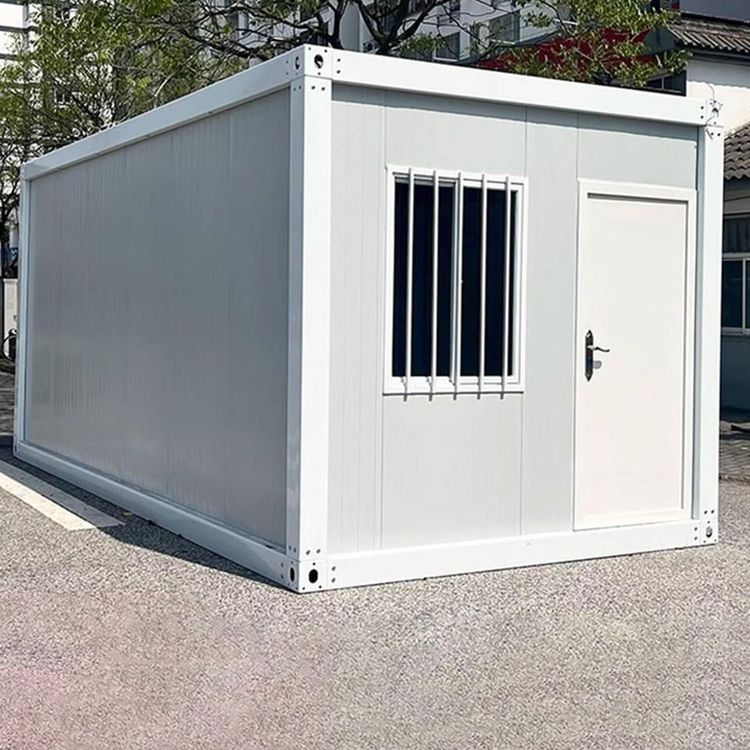
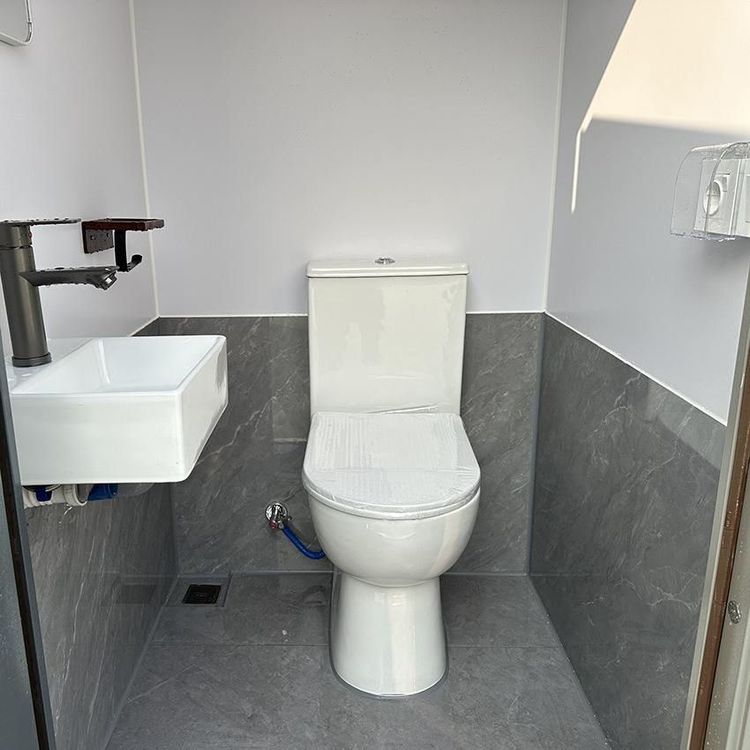
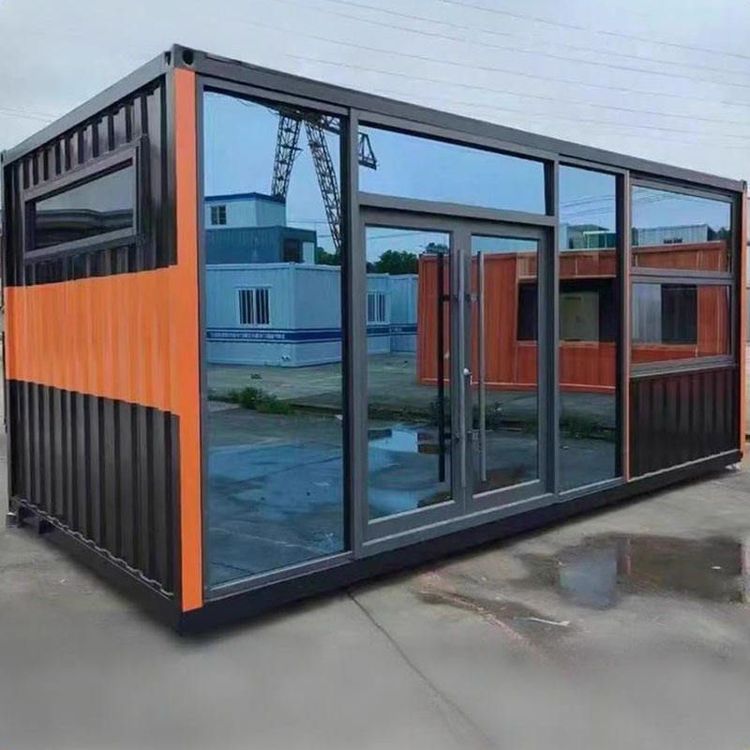
How to Install an Outdoor Portable Toilet
The installation of an outdoor portable toilet should follow standardized procedures, with specific steps outlined below:

I. Pre-installation Preparations
Site Survey and Confirmation
Plan the installation location in advance, avoiding low-lying areas prone to water accumulation, areas beneath high-voltage power lines, and busy pedestrian pathways. Ensure that operational vehicles (such as forklifts and cranes) can park smoothly. Additionally, reserve at least 0.5 meters of surrounding space for easy maintenance and use.Basic Material Inspection
After receiving the equipment, verify the integrity of the portable toilet's main structure and accessories (such as door hinges, drainage valves, and lighting systems), ensuring that the quantities and models match the list. If any structural deformation or missing accessories are found, contact the supplier immediately for replacement.Tool and Safety Preparations
Prepare general tools such as wrenches, screwdrivers, and spirit levels. For snap-fit structure toilets, special tools such as electric drills, 4.2-millimeter drill bits, and rivet guns are also required. Additionally, set up safety signs such as warning cones and reflective tapes, and equip lighting devices for nighttime operations.
II. On-site Installation Steps
Main Body Positioning
Use a forklift or crane to lift the toilet smoothly to the designated location and calibrate its levelness with a spirit level to prevent drainage issues or structural damage caused by tilting.Drainage System Connection
Connect the toilet's built-in drainage pipe to the municipal drainage outlet; if there is no drainage system on-site, connect a temporary collection bucket and clean it regularly. Ensure that the connection is sealed to prevent leakage.Utility Connections (as needed)
- Power Supply: External power connections should be operated by a professional electrician. Install waterproof sockets and ensure proper grounding to avoid electric shock risks.
- Lighting: Check the battery level (if independently powered) or the external circuit for normal operation to ensure safety during nighttime use.
- Detail Inspection and Commissioning
Test key components such as the flushing function, door lock operation, and ventilation system. Clean the interior and place usage instruction signs. For snap-fit toilets, complete assembly through slot fitting and rivet fixation to ensure structural stability.
III. Post-installation Precautions
Safety Sign Installation
Set up a "Portable Toilet" sign within a 5-meter radius of the toilet and install warning lights at night to guide users and prevent accidental collisions.Daily Maintenance Management
During the rental period, inspect the equipment daily, promptly clean up garbage, replenish toilet paper and hand soap, and regularly disinfect to prevent bacterial growth.Evacuation Plan Planning
After the event, plan the evacuation route in advance. Use the equipment's built-in fixing devices or counterweights to ensure safe transportation and prevent structural damage caused by bumps.