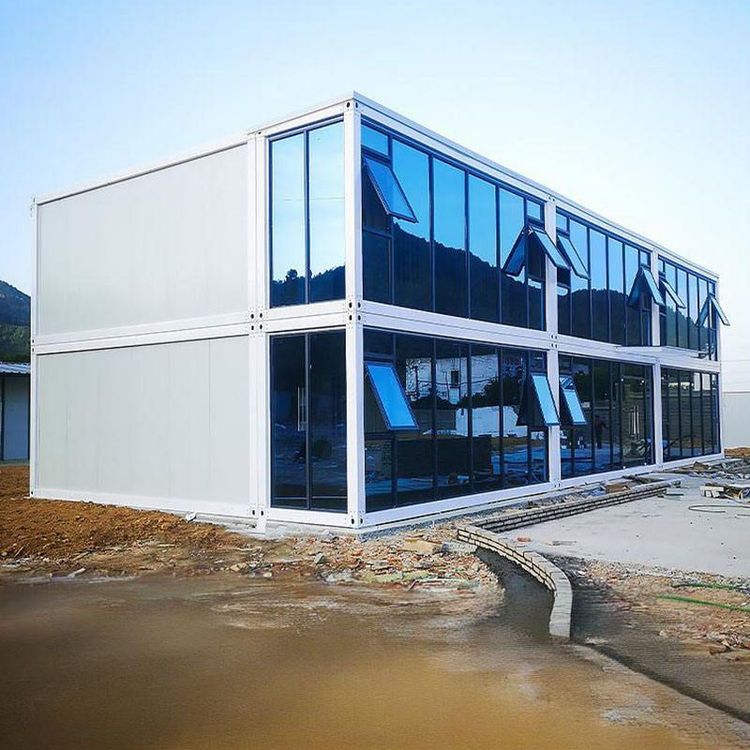
How to Install Mobile Toilet Wall Panels
The installation of mobile toilet wall panels should be carried out after the installation of the main structure is completed. The core steps include positioning the main structure and sealing the wall panel joints. The specific operations are as follows:

I. Main Structure Installation Phase
The installation of a mobile toilet requires the completion of the main frame construction first to provide stable support for wall panel installation.
- Base Positioning: Place the base on the pre-prepared foundation, ensuring the foundation surface is flat and solid. Adjust the levelness of the base using a spirit level to avoid tilting of subsequent wall panel installations due to uneven ground. The edges of the base should maintain a gap of 5-10 centimeters from the edges of the foundation to reserve space for drainage or piping layout.
- Frame Fixation: If the main structure includes a metal frame (such as aluminum alloy or steel structure), use expansion bolts or welding to firmly connect the frame to the base, ensuring overall stability. The perpendicularity of the frame should be calibrated using a plumb line or laser instrument, with deviations controlled within ±2 millimeters.
II. Wall Panel Installation Phase
Wall panel installation should strictly follow the splicing sequence provided by the manufacturer, with a focus on ensuring sealing and structural strength.
- Splicing Sequence and Direction: Determine the wall panel installation direction (such as from left to right or from bottom to top) according to the design drawings to avoid rework due to incorrect sequencing. Some wall panels may include door or window openings, which should be installed first, followed by the installation of ordinary wall panels.
- Sealing Strip Inspection and Installation: Sealing strips (usually made of rubber or silicone) should be pre-installed at the joints of wall panels. Before installation, check that the sealing strips are intact and undamaged. During splicing, align the sealing slots of adjacent wall panels and gently press to embed the sealing strips into the slots, ensuring no gaps at the joints to prevent rainwater or odor leakage.
- Fixation and Calibration: Use dedicated connectors (such as clips, screws, or rivets) to fix the wall panels to the main frame, with the spacing between fixation points complying with the manufacturer's requirements (usually 30-50 centimeters). After installation, use a spirit level to check the perpendicularity of the wall panels again and make fine adjustments by adjusting the tightness of the connectors.
Precautions: If using integrated insulation panels as wall panels, refer to their dedicated installation guide, focusing on handling the connection between the insulation layer and the structural layer to avoid cracking due to thermal expansion and contraction. During installation, wear protective gloves to prevent cuts or exposure to harmful substances.
You may also like
Portable Toilet Specifications Size & Area Guide: Finding the Right Fit
Read More
Top Portable Toilet Custom Manufacturers: How to Choose a Factory Partner
Read More
Portable Toilet Reviewed: Best Picks & Tips
Read More