Back to blog
Article
How to Install Flooring in Container Houses
Admin September 16, 2026
Installing flooring in container houses requires selecting appropriate methods based on the flooring type, with common steps including baseboard laying, floorboard splicing and fixing, and finishing touches. Here are the specific operations:

I. Baseboard Laying and Positioning
- Baseboard Selection and Cutting: Most container houses use magnesium oxide boards or fiber cement boards as floor baseboards. When laying, align them along the length of the container (e.g., the 6-meter direction). The ends of the baseboards should be cut at angles according to pre-drawn chalk lines to ensure they fit snugly against the container structure.
- Secondary Beam Installation and Fixing: Install π-shaped secondary beams on the bottom beams, securing them with M5.5×19 self-tapping screws. The tops of the secondary beams should be connected to the bottom beams with ST4.8×16 round-head self-drilling screws to form a stable support structure.
- Centerline Marking: Mark the centerline of the π-shaped secondary beams to provide a reference for subsequent floorboard splicing and nail positioning.
II. Floorboard Splicing and Fixing
- Floorboard Laying Direction: Start laying floorboards from one end of the container, ensuring that the splice between two floorboards aligns with the centerline of the π-shaped secondary beam to ensure even force distribution.
- Chalk Line Snapping and Nailing: After laying the floorboards, snap chalk lines along the centerline markings of the π-shaped secondary beams (two chalk lines are needed at the splice, each offset 20mm from the centerline). Use ST4.2×38 cross-recessed flat-head self-tapping screws to fix the floorboards, with a nailing interval of 300-350mm to ensure the floorboards are secure and do not loosen.
- Special Material Handling: If using patterned aluminum plates as floorboards, pay attention to their anti-slip properties. The splices should be flat and aligned to avoid excessive gaps that affect use.
III. Finishing Touches and Detail Optimization
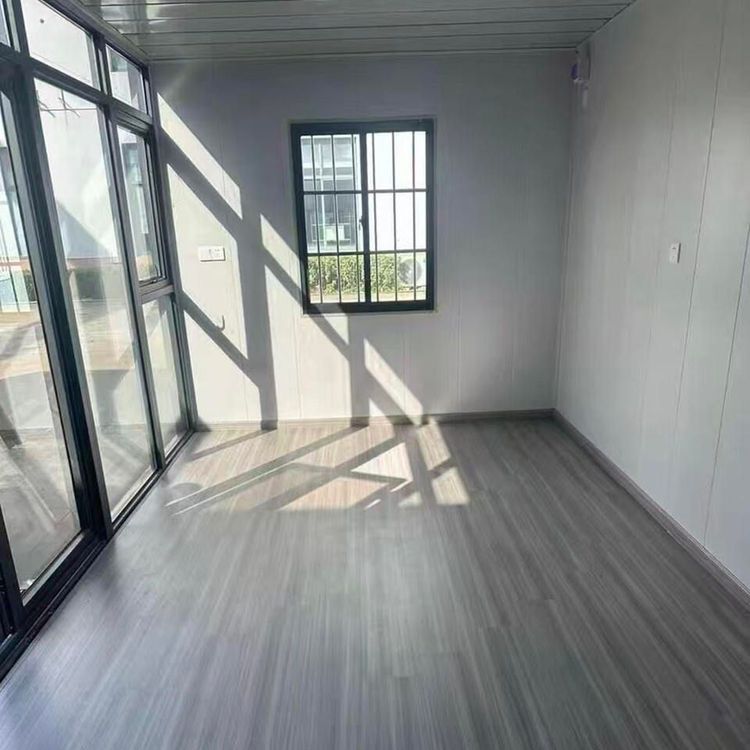
- Sanding and Glue Application: Sand the entire floor surface, especially the board seams, to ensure they are flat and free of burrs. Apply PVC-specific floor adhesive and wait 10-15 minutes for the adhesive to penetrate, enhancing the bond between the floorboards and the baseboards.
- Floor Covering Laying and Welding: When laying the floor covering, expel air between the baseboards to avoid bubbles. If possible, weld the seams of the floor covering to improve waterproofing.
- Inspection and Adjustment: Check the flatness of the floor, the seams between floorboards, and their fixation to ensure there is no looseness or warping. Make local adjustments if necessary.
Related