Back to blog
Article
How to Install a Home Portable Toilet
Admin September 27, 2026
The installation method for home portable toilets varies depending on the type, with common types including basic portable toilets and dual-purpose portable toilets that can be used for both squatting and sitting. Here are the specific installation steps and precautions:

Basic Portable Toilet Installation
- Install silicone anti-slip pads: Place silicone anti-slip pads at each of the four corners of the toilet base to ensure a secure installation. These pads effectively increase the friction between the toilet and the ground, preventing the toilet from sliding during use and ensuring safety.
- Assemble the upper and lower toilet bodies: Align the upper and lower toilet bodies, then press down on the clips to secure them, completing the assembly of the toilet bodies. During assembly, pay attention to aligning the positions to ensure the clips can accurately engage, avoiding looseness or unstable assembly.
Dual-Purpose Portable Toilet Installation
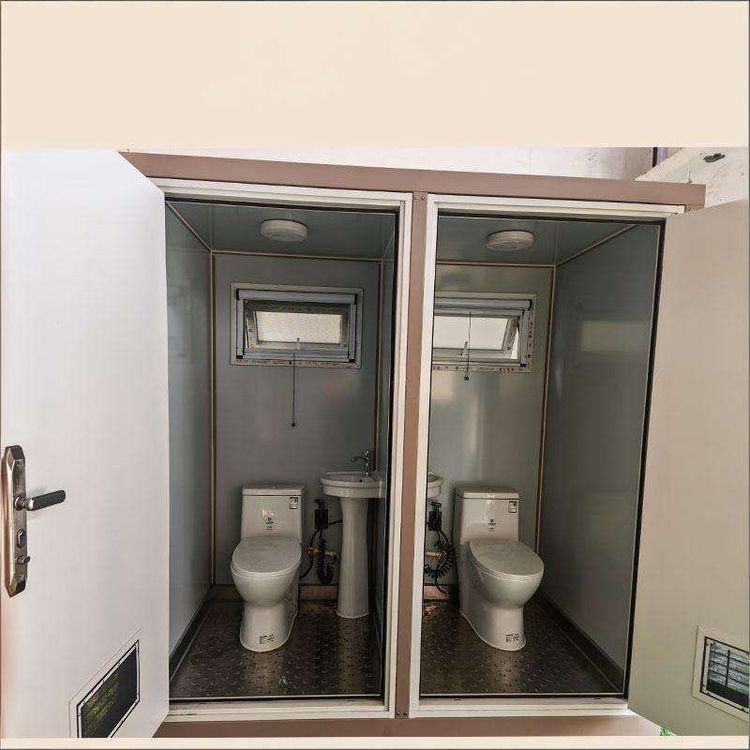
- Install the toilet flange: Place the toilet flange on the drain pipe, aligning the center of the flange with the center of the drain pipe, and then position the toilet correctly. The toilet flange serves to seal and secure the connection, preventing sewage leakage and ensuring a tight connection between the toilet and the drain pipe.
- Install the angle valve and tee: Install the angle valve and connect the tee to the water inlet and the spray head. The angle valve can control the flow of water, facilitating maintenance and replacement of components. The tee is used to connect the water inlet, spray head, and other relevant pipes, ensuring a smooth water flow.
- Assemble the water inlet hose and spray head: Screw on the water inlet hose of the toilet, assemble the toilet spray head, and tighten the sealing rubber rings at both ends. The sealing rubber rings prevent water leakage and ensure the water tightness of the water flow. After assembly, connect the spray head to the other end of the tee.
- Install the spray head bracket: Forcefully snap the spray head bracket onto the top of the tee to ensure it is securely installed and can stably support the spray head.
- Apply sealant: After testing the toilet for water leakage and finding no issues, apply sealant at the contact area between the toilet and the ground. Applying sealant further enhances the water tightness, preventing sewage from leaking onto the ground, and also serves to secure the toilet in place.
General Installation Precautions
- Check the accessories: After receiving the portable toilet, open the package and carefully check if all accessories are present. If any accessories are missing or damaged, promptly contact the merchant for replacement or reissue.
- Refer to installation materials: Contact customer service for installation videos or follow the instructions for installation. Installation videos and instructions provide detailed installation steps and precautions to help users correctly install the portable toilet.
Related