
Back to blog
Article
How to Install a Fan in a Container House
Admin September 16, 2026
Installing a fan in a container house requires selecting an appropriate location based on the fan type (exhaust fan, ceiling fan, wall fan, etc.) and following standardized procedures for fixation, wiring, and sealing to ensure safety and exhaust efficiency.
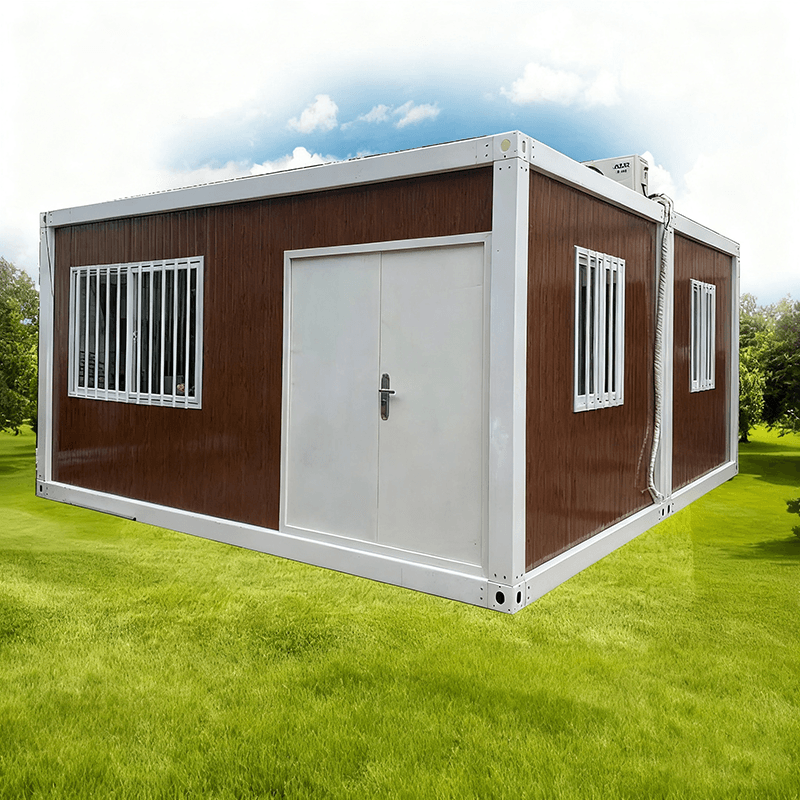
I. Key Points for Installing an Exhaust Fan
Location Selection
- Prioritize areas close to odor sources or the most humid zones (such as above the shower in the bathroom), keeping away from air inlets like doors and windows to prevent airflow short-circuiting.
- In humid environments, choose moisture-proof and water-splash-resistant models to prevent short circuits or damage.
Hole Cutting and Fixation
- Cut precise holes in the ceiling or wall according to the dimensions marked on the fan packaging.
- Ceiling-mounted: Use spring clips or suspension rods to fix the fan to the ceiling joists, ensuring stability without wobbling.
- Wall-mounted: Secure the fan housing to pre-embedded wooden frames or sturdy substrates using screws, avoiding direct contact with loose walls.
Duct Connection and Sealing
- Connect the air outlet to the outdoor exhaust vent using rigid PVC pipes or aluminum foil composite hoses, and install a bug screen at the end.
- Seal the joints with clamps or aluminum foil tape to prevent air leakage or rainwater ingress.
Wiring Safety
- After turning off the main circuit breaker, connect the live wire (L), neutral wire (N), and ground wire (PE) according to the instructions, using wire terminals or electrical tape for insulation.
- Non-professionals must hire an electrician to avoid the risk of electric shock.
II. Key Points for Installing Ceiling/Wall Fans
Height and Load-Bearing
- Maintain a distance of 2.5-3 meters between the ceiling fan blades and the floor, and 400-500 millimeters from the ceiling to avoid injury or reduced airflow.
- Confirm the load-bearing capacity of the ceiling structure and install reinforcement brackets if necessary.
Fixation and Balance
- Use a level to adjust the horizontalness of the mounting bracket, reducing operational noise and vibration.
- Install the blades symmetrically and tighten the screws after dynamic balancing calibration to prevent wobbling during high-speed rotation.
Special Requirements for Distribution Box Fans
- If it is a distribution box cooling fan, fix it on the inside of the box door and use a filter to prevent dust from entering.
- Ensure the fan direction is correct (usually blowing inward to create positive pressure) to prevent unfiltered air from entering the cabinet due to negative pressure.
III. General Safety Regulations
- Tool Preparation
- Essential tools include an electric drill, screwdriver, tape measure, and test pen. Wear a safety harness for high-altitude work.
- Power-Off Operation
- Turn off the main power supply in the installation area and confirm no electricity with a test pen before starting work.
- Regular Maintenance
- Clean dust from the fan blades, check the tightness of screws, and inspect the aging of wires to ensure long-term safety.
Tip: The material of the container house may affect the fixation method (e.g., self-tapping screws + expansion tubes for metal walls). It is recommended to adjust the installation details according to the actual structure.
Related
You may also like
27Oct
Portable Toilet Eco-Friendly: MOQ, Samples & Quotation Guide
Read More
27Oct
Top Portable Toilet Color Steel Manufacturers: How to Choose a Factory Partner
Read More27Oct
Portable Toilet Picture: Types, Features & Buying Tips
Read More
27Oct