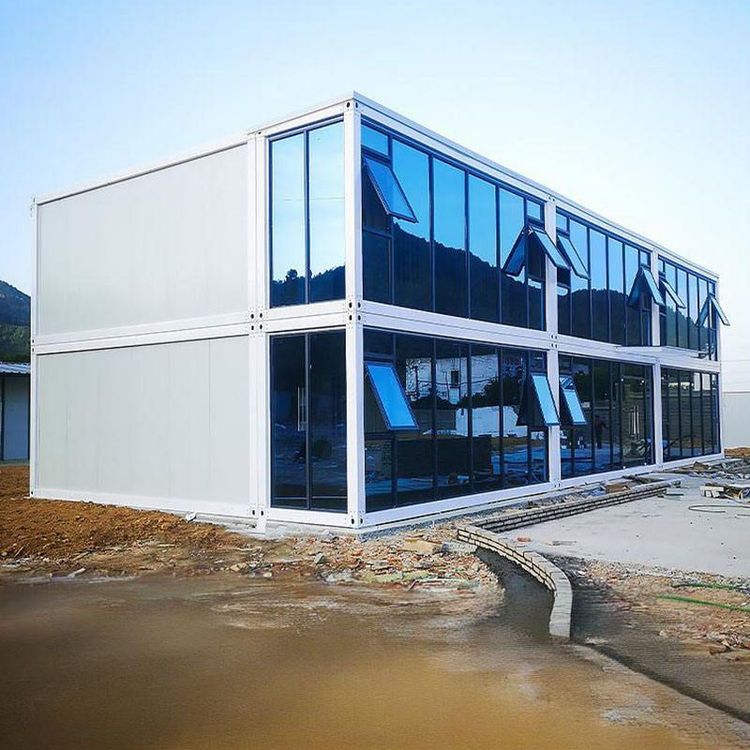
How to Fix a Mobile Prefab Toilet
The fixing of a mobile prefab toilet should follow standardized procedures to ensure structural stability and safety during use. The specific steps are as follows:

1. Confirm the Installation Location and Prepare the Ground
Select a flat and solid area as the installation point to avoid structural tilting due to ground settlement. Use a level to check the ground flatness, with an error tolerance of within ±5mm. If the ground is soft soil or backfill, it should be compacted or a concrete垫层 (pad layer) should be poured to ensure the bearing capacity meets the self-weight of the toilet and the usage load requirements. At the same time, plan the direction of the sewage pipeline in advance and check whether the reserved interfaces are unobstructed to avoid affecting use due to pipeline blockage later.
2. Assemble the Frame Structure
Take the base as the reference and fix it to the ground using expansion bolts or chemical anchors. The bolt spacing should comply with design specifications (usually 300-500mm). Install the right, left, and front wall panels in sequence, and lock them tightly using dedicated connectors (such as corner brackets and bolts) to ensure that the verticality deviation of the walls is ≤3mm. During frame assembly, use a torque wrench to control the bolt pre-tightening force to avoid structural shaking due to looseness.
3. Install Fixed Slots
Install customized fixed slots at the junctions between the base and the back, side, and front panels. The slots should fit snugly against the edges of the panels and be fixed with self-tapping screws or rivets, with a spacing of 200-300mm. This step requires a focus on checking the alignment accuracy between the slots and the panels to avoid seal failure or structural deformation due to misalignment.
4. Install the Upper Structure and Ventilation System
Install dedicated slots on the top of the frame to support the roof components. The slots should be aligned with the top of the walls and fixed with bolts to form an overall load-bearing system. At the same time, install ventilation louvers on the sides or back. The louver angle should be adjusted to 45°-60° to ensure air circulation efficiency while preventing rainwater from flowing back in. The ventilation ducts should be sealedly connected to the internal exhaust ports of the toilet to avoid air leakage.
5. Top Fixing and Sealing Treatment
Align the roof components with the slots on the top of the frame and complete the final fixing using fixing nails (such as steel nails or self-tapping screws). The nail spacing should be controlled at 150-200mm to ensure a tight connection between the roof and the frame. Apply waterproof sealant at the roof joints and install a gutter at the edges to prevent rainwater penetration. After fixing, conduct a shaking test on the overall structure to confirm that there is no abnormal looseness.
6. Inspection and Finalization
Use a torque wrench to perform a second tightening of all bolts and nuts to ensure that the pre-tightening force meets the design requirements. Check the sealing of the walls, roof, and base, and apply sealant to any gaps. Finally, clean up the installation site and check whether the sewage pipeline connections are firm to ensure that the toilet is ready for normal use.
You may also like
Portable Toilet Specifications Size & Area Guide: Finding the Right Fit
Read More
Top Portable Toilet Custom Manufacturers: How to Choose a Factory Partner
Read More
Portable Toilet Reviewed: Best Picks & Tips
Read More