How to Design Container Houses
Container house design requires balancing modularity and personalization, and should be systematically carried out in four stages: design, production, decoration, and transportation and installation. The specific process is as follows:

1. Design Phase: Requirement Transformation and Structural Adaptation
Starting from customer needs, use 3D modeling software to transform functional requirements into precise drawings. The design must strictly adhere to the fixed dimensions of containers (such as 20-foot and 40-foot standard containers), achieving functional expansion through cutting, welding, and adding doors and windows. For example, construction site offices need to add partitions and ventilation systems, while commercial exhibition spaces require enhanced lighting and exterior decoration. At the same time, structural simulation software (such as ANSYS) should be used to verify the strength of the modified structure, ensuring it can withstand transportation vibrations and long-term use. If a second floor or cantilevered structure needs to be added, additional calculations of load distribution are required to avoid local stress concentration leading to deformation.
2. Production Phase: Structural Inspection and Safety Modification
Conduct a comprehensive inspection of recycled or new containers, focusing on identifying hidden dangers such as rust and deformation, especially checking the integrity of corner fittings (key load-bearing components of containers). Perform cutting, hole-making, and welding operations according to the design drawings, strictly following the "Code for Design of Steel Structures" (GB 50017) to ensure that the weld grade is not lower than Grade II. For example, when adding a second-floor floor slab, install crossbeams on the top to distribute the load; when installing doors and windows, use waterproof sealant and reinforced frames to prevent leakage, and pre-embed water and electricity pipelines (such as PVC pipes or metal sleeves) to save time for subsequent decoration.
3. Decoration Phase: Functional Optimization and Performance Enhancement
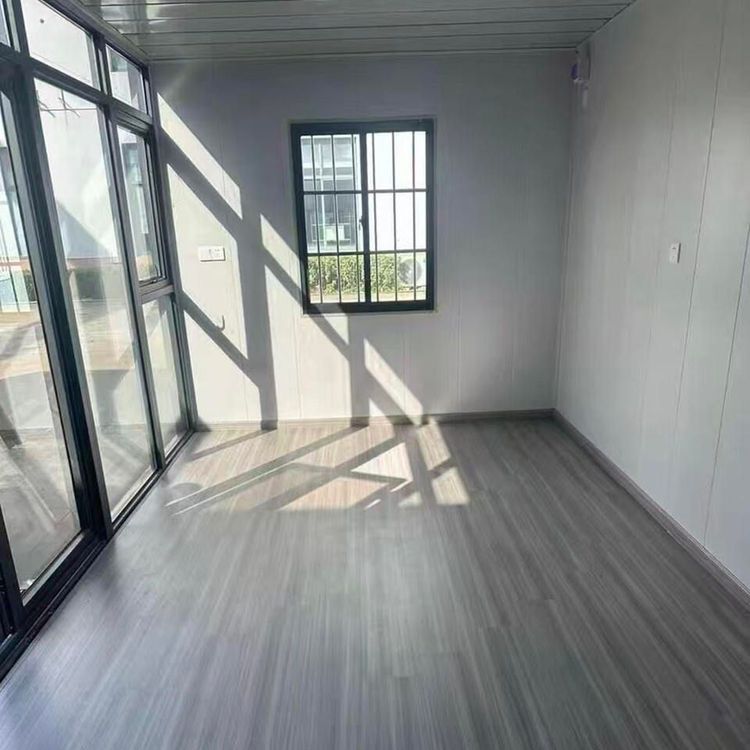
For interior decoration, use light steel keel partitions and environmentally friendly panels (such as E0-grade particleboard), with anti-slip floor tiles or industrial flooring for the ground. For exterior wall treatment, there are two options: when retaining the metallic texture, fluorocarbon paint can be sprayed to customize the color; when enhancing thermal insulation performance, rock wool insulation boards (5-10 cm thick) and decorative panels (such as aluminum-plastic panels or wood-grain panels) can be wrapped. For example, the container house at the Arctic research station has a 10 cm thick insulation layer added to its exterior wall, combined with double-glazed windows, enabling it to withstand temperatures as low as -50°C.
4. Transportation and Installation Phase: Secure Protection and Rapid Deployment
Secure the decorated container house on a dedicated transportation frame, transport it to the destination by truck or ship, and then use a crane to lift it onto a pre-set foundation (such as a concrete pier or steel structure support). The foundation needs to be poured in advance and have water and electricity interfaces reserved. When connecting water and electricity pipelines, use waterproof connectors and insulating tape to avoid short circuits or leakage. The entire process usually takes only a few hours to a few days, making it suitable for scenarios such as emergency housing and temporary exhibition halls.