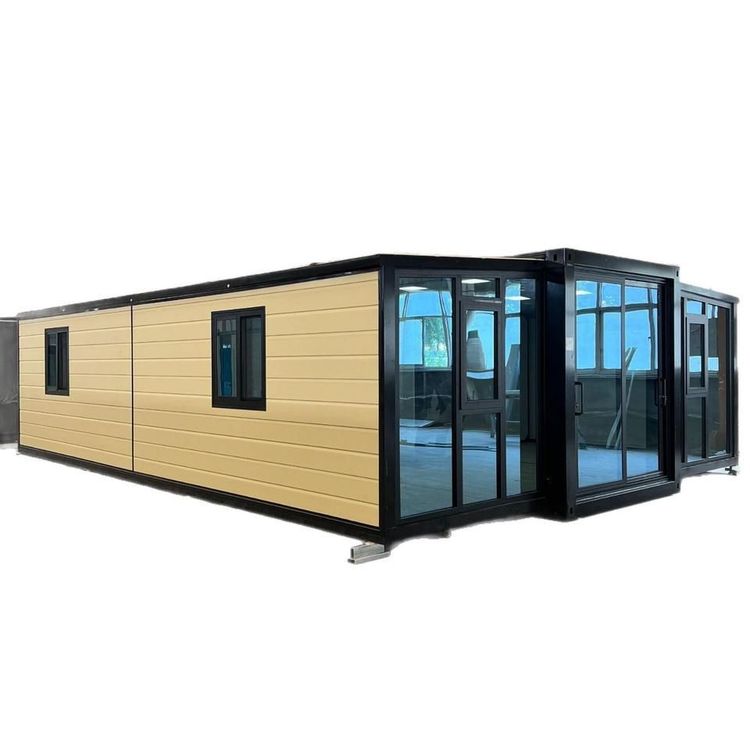
How to Install a Finished Mobile Toilet
The installation process for a finished mobile toilet mainly includes three core steps: the preparation phase, frame assembly, and detail handling and finishing work. Here are the specific operations:

1. Preparation Phase
Before installation, ensure that the installation location meets the requirements: the ground should be level and have sufficient load-bearing capacity to prevent structural tilting or damage due to an unstable foundation; the sewage pipes should be unobstructed to ensure smooth drainage of wastewater; and the ground levelness should be checked to prevent any impact on the user experience due to tilting. Choose the appropriate mobile toilet model and configuration based on actual needs, such as a packing type (collecting excreta through plastic bags) or a microbial degradation type (using microorganisms to decompose excreta), as different configurations may have varying requirements for the installation environment. Additionally, prepare installation tools in advance, such as an electric drill (equipped with a 4.2-millimeter drill bit), a rivet gun, wrenches, etc., as well as auxiliary materials like sealant and screws to ensure an efficient and orderly installation process.
2. Frame Assembly
Frame assembly is the core part of the installation and usually requires two people to work together. First, secure the base to the ground by drilling holes at the preset positions using an electric drill and firmly connecting the base to the ground with expansion bolts or rivets to prevent displacement. Then, install the right, left, and front wall panels in sequence, and fix the connection points of each component with locking screws to ensure structural stability. Next, install the upper slots to support the top components, and install ventilation louvers to enhance air circulation and reduce odor accumulation. Finally, cover the top to complete the overall frame construction. Pay special attention to the sealing at the joints of each component, such as applying sealant at the connections between the wall and the base, and between the top cover and the slots, to prevent rainwater leakage or odor leakage.
3. Detail Handling and Finishing Work
After installation, conduct a comprehensive inspection and maintenance: first, clean the interior and exterior of the toilet to remove dust or debris generated during the installation process; then, check that all bolts and nuts are tightened to prevent structural shaking or component detachment due to looseness; for microbial degradation toilets, add special bacteria according to the instructions and adjust the equipment parameters to ensure normal degradation function. Additionally, explain daily maintenance points to users, such as regularly cleaning the sewage pipes, replacing packing bags, or replenishing bacteria, to extend the product's service life and enhance the user experience.