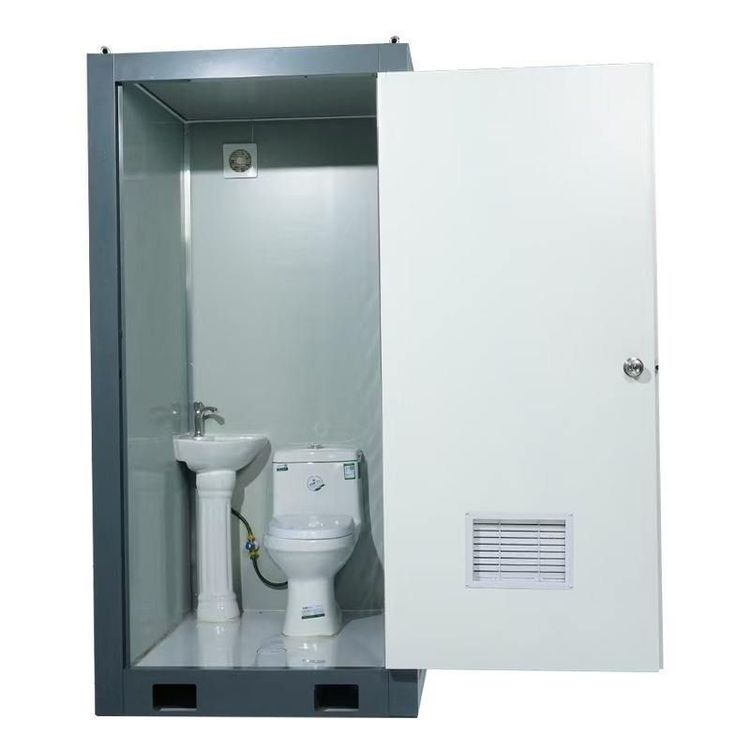
How to Install an Easy Portable Toilet
The installation of an easy portable toilet can follow these steps, with adjustments made according to the specific model (such as a basic portable toilet or one with a water inlet system):

I. Basic Inspection and Accessory Preparation
Before installation, check the accessory list to ensure all components are complete and undamaged, including upper and lower toilet bodies, buckles, silicone anti-slip pads (for some models), toilet flanges (when involving a water inlet system), angle valves, tees, water inlet hoses, sprinklers, and sealing gaskets. If any accessories are missing or damaged, contact the supplier promptly for replacement.
II. Installation of Basic Portable Toilet (Without Water Inlet System)
- Install Anti-slip Pads: Place the silicone anti-slip pads into the four corners at the bottom, ensuring a flat contact surface with the ground for enhanced stability.
- Assemble Toilet Body: Align the buckle positions of the upper and lower toilet bodies, press down evenly with both hands until the buckles are fully engaged, and confirm a tight connection without looseness.
- Check Sealing: Inject a small amount of clean water into the toilet and observe for any leakage. If leakage occurs, recheck the buckles or sealing pads for proper installation.
III. Installation of Model with Water Inlet System (Including Toilet Flange, Sprinkler, etc.)
- Install Toilet Flange: Align the center of the flange with the center of the sewer pipe, slowly position the toilet correctly, and ensure a tight fit between the flange and the sewer pipe to prevent sewage leakage.
- Connect Water Inlet Components:
- Install the angle valve, connect the water inlet to the tee, and tighten the connections to prevent leakage.
- Assemble the toilet sprinkler: Tighten the sealing gaskets at both ends onto the sprinkler connections to ensure sealing.
- Connect the sprinkler to the other end of the tee, firmly clamp the sprinkler bracket to the top of the tee, and secure the sprinkler position.
- Connect Water Inlet Hose: Connect one end of the toilet water inlet hose to the angle valve and the other end to the toilet water inlet, tightening all connections.
- Water Test: Turn on the water source, check for leaks at all connections, and test the smoothness of the sprinkler's water output. If abnormalities are found, immediately turn off the water source and readjust.
IV. Final Fixing and Finishing
- Apply Sealant: After confirming no issues during the water test, apply a circle of waterproof sealant at the contact point between the toilet bottom and the ground to prevent odors or sewage from seeping out.
- Clean Up: Remove debris generated during the installation process and keep the area around the toilet clean.
Precautions: Ensure the ground is level before installation to prevent instability due to tilting; if water and electricity modifications are involved, it is recommended to have them performed by professionals; regularly inspect easily worn parts such as buckles and sealing pads, and replace them promptly to extend service life.