Back to blog
Article
Container House Shell Installation Diagram
Admin September 17, 2026
The installation steps for the shells of different types of container houses are as follows:

Assembled Container House:
- Bottom Frame Installation: Connect the bottom corners of the container to the bottom beams using hexagon socket bolts. Adjust until square and then tighten the bolts to ensure structural stability.
- Secondary Beam and Floor Installation: Install π-shaped secondary beams according to the positioning holes on the long beams, securing them with m5.5×19 self-tapping screws. Reinforce the top of the secondary beams and bottom beams with st4.8×16 round-head self-drilling screws. Lay the floor baseboard along the 6-meter direction, mark the centerline of the π-shaped beams, snap a chalk line, and secure the floor with st4.2×38 cross-recessed flat-head self-tapping screws. Finally, sand and apply PVC-specific floor adhesive, then lay the floor covering.
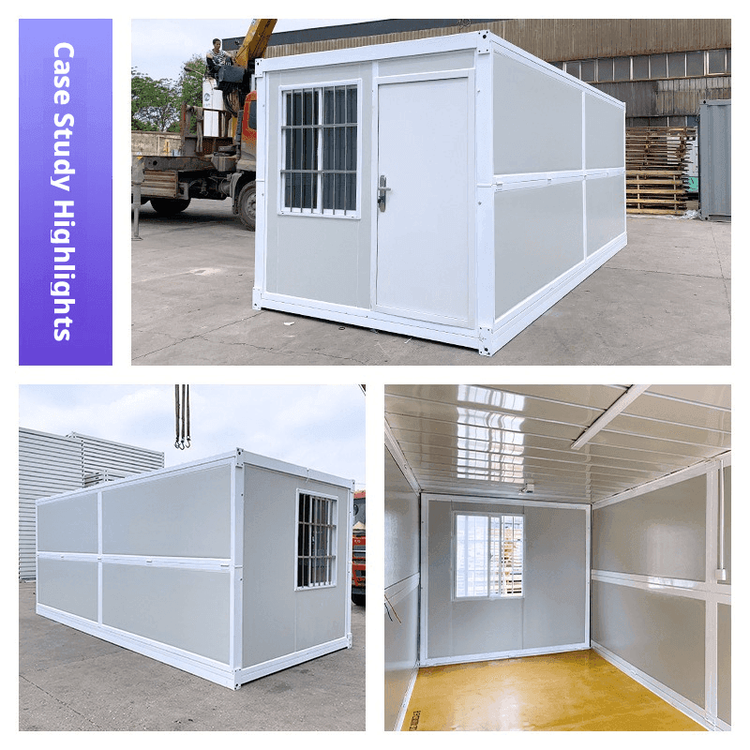
Foldable Container House:
- Unfolding and Stabilization: Check the stability of the steel wire ropes. Use a crane to smoothly unfold the main frame and place support rods in the middle of the container to maintain structural stability.
- Wall Installation: First, push open one wall and secure it with fastening screws. Then, push open the other wall with doors and windows and tighten the screws to ensure tight wall connections.
- Positioning and Placement: Lift the foldable container house to the predetermined location and slowly lower it to avoid collisions or tilting.
Packing-Box Container House:
- Column and Roof Installation: Connect the columns to the foundation, ensuring verticality. When installing the roof, connect the columns to the roof structure and simultaneously install downspouts to guide drainage.
- Wall Panel Installation: Place the lower edge panels on the base and seal the gaps. Install the wall panels in order (C side → A side → D side → B side), ensuring a flat splice. Pay attention to size matching when installing doors and windows to avoid deformation.
- Accessories and Sealing: After installing door and window accessories, fill all gaps (such as those between wall panels and the foundation, and between wall panels) with sealant to prevent rainwater leakage.
Key Precautions:
- For assembled types, focus on checking the tightening torque of bolts to prevent loosening.
- For foldable types, ensure that the steel wire ropes are not worn and that the support rods are accurately positioned.
- For packing-box types, strictly follow the order of wall panel installation to prevent structural deformation. After installation of all types, conduct an overall inspection to ensure no missing components or sealing defects.