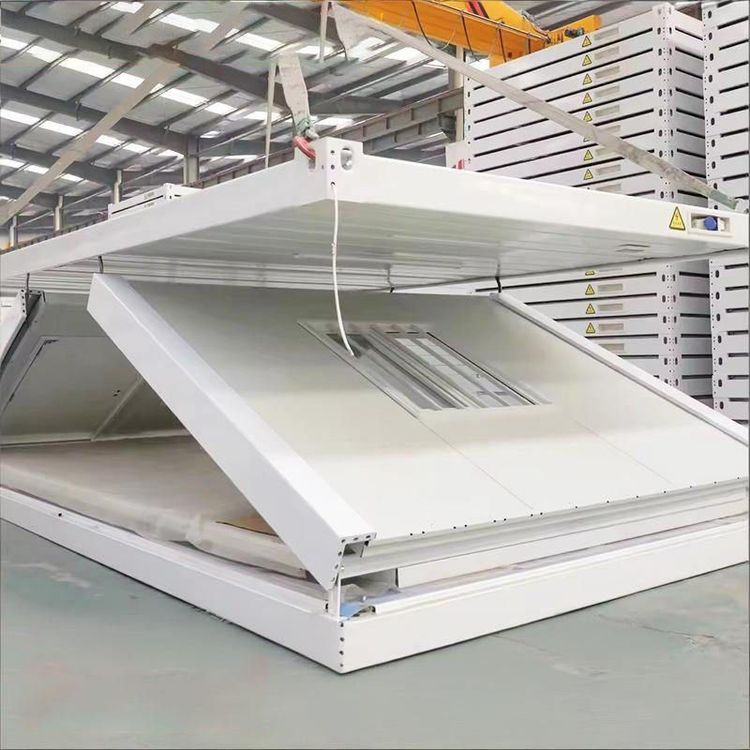
Diagram of Waterproof Cloth for Container House Roof
We cannot directly provide a diagram of the waterproof cloth for container house roofs, but we can elaborate on its design considerations and installation methods. The design and installation of waterproof cloth for container house roofs require comprehensive consideration of waterproof performance, structural stability, and durability. The following explains in detail from three aspects: design principles, material selection, and installation steps:

I. Design Principles
Slope Design
Container roofs are typically flat or slightly sloped. To ensure smooth drainage of the waterproof cloth, a slope of no less than 5% (i.e., a height difference of ≥5 cm per meter) should be set at the roof edges to prevent water accumulation and leakage. If the original roof has no slope, wooden or metal keels can be added to adjust the structure.Edge Treatment
Water stops (height ≥10 cm) should be installed around the roof edges to prevent rainwater from flowing backward. Water stops can be welded and fixed using angle steel or square tubes, with anti-corrosion treatment applied to the surface (such as painting or galvanizing).Fixing Point Planning
The waterproof cloth should be fixed to the roof using expansion bolts, battens, or clamps. The spacing between fixing points should be ≤50 cm to ensure the cloth surface is flat and wrinkle-free. Fixing points should be densified at corners to prevent tearing due to stress concentration.
II. Material Selection
Waterproof Cloth Material
- PVC-coated cloth: Excellent waterproof performance, resistant to UV aging, with a service life of approximately 5-8 years, suitable for long-term outdoor use.
- PE canvas: Lower cost but poorer weather resistance, prone to aging and cracking, suitable for temporary or short-term protection.
- Color-coated steel sheet: If higher strength is required, color-coated steel sheets can be selected as the roof covering layer, but waterproof tape should be used to treat the seams.
Auxiliary Materials
- Sealant: Used to fill gaps between the waterproof cloth and the roof. Neutral silicone weather-resistant sealant is recommended for its aging resistance and good elasticity.
- Battens: Aluminum alloy or galvanized steel battens are used to fix the edges of the waterproof cloth and prevent it from being blown up by the wind.
III. Installation Steps
Clean the Roof
Remove dust, oil, and sharp objects from the roof surface to ensure tight adhesion between the waterproof cloth and the roof.Lay the Waterproof Cloth
Unroll the waterproof cloth from one end of the roof and gradually cover it to the other end, leaving an edge of 10-15 cm for fixing. The cloth surface should be kept flat, avoiding wrinkles or bubbles.Fix the Waterproof Cloth
Use expansion bolts to fix the battens to the roof, ensuring the battens tightly press against the edges of the waterproof cloth. Special clamps should be used to reinforce corners to prevent the cloth surface from loosening.Seal Treatment
Apply sealant to the seams of the waterproof cloth and around the fixing points to form a continuous waterproof layer. The sealant should completely cover the gaps with a thickness of ≥2 mm.Acceptance Test
After installation, conduct a water spray test (continuous water spraying for more than 30 minutes) to check for leakage points and promptly repair any defects.
Tip: For specific diagrams, it is recommended to contact a professional waterproofing engineering company to customize a design plan based on the size of the container and the usage environment.