How to Remove Portable Toilets at Construction Sites
The removal of portable toilets at construction sites must follow standardized procedures to ensure safety and the integrity of the equipment. The specific steps are as follows:

1. Pre-construction Preparation
Before removal, conduct a comprehensive assessment of the site environment, clarify the location of the toilet, surrounding obstacles, and spatial constraints, and develop a detailed construction plan. Notify relevant personnel (such as construction site managers and users) in advance to avoid the removal area and prevent accidents. Prepare tools including wrenches, screwdrivers, cutting machines, etc., and protective equipment such as gloves, goggles, safety helmets, and non-slip shoes. Construction personnel should have mechanical disassembly experience, be familiar with the structure of portable toilets, and receive safety operation training to ensure the removal process complies with regulations.
2. Shut Down Facilities and Empty Them
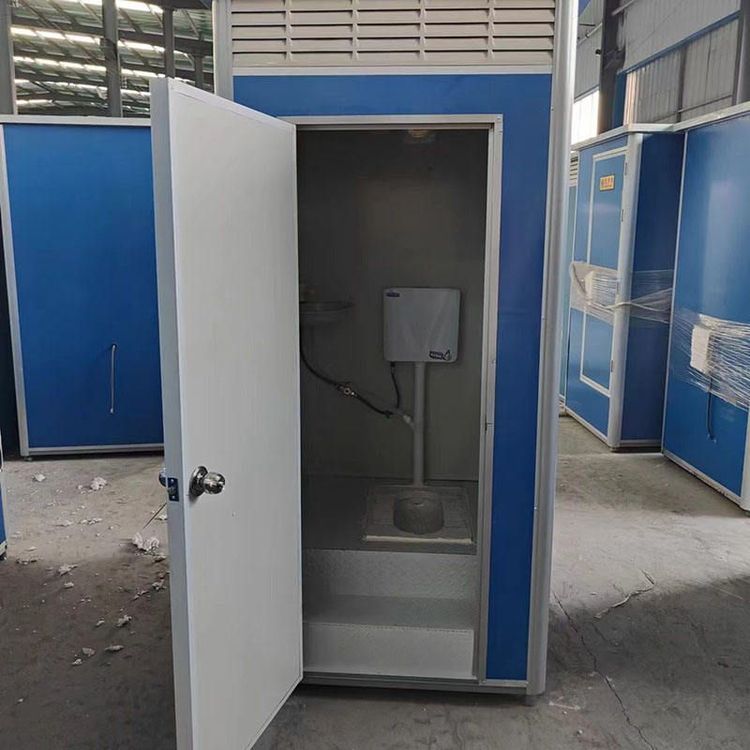
First, cut off the water and power supply to the portable toilet to prevent electric shock or water leakage during disassembly. Open the drainage valve of the water storage tank to empty the internal sewage and avoid environmental pollution from sewage overflow during the removal process. If the toilet is equipped with a septic tank, contact a professional cleaning and transportation unit to handle the residues and ensure compliance with environmental protection requirements.
3. Disassemble Connectors
Use tools to gradually disassemble connecting components such as water pipes, drainage pipes, and power cords. Handle them gently during disassembly to avoid excessive force causing deformation or breakage of the pipes. For screws fixed to walls or floors, use the corresponding type of screwdriver or wrench to unscrew them one by one and store small parts (such as bolts and washers) separately to prevent loss.
4. Disassemble Components and Protect Them
Disassemble components such as the main frame, toilet partitions, and water storage tanks in structural order. Prioritize the removal of movable lightweight components (such as door panels and toilets) and then handle heavy frames. During disassembly, wrap the edges of the components with soft materials (such as foam boards) to prevent scratches and damage. All components should be neatly arranged according to the disassembly order and labeled with location information for easy subsequent assembly or transportation.
5. Move and Secure
Use forklifts or cranes to move the disassembled toilet body to the transportation vehicle. Before moving, check that the components are firmly fixed to prevent them from falling off during transportation. If temporary storage is required, choose a dry and flat ground and secure the components with ropes to prevent tipping.
6. Site Cleanup and Inspection
After removal, thoroughly clean up ground garbage, residual screws, and sewage marks to ensure the cleanliness of the construction site. Conduct a comprehensive inspection of the disassembled equipment to confirm that there are no damaged or missing components. If equipment aging or malfunctions are found, record and report them for repair to facilitate subsequent maintenance or replacement.
The removal process must strictly comply with safety regulations. Avoid single-person operation of heavy components. It is recommended that 2-3 people work together. If the toilet is a leased device, communicate the removal requirements with the supplier in advance to ensure compliance with the contract terms.