Back to blog
Article
Cement Mobile Toilet Installation Guide
Admin October 09, 2026
The installation of cement mobile toilets should be carried out in accordance with standardized procedures. The specific steps are as follows:
I. Pre-installation Preparations
- Site Survey: Confirm that the flatness error of the installation site ground is ≤3mm and the load-bearing capacity is ≥200kg/㎡ (the lessor should provide a load-bearing test report of ≥5kN/㎡). Ensure there are no obstructions around that affect ventilation or drainage.
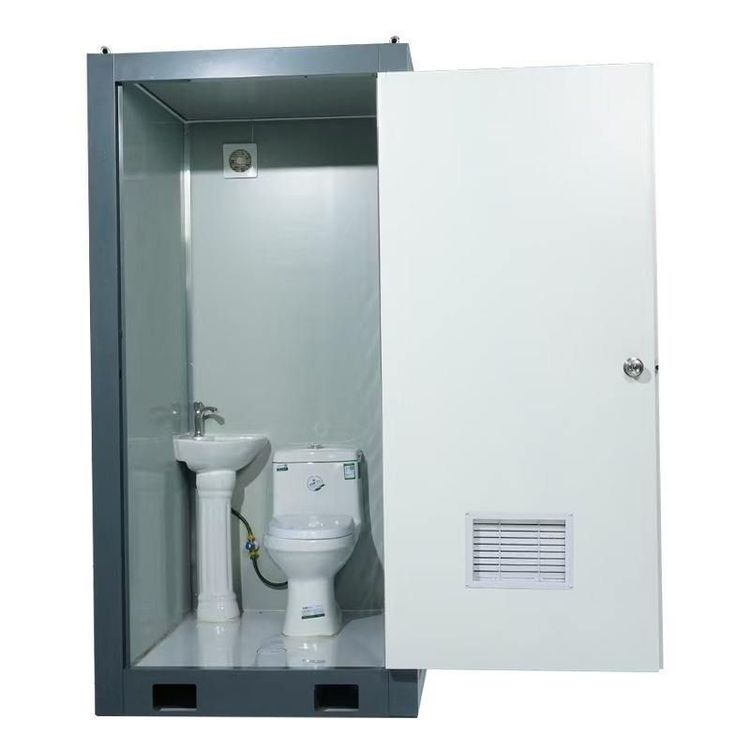
- Material Inventory: Check whether the main frame of the mobile toilet and the accessory kit (including door locks, flush valves, lighting systems, etc.) are complete. Inspect the appearance for any transportation damage and ensure that all components are free of missing parts or cracks.
II. Foundation Construction Specifications
- Foundation Treatment: Pour a 15cm-thick concrete cushion and reserve a drainage slope of ≥2%. For ground hardening, it is recommended to use non-slip floor tiles to avoid the risk of slipping due to water accumulation.
- Fixing Measures:
- Expansion Bolt Fixing Method: Use a level to position the four corners of the toilet bottom and mark the drilling positions. Use an impact drill to drill holes (with a hole diameter matching the expansion bolts), insert the bolts and tighten them until they fit snugly against the ground. Connect the toilet chassis to the bolts, using 2-4 bolts on each side to enhance stability. Reserve a 2-3mm expansion space to prevent deformation due to thermal expansion and contraction.
- Concrete Pouring Fixing (suitable for long-term fixing or heavy-duty toilets): Excavate a foundation pit with a depth of 50cm and a width of 60cm according to the toilet size. Lay a 10cm-thick gravel cushion at the bottom of the pit and compact it. After formwork installation, pour C30 concrete and insert a steel reinforcement framework. After solidification for 3-5 days, connect the toilet chassis to ensure structural stability.
III. Installation Operation Steps
- Main Body Assembly: Lift the box body to the predetermined position, check the levelness (with an error ≤3mm), and fix adjacent units with connecting bolts to ensure structural airtightness.
- Internal Facility Installation: Install the washbasin, flushing system, and lighting fixtures in sequence. Connect to the water source (it is recommended to use a Φ20mm galvanized pipe) and test the drainage smoothness to ensure there is no blockage or leakage.
IV. Acceptance and Delivery Standards
- Function Testing: Check whether the flushing system is normal, whether the door lock switches are flexible, and whether the circuit grounding is reliable. Confirm that there is no water leakage or electric leakage.
- Environmental Cleaning: After installation, clean the site and provide a "Mobile Toilet User Manual" to guide users on daily flushing and regular disinfection (such as wiping the surface with a chlorine-containing disinfectant every week).
Precautions:
- Before fixing, re-check the ground flatness to avoid toilet tilting due to an uneven foundation.
- Before the rainy season, reinforce anti-rust treatment and regularly check the stability of the fixing devices (such as expansion bolts or concrete foundations).
- It is recommended to choose a service provider with professional installation qualifications and plan the ground load-bearing scheme in advance to ensure long-term use safety.