Back to blog
Article
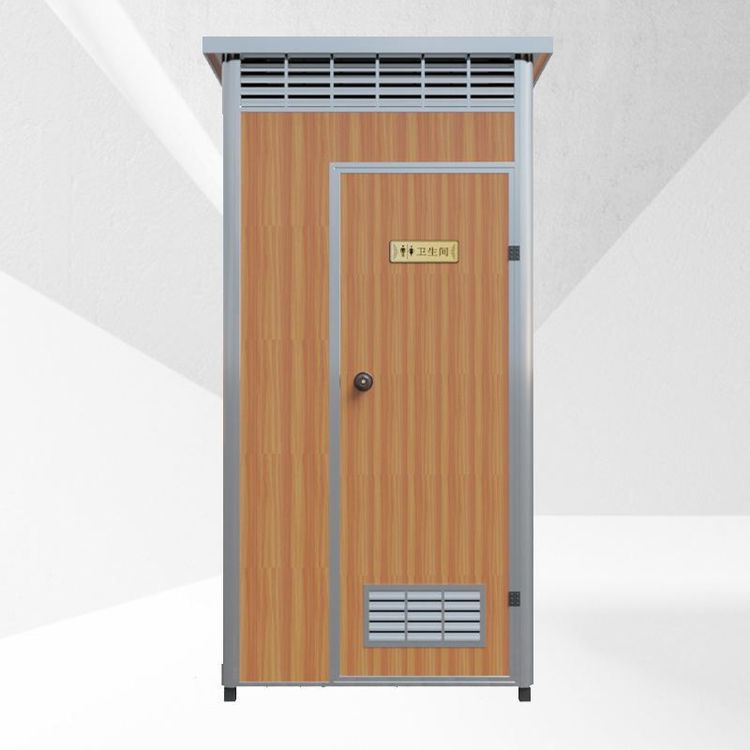
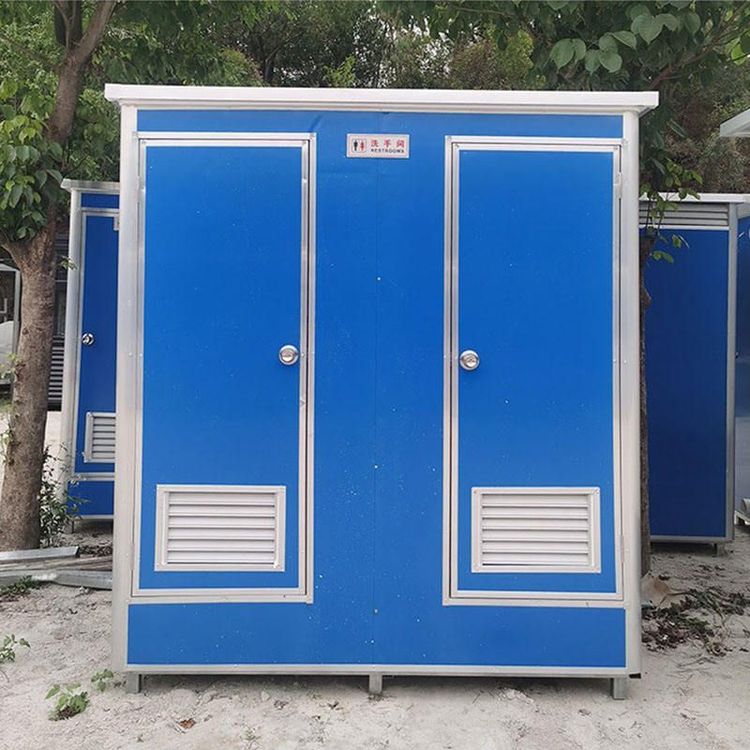
Baishan Mobile Toilet Installation
Admin October 07, 2026
The installation process of Baishan mobile toilets generally follows the core steps of 'positioning - assembly - connection - debugging'. Specific operations need to be adjusted according to site conditions and toilet types to ensure compliance with the requirements of the 'Mobile Toilet Hygiene Standard' (GB/T 21239 - 2023).

I. Positioning and Site Preparation
- Site Selection Principles: Determine the installation location based on usage needs, prioritizing areas with solid ground and smooth drainage. If the site has soft or uneven soil, hardening treatment (such as concrete pouring) or steel plate laying should be carried out in advance to ensure the stability of the toilet chassis.
- Drainage Planning: If the toilet needs to be connected to the municipal sewage system, reserve sewage pipe interfaces in advance; if it has an independent sewage design (such as a fecal storage tank), reserve a cleaning passage and ensure there is no risk of water accumulation around it.
II. Assembly and Structural Installation
- Split-type Mobile Toilets:
- Chassis and Frame Positioning: Use a forklift or manual labor to place the prefabricated steel structure chassis steadily at the predetermined position. Adjust it to a horizontal state with a level to avoid subsequent installation problems caused by tilting.
- Wall and Roof Panel Installation: Insert the sandwich panel wall panels into the chassis slots one by one and fix them with bolts or clips; then install the roof panels, focusing on checking the tightness of the joints to prevent rainwater leakage. This step usually takes 1-2 hours to complete.
- Integrated Mobile Toilets (Box-type Toilets):
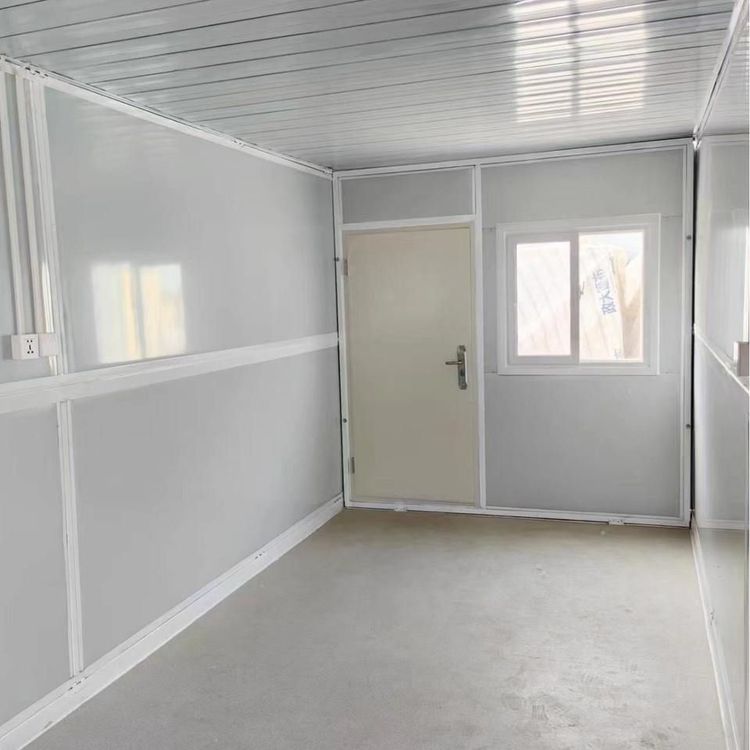
- The factory has completed the interior decoration and equipment integration. On-site, simply use a crane to hoist the entire unit to the designated position and fix the chassis bolts. The installation time can be shortened to 2-4 hours, but ensure that the hoisting process is stable to avoid collision damage to the structure.
III. Equipment Connection and Pipeline Laying
- Water and Electricity Interface Connection:
- Connect the water supply pipelines for the flushing system and handwashing sinks, using modular designs such as quick connectors to shorten operation time;
- Connect the circuits for lighting and ventilation equipment, which should be operated by a professional electrician to ensure good grounding and compliance with safety regulations.
- Sewage Pipeline Connection:
- If connected to the municipal sewer network, use flexible sealed pipes to connect the toilet sewage outlet to the underground pipeline to prevent odor leakage;
- Independent sewage toilets need to install fecal storage tanks or septic tanks and reserve a fecal extraction port.
IV. Function Inspection and Debugging
- Flushing Test: Check whether the flushing force of the toilet is up to standard and ensure there is no blockage or water leakage.
- Circuit Inspection: Test whether the lighting and ventilation equipment are working properly and troubleshoot short circuits or poor contact issues.
- Tightness Inspection: Focus on checking the tightness of wall joints, doors and windows, sewage outlets, etc., and supplement with sealant if necessary.
Precautions: During the installation process, strictly refer to the product manual and national standards to avoid structural damage or hygiene hazards caused by improper operation. If the site conditions are complex (such as slopes or soft soil foundations), it is recommended to contact the manufacturer for a customized installation plan.