Assembly Process of Container Houses
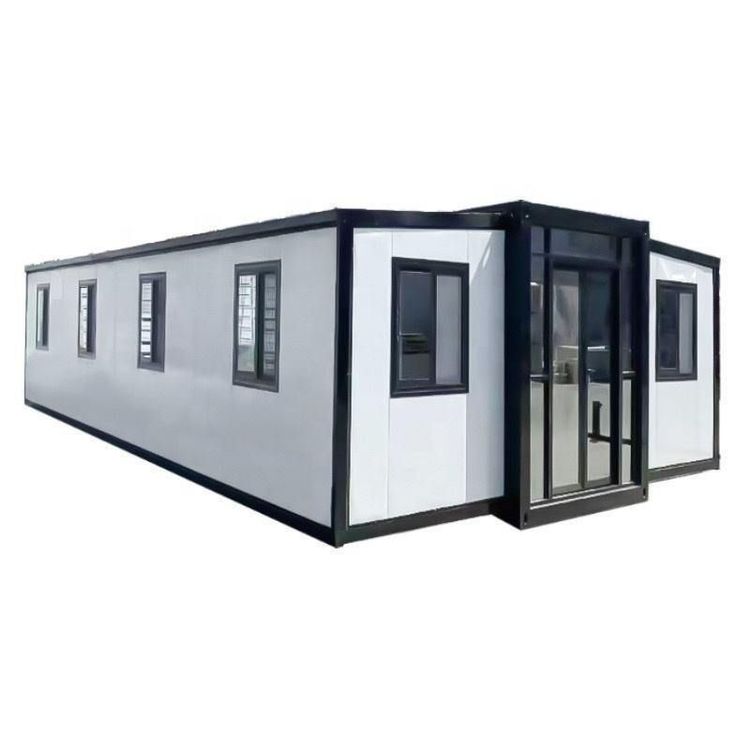
The assembly process of container houses mainly includes four steps: constructing the bottom frame, transporting loose parts, on-site assembly, and installing special structures (optional). The core of this process is modular design, which facilitates rapid assembly and disassembly.

Constructing the Bottom Frame The bottom frame is the foundational structure of a container house and needs to be processed in advance at a factory or on-site according to design drawings. The frame is typically welded or bolted using high-strength steel to ensure overall stability. During installation, the ground must be level, and the horizontal error of the frame should be controlled within the allowable range (generally ≤5mm) to provide reliable support for the subsequent installation of the main structure. The modular design of the bottom frame allows for quick positioning and fixation, serving as a crucial starting point for the assembly process.
Transporting Loose Parts All loose parts (such as wall panels, roof panels, door and window frames, connectors, etc.) need to be transported from the factory to the installation site by truck. During transportation, protective measures should be taken to prevent material deformation or damage. The modular design standardizes the dimensions of loose parts, enabling efficient stacking and fixation, and reducing transportation space requirements. For example, wall panels are often made of lightweight composite materials that ensure strength while facilitating manual handling.
On-Site Assembly The main structure is assembled using screws, with common tools including a 10mm hex drill bit and an electric wrench. Specific operations include:
- Corner Connection: Use M12×40 hex socket screws to fix corner modules. First, remove temporary fasteners, then tighten the bolts with a drill bit to ensure a secure connection.
- Quick Assembly of Loose Parts: Wall and roof modules are quickly connected through pre-embedded bolt holes or slots, reducing on-site welding or cutting operations and improving assembly efficiency.
- Sealing Treatment: After assembly, gaps should be sealed with waterproof materials, such as silicone sealant or rubber strips, to prevent rainwater leakage.
- Installing Special Structures (Optional) If the design includes special structures (such as rural residential container houses with gable roofs), additional top construction is required. The gable roof is typically composed of light steel frames and color-coated steel sheets. First, install the frame, then cover it with sheets and secure them. The top structure should be connected to the main frame with bolts or welding to ensure wind and earthquake resistance. After installation, check if the slope is reasonable (generally ≥5%) to avoid water accumulation.
The entire assembly process relies on modular design, using standardized loose parts and quick connection methods to significantly shorten the construction period while reducing requirements for on-site conditions and technical personnel. This makes it suitable for emergency housing, temporary offices, and other scenarios.