
Quay lại blog
Bài viết
How to Assemble Mobile Toilets in Zhejiang
Quản trị 05 tháng 10, 2026
The assembly of mobile toilets in Zhejiang requires adjustments based on the toilet type (prefabricated, regular, or smart), with specific steps as follows:
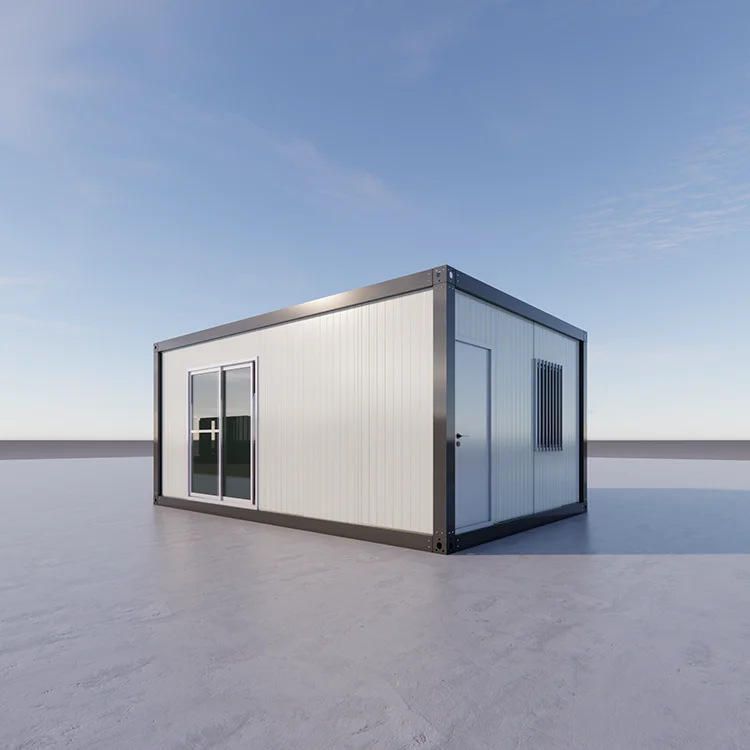
I. Preliminary Planning and Site Preparation
- Demand Assessment and Model Selection
Clarify the usage scenario (e.g., scenic spots, construction sites), estimate the foot traffic, duration of use, and functional requirements (e.g., whether barrier-free facilities are needed). Choose between single or multi-unit connected models and determine internal configurations (e.g., flush, water-saving, or composting types). - Site Survey and Location Selection
The ground must be flat and solid (e.g., cement-hardened ground). Avoid low-lying areas, slopes, or soft soil. Reserve space for septic tanks/waste storage tanks and clearance channels for safe access. Prioritize proximity to water supply and drainage networks; if connection is not possible, plan an independent solution and keep away from drinking water sources. - Foundation Construction
For long-term use or poor ground conditions, pour concrete foundation piers or lay a load-bearing platform to ensure a level surface.
II. Delivery of Materials and Equipment
- Transportation of Main Units
Use flatbed trucks for transportation. Employ forklifts or cranes for loading and unloading to avoid structural or coating damage from collisions. - Inventory of Accessories
Check connecting bolts, sealing strips, drainage hoses, ventilation ducts, electrical wiring (e.g., lighting/ventilation), and installation toolkits. Verify the presence of septic tanks, clean water tanks, pipes, and valves. - Equipment and Personnel Preparation
Ensure cranes, spirit levels, wrenches, and other tools are available. Installation personnel must possess safe operating skills.
III. Main Unit Installation and Fixing
- Unit Positioning
Use lifting equipment to place the unit steadily onto the foundation. Measure with a spirit level and adjust with shims to achieve complete levelness. - Unit Connection (Multi-unit Connected Models)
Connect multiple units according to design specifications to ensure structural stability. - Sealing and Waste Disposal
- Regular Type: Install a dedicated sealing ring at the waste outlet or seal the surrounding area of the waste pipe with glass glue/cement mortar (1:3 ratio).
- Smart Type: Precisely align the waste outlet centerline, discharge water for 3-5 minutes to remove sediment, connect the waste outlet with a flange ring (wax or rubber ring), and secure with sealing glue.
IV. Water, Electricity, and Accessory Installation
- Water and Electricity Reservation
- Smart Type: Requires a 220V power supply. Install sockets flush with the wall 30-40 cm above the toilet on one side. Pre-embed the water inlet angle valve before tiling and connect with a 6-point hose.
- Ventilation and Lighting
Install ventilation ducts and electrical wiring, and test for normal operation. - Hardware Accessory Installation
Secure door locks, handrails, etc., to ensure safe use.
V. Inspection and Commissioning
- Seal Check
Confirm there are no leaks at the waste outlet, water tank, and pipe connections. - Function Testing
Ensure the flushing, waste disposal, ventilation, lighting, and other systems operate normally. - Site Cleanup
Remove installation debris and maintain site cleanliness.
Precautions:
- For smart types, confirm the hole spacing (305mm/400mm) before installation. Install the toilet after curing the floor tiles for 48 hours.
- For regular connected structures, use an electric drill, 4.2 mm drill bit, and rivet gun to secure the panel slots.
- For specific operations, consult the manufacturer for guidance.



