
Quay lại blog
Bài viết
Red River Single Portable Toilet Installation
Quản trị 08 tháng 10, 2026
The installation of a single portable toilet in Red River should follow these key steps to ensure safety, environmental protection, and functional compliance:
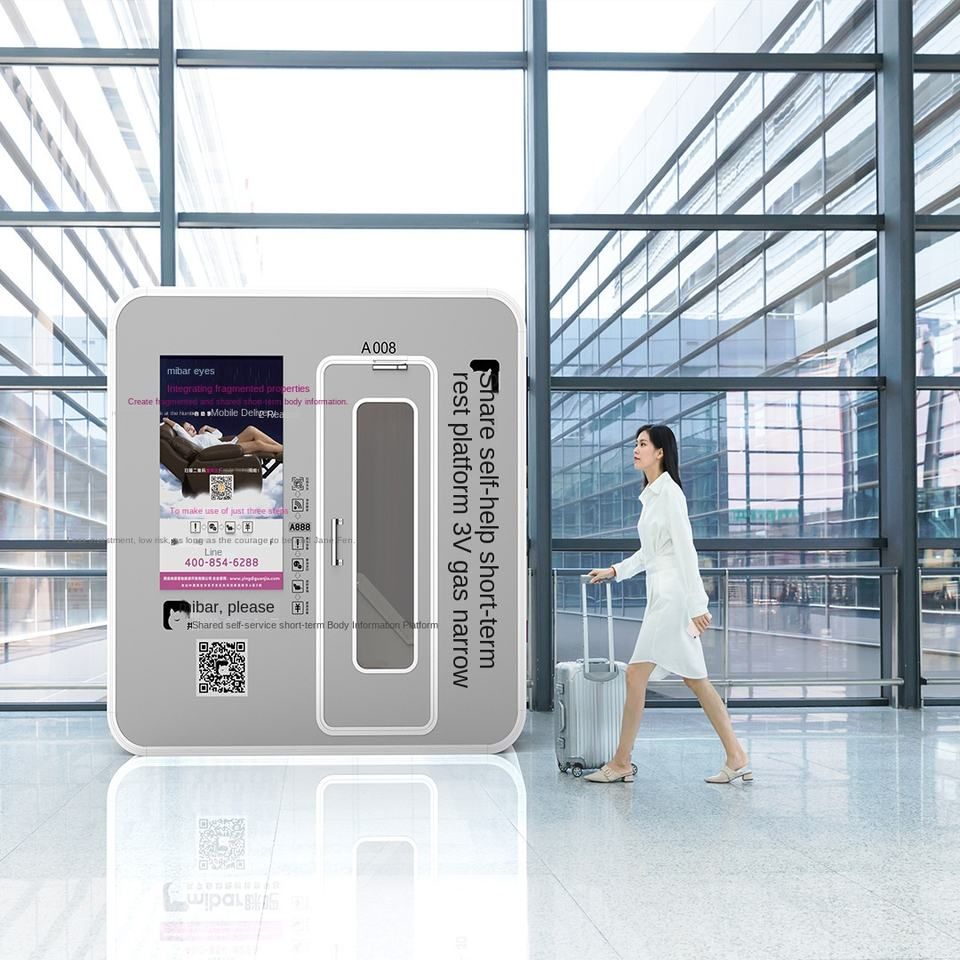
1. Site Assessment and Location Selection
- Ground Condition Inspection: Use a level to measure the flatness of the predetermined area, with an error margin controlled within ±5mm. Conduct geological surveys to confirm soil bearing capacity (recommended ≥200kg/m²) to prevent foundation settlement.
- Underground Pipeline Investigation: Contact municipal authorities to obtain underground pipeline distribution maps, avoiding water supply, gas, and power lines to prevent construction damage.
- Location Selection Principles: Prioritize downwind positions to minimize odor diffusion. Position near water supply points or plan water truck routes to ensure convenient water supply. Maintain a minimum distance of 10 meters from activity areas to ensure privacy and hygiene.
2. Confirm Sewage Disposal Method
- Packing/Microbial Degradation Type: No need to connect to underground sewage pipes; directly place on hardened ground, suitable for areas without municipal sewage networks (e.g., wilderness, temporary construction sites).
- Water-Flush Type: Pre-lay sewage pipes with a slope of ≥2% (i.e., a drop of 2cm per meter) to ensure self-flowing sewage discharge. Connect to septic tanks or municipal sewage networks at the end, complying with the standards of the "Urban Drainage and Sewage Treatment Regulations."
3. Main Structure Positioning and Fixing
- Base Installation: Place the toilet unit on a prefabricated concrete base or adjustable legs, and rigidly connect using M12 bolts to ensure structural stability.
- Level Adjustment: Use a level to check the four corners of the toilet, adjusting with support feet or wedges (thickness ≤10mm) to level, preventing internal water accumulation or door frame deformation.
- Soft Ground Treatment: If the ground is grassy or muddy, lay 10mm thick steel plates or moisture-proof pads to distribute the load to over 300kg/m².
4. Functional System Connection and Debugging
- Water Supply System: Connect drinking-grade PVC hoses (DN25), install pressure-reducing valves (pressure ≤0.3MPa) and anti-freezing valves, and test water pressure stability after purging air from the pipes.
- Sewage System: For water-flush toilets, seal-connect sewage pipes using rubber rings + clamps. For microbial degradation types, add bacteria and activate aeration devices.
- Power and Ventilation: Connect to waterproof sockets (IP44 rating), debug exhaust fans (air volume ≥100m³/h) and lighting systems to ensure 24-hour ventilation.
5. Detail Verification and Adaptive Adjustments
- Function Testing: Repeatedly open and close door locks, flush buttons, and lighting switches to confirm no jamming or leaks. Test handrail load-bearing capacity (≥150kg) and shelf stability.
- Safety Regulations: Check external ramp slopes (≤1:12), non-slip strip spacing (≤300mm), and the visibility of warning signs (bilingual in Chinese and English).
- Cleaning and Disinfection: Use chlorine-based disinfectants (concentration 500mg/L) to wipe interior and exterior walls, focusing on high-frequency contact areas such as squat toilets and door handles.
Precautions: The installation team must hold electrician and plumbing certificates and high-altitude work permits, wearing insulating gloves and safety helmets during operations. For high-end versions with barrier-free facilities (e.g., wheelchair ramps), adjust slopes and handrail heights according to the "Barrier-Free Design Code" (GB50763).



