
Mobile Toilet Waterproof Construction
Mobile toilet waterproof construction requires special attention to base layer treatment, detailed additional layer construction, waterproof layer construction, closed water testing, and relevant treatment if pipeline modifications are involved. Details are as follows:
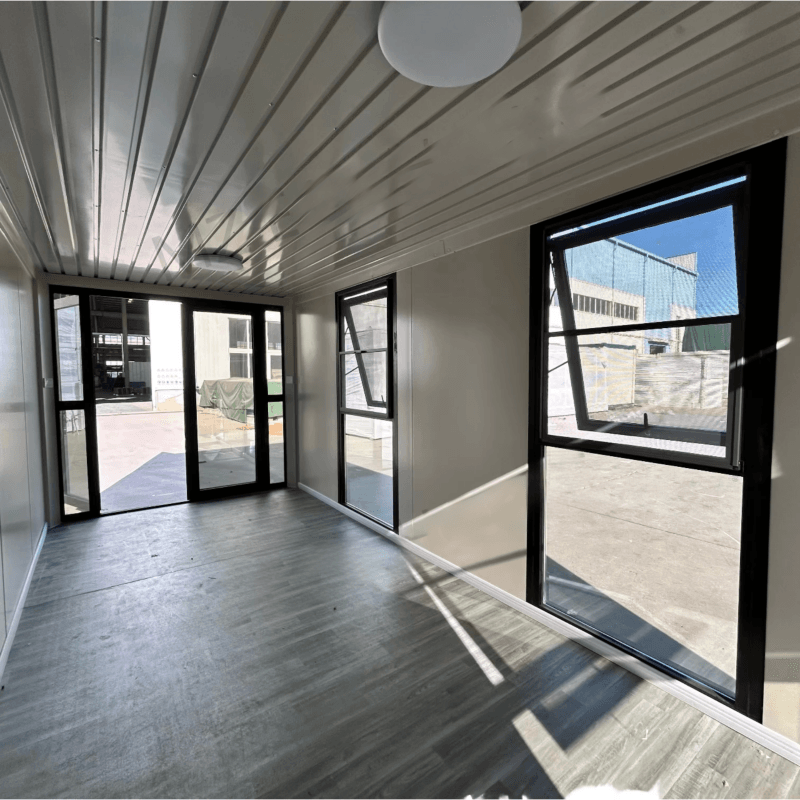
Base Layer Treatment: The base layer is the foundation of waterproof construction and must be sturdy, flat, and clean. Thoroughly remove dust, grease, wax, and other debris from the base layer, as these impurities can affect the bonding effect between the waterproof material and the base layer. If there are voids, cracks, or unevenness on the base surface, use cement mortar to repair and level it, ensuring a smooth and flat base surface for subsequent waterproof construction.
Detailed Additional Layer Construction: Areas such as pipe roots, floor drains, and internal and external corners are weak points prone to water leakage and require special treatment. Use a paintbrush to dip the mixed coating and apply it evenly to these areas. Especially at the junctions between the floor and wall corners and on waterproof tapes, apply the waterproof material twice to enhance the waterproofing capability of these areas and prevent water from seeping through these gaps.
Waterproof Layer Construction: When applying the coating, use a plastic rubber scraper or paintbrush to apply it evenly on the base surface, ensuring consistent thickness. The first coat should be applied thinly, and the second coat should be applied perpendicular to the first coat to improve the overall integrity and sealing of the waterproof layer. For special areas such as corners, joints, and expansion joints, carefully apply the coating to ensure uniform thickness and tight sealing, avoiding phenomena such as exposed base, blistering, peeling, cracking, edge curling, and poor sealing at the edges. For sunken-type toilets, apply two layers of waterproofing on the sunken floor—one rigid and one flexible—and conduct a 48-hour closed water test afterward. Drill a 20mm diameter hole at the lowest point of the toilet's sunken floor where the riser pipe connects, and insert a 20mm diameter pipe to a depth of 4mm.
Closed Water Testing: After the waterproof layer has dried (approximately 48-72 hours after construction), build a small brick wall at the threshold and conduct a 24-hour closed water test to observe for any wet spots on the ceiling below. If none are found, the waterproof construction is deemed qualified. After equipment installation, conduct a secondary water storage test to further ensure the waterproofing effect.
If pipeline modifications are involved in the mobile toilet, after positioning the riser pipe, seal the gaps around the floor slab with waterproof mortar. If the gap is greater than 20mm, use fine aggregate concrete for sealing. The floor leveling layer in the toilet should slope 2% towards the floor drain. Seal the area around the floor drain opening (10mm×15mm) with sealant, and it is advisable to add a cast-iron waterproof tray on top of the original floor drain to improve the toilet's waterproofing quality.



