
How to Replace the Lock on a Mobile Toilet
Replacing the lock on a mobile toilet door can be done by directly replacing the lock cylinder, or by following a step-by-step process for a complete replacement, as detailed below:
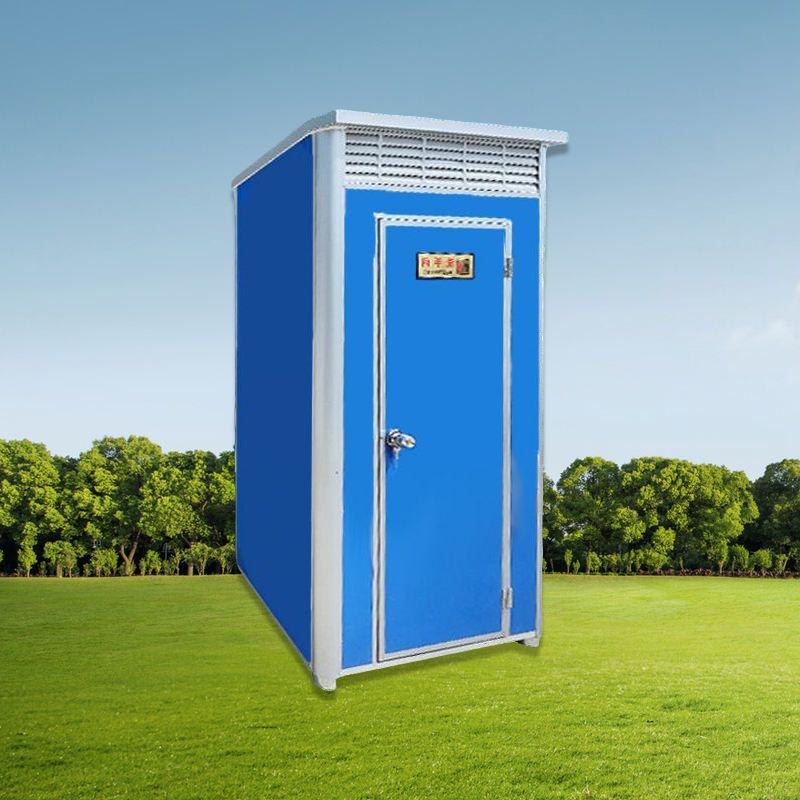
There are two methods for replacing the lock on a mobile toilet door. If only the lock cylinder is being replaced, the cost is relatively low, generally around ten yuan, or thirty yuan for a higher-quality option. If a complete lock replacement is needed, refer to the following steps:
I. Prepare Tools Gather basic tools such as a flat-head screwdriver, a Phillips screwdriver, and pliers. If concerned about scratching the door panel, have a plastic pry bar on hand; also prepare anti-slip gloves and a towel for safety and convenience during operation. If installing a smart lock, additional tools like a tape measure and marking pen will be needed for precise measurements and markings.
II. Select a Lock
- Measure Door Panel Thickness: Use calipers to measure the thickness of the door panel. Common thicknesses for factory toilet doors range from 35 to 50mm, and the lock must match this thickness for proper installation and use.
- Determine Door Opening Direction: Stand at the closed door position. If the strike plate is on the right, it is a right-opening door; conversely, it is a left-opening door. Choose a lock that corresponds to the door's opening direction.
- Choose Lock Body Type: Considering the humid environment of mobile toilets, it is recommended to select locks made of stainless steel or aluminum alloy. These materials are highly corrosion-resistant, maintain good performance in humid conditions, and offer quiet operation, enhancing the user experience.
III. Remove the Old Door Lock
- Ball Lock: Locate the small hole on the inside of the handle, insert a hard, thin object (such as a nail) to hold it in place, and pull out the spherical handle outward; rotate the disc attached to the door counterclockwise to remove it, revealing two screws, which can be unscrewed with a Phillips screwdriver; pull out the ball core from the other side of the door; use a screwdriver to remove the two screws on the lock core at the edge of the door, allowing the lock core to be pulled out.
- Lever Handle Lock: Unscrew the screws securing the lock cylinder on the panel, and remove the lock cylinder; unscrew the remaining two screws on the panel, and remove both side panels; unscrew the screws on the lock body at the side of the door, allowing the entire lock body to be removed.
IV. Install the New Door Lock
- Mark Hole Positions: Attach the distance-setting template that comes with the lock to an appropriate position on the door edge (one for the lock cylinder and one for the latch), and use a marking pen to mark the center points of the holes, ensuring accurate drilling positions.
- Drill Lock Cylinder Holes: Use an electric drill with a hole saw to drill holes according to the sizes specified on the template. Stop drilling when the drill tip is about to penetrate the door panel, and complete the remaining drilling from the other side to avoid burrs or damage to the door panel.
- Secure the Door Lock: Use a Phillips screwdriver to remove the screws from the nut posts, and thread the side with the nut posts through the pre-drilled holes in the door (pay attention to the direction of the bevel, with the thicker side on the bevel); align the other side of the lock with the threaded posts that have been threaded through, and tighten the screws to complete the installation.



