
Mobile Restroom Toilet Installation
The installation of mobile restroom toilets requires corresponding methods based on different types. Here are the specific installation steps and key points:
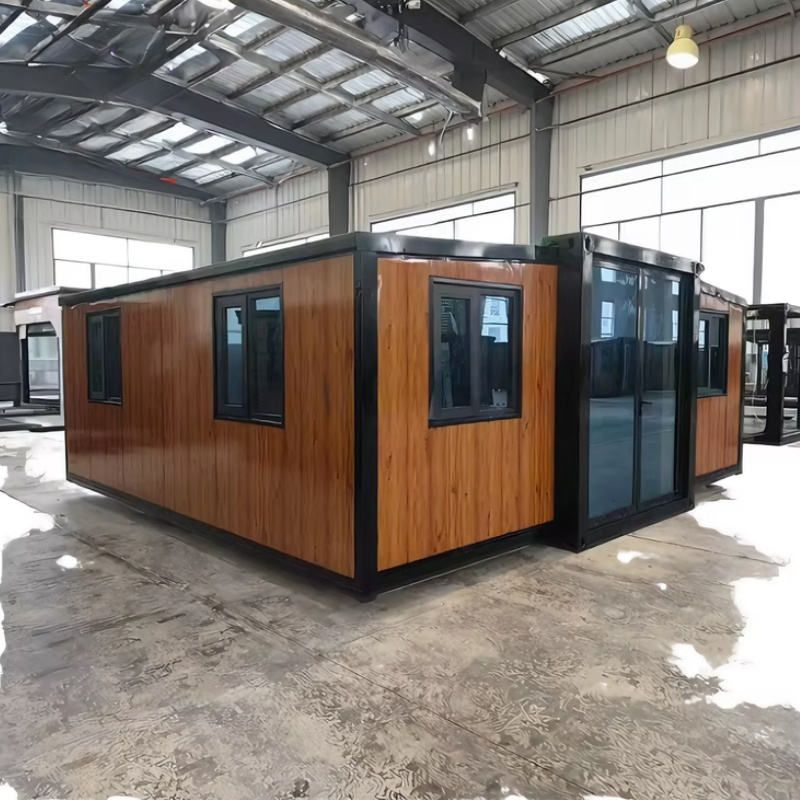
I. Installation of Factory-Finished Mobile Restrooms If it is a factory-prefabricated finished mobile restroom, its internal water supply and drainage systems have been pre-laid and external interfaces have been reserved. During installation, it is necessary to focus on checking the interface compatibility:
- Interface Connection: Confirm that the positions of the pre-reserved water supply and drainage pipes at home match the specifications of the mobile restroom interfaces (such as pipe diameter and thread type). Use matching sealing rings or Teflon tape to wrap around the interfaces to prevent leakage.
- Fixing and Debugging: After placing the mobile restroom in the predetermined position, fix the bottom with expansion bolts or anchor screws to prevent shaking. Connect the power supply (if it has electric functions) and test whether the flushing, lighting, and other systems are working properly.
- Ventilation Treatment: If the restroom has no natural ventilation openings, install an exhaust fan or reserve ventilation pipes to ensure air circulation and reduce the accumulation of odors.
II. Installation of Mobile Toilets Mobile toilets are divided into basic models and smart models. The installation steps are as follows:
- Unpacking Inspection:
- After unpacking, check the accessory list (such as silicone anti-slip pads, buckles, upper and lower toilet bodies, instruction manuals, etc.). If any accessories are missing or damaged, contact the merchant immediately for replacement.
- Basic Model Installation:
- Anti-slip Treatment: Embed the silicone anti-slip pads into the four corners of the toilet bottom to ensure a firm contact with the ground and prevent sliding.
- Toilet Body Assembly: Align the slot positions of the upper and lower toilet bodies and press them vertically downwards until a "click" sound is heard from the buckles, confirming a tight and seamless connection.
- Drainage Pipe Connection: If an external drainage pipe is required, select a hose that matches the diameter of the toilet's drainage outlet (usually 50mm or 75mm) and fix both ends with hose clamps to prevent detachment.
- Additional Steps for Smart Models:
- Install batteries or connect the power supply (according to the model) and test whether functions such as automatic flushing and heated toilet seats are working properly.
- When connecting the water inlet hose, turn off the main water valve, tighten the interface with a wrench, and then check for leaks after turning it back on.
III. Precautions
- Ground Requirements: The installation area should be flat and dry. If it is a tiled floor, clean the surface oil stains in advance; if it is a cement floor, ensure there are no cracks or protrusions.
- Load-Bearing Limit: The total weight of the mobile restroom or toilet may exceed 100kg. It is necessary to confirm the load-bearing capacity of the floor slab (especially in high-rise residential buildings) to avoid damaging the ground.
- Regular Maintenance: Check the drainage pipes for blockages every month and clean the scale inside the toilet every quarter to extend its service life.
If problems such as buckles that cannot be fastened or interface leaks occur during the installation process, pause the operation and contact customer service for video tutorials or on-site services to avoid damage caused by forced installation.



