
Mobile Dry Toilet Installation Guide
The installation of a mobile dry toilet should be carried out step by step according to the specific scenario and product type. The core process includes tool preparation, basic installation, on-site planning (for large-scale event scenarios), and fixation and acceptance. Details are as follows:
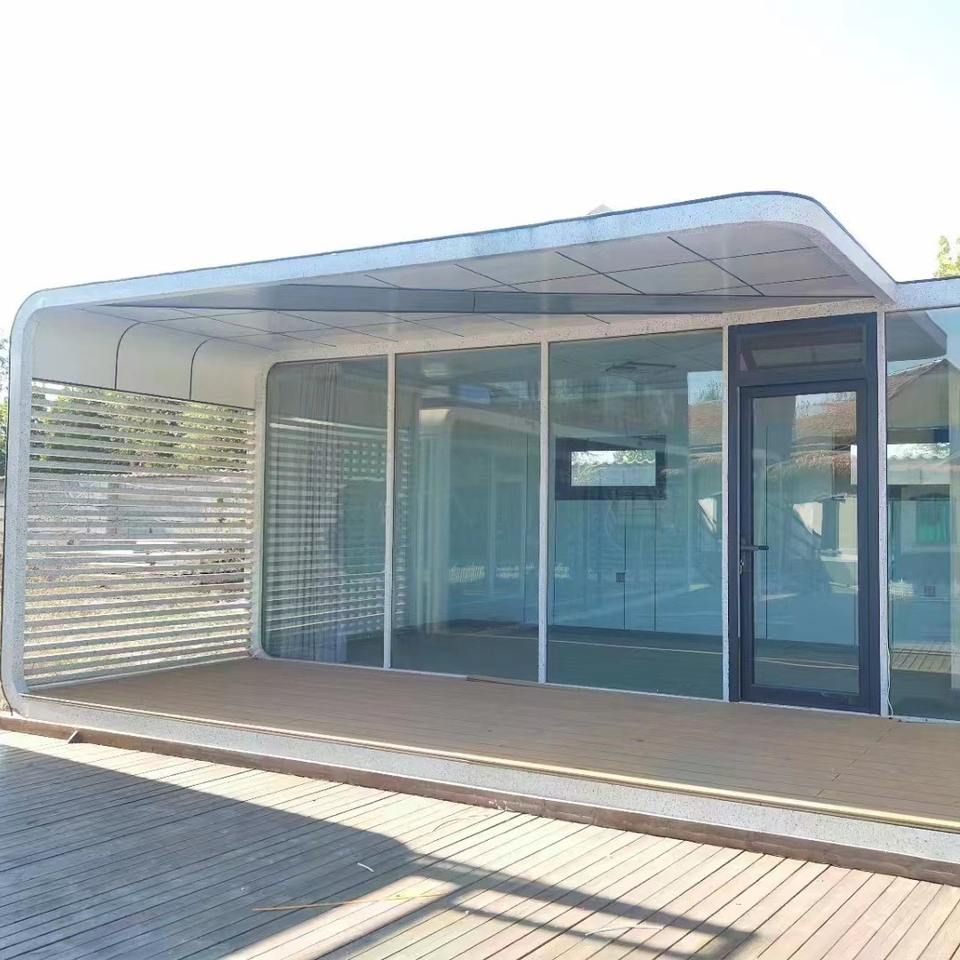
Pre-installation Preparation After receiving the mobile dry toilet, prepare the following tools in advance: an electric drill (with a 4.2-millimeter drill bit), a rivet gun, expansion screws or counterweights (for fixation), a level (to ensure flat installation), and anti-slip mats (for ground pre-treatment). If it is a factory-customized finished product, read the instruction manual first to confirm whether there are pre-installed components (such as some frames, ventilation systems, etc.) to avoid redundant operations.
Basic Installation Steps
- Frame Assembly: Install the inner corner pieces (such as support angle brackets) in sequence according to the design drawings to ensure a firm connection. If it is a modular design, first assemble the bottom frame, and then install the side panels and top panel.
- Panel Fixation: Insert the panels into the slots. After aligning the upper and lower edges, drill holes at the joints (with a spacing of about 20-30 centimeters), insert rivets, and fix them with a rivet gun to ensure that the panels are not loose.
- Functional Component Installation: Install the toilet, fecal storage tank, ventilation opening, etc. according to requirements. Pay attention to sealing treatment (for example, add rubber gaskets at the connection between the toilet and the panel to prevent odor leakage).
On-site Survey and Planning (for Large-scale Event Scenarios)
- Location Selection: Avoid areas with hidden projects such as underground drainage pipes and cables. Reserve a safety passage at least 1 meter wide to ensure that personnel can evacuate quickly in case of an emergency.
- Ground Treatment: Use a level to detect the ground flatness. If the ground is uneven, lay cement or anti-slip mats (with a thickness of ≥5 millimeters) to prevent the toilet from tilting or sliding.
Fixation and Acceptance
- Main Body Fixation: Use expansion screws to fix the toilet frame to the ground (suitable for hard ground), or place counterweights (such as concrete blocks, with a weight of ≥50 kilograms per block) to increase stability (suitable for soft ground).
- Functional Inspection:
- Appearance: Check whether the joints between the panels are flat, the rivets are not exposed, and the paint has no scratches.
- Function: Test the ventilation system (such as whether the exhaust fan operates normally) and the toilet seal (such as whether the fecal storage tank leaks).
- Emergency Supplies: Confirm whether disinfectants, garbage bags, and other supplies are equipped (according to the requirements of the usage scenario).
Precautions: For temporary use (such as at exhibitions or construction sites), regularly check whether the fixing parts are loose after installation. For long-term use scenarios, it is recommended to conduct a comprehensive maintenance every 3 months, including cleaning the fecal storage tank and replacing the seals.



