How to Install a Toilet in a Mobile Container House
The installation of a toilet in a mobile container house should follow the steps below to ensure functionality and safety:
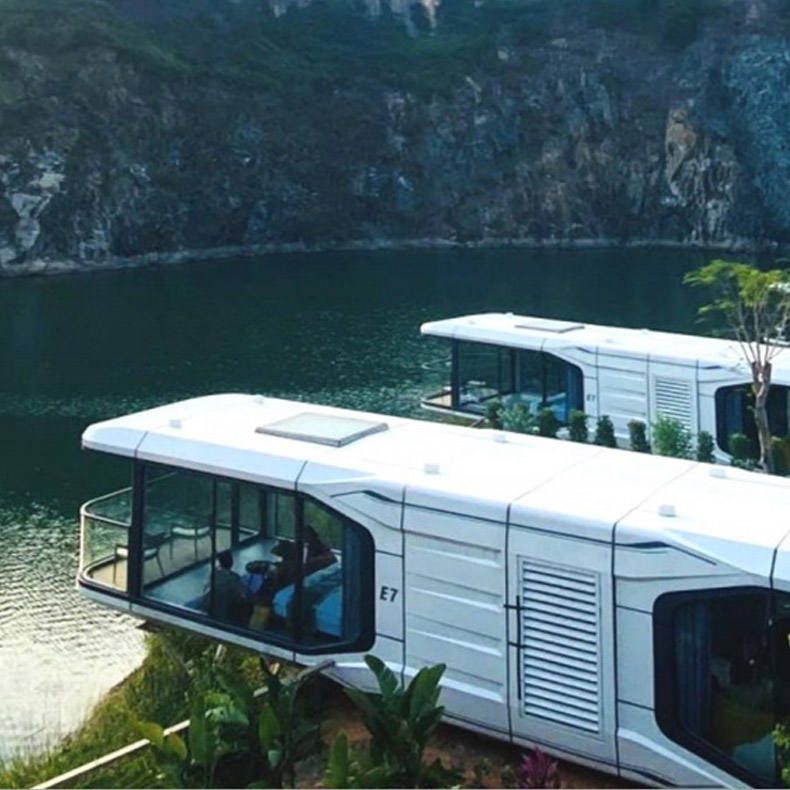
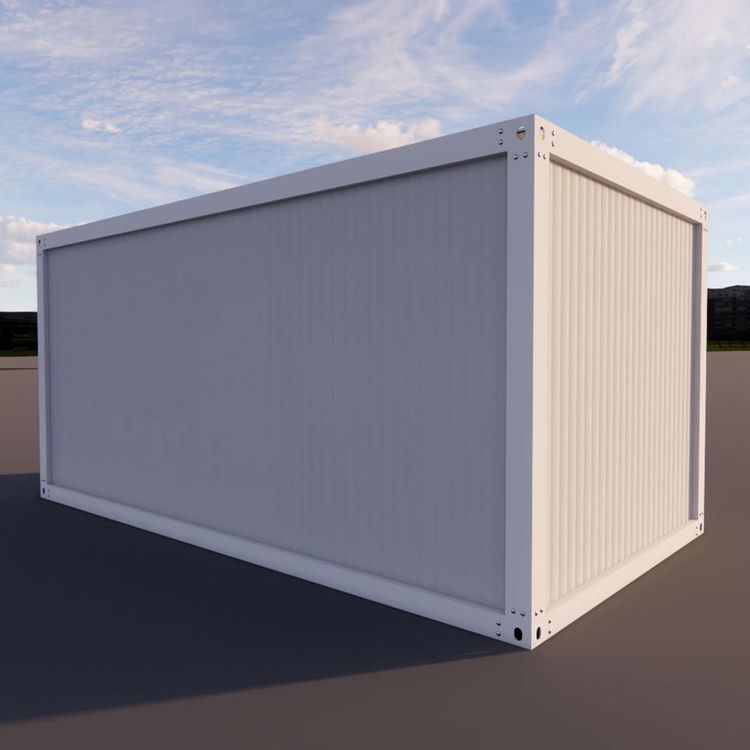
1. Select an Appropriate Container House Determine the size of the container house based on the toilet usage requirements. Typically, at least 4-6 square meters of space should be reserved to ensure reasonable layout of functional areas such as the toilet, sink, and storage. At the same time, check the structural integrity of the container house to avoid rust or deformation issues and provide a stable foundation for subsequent renovations.
2. Foundation Treatment and Fixation
- Ground Leveling: Clear debris from the ground and use a level to ensure that the ground slope does not exceed 2% to prevent water accumulation.
- Foundation Reinforcement: Lay a 10-15 cm thick concrete floor, embed anchor bolts or weld a foundation frame to enhance the wind resistance of the container house.
- Moisture-Proof Treatment: Lay a moisture-proof membrane on the contact surface between the ground and the container to prevent moisture penetration and damage to internal facilities.
3. Installation of Core Facilities
- Toilet Installation:
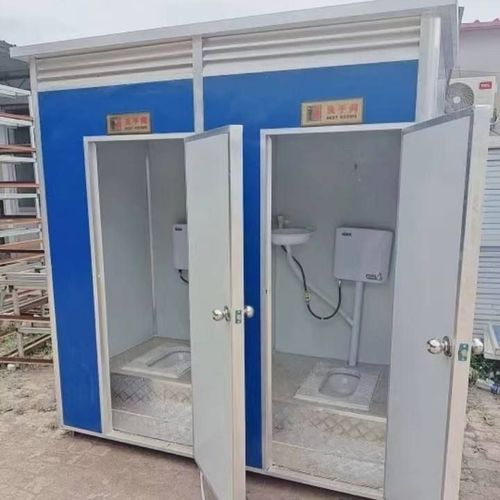
- For a squat toilet, reserve a 30 cm deep sewage pit. For a sit-down toilet, connect an S-shaped trap to prevent odors.
- The slope of the sewage pipe should be ≥2% to ensure natural drainage of sewage and prevent blockages.
- Water Supply and Drainage System:
- The water inlet pipe should be connected using PPR pipe hot-melt connection, and an angle valve should be installed to control the water flow. In winter, it should be wrapped with insulation cotton to prevent freezing.
- The sewage pipe should be made of PVC pipe with a diameter ≥110 mm, and 45° elbows should be used at bends to reduce resistance.
- Ventilation System:
- Install a 12-inch exhaust fan on the top with an air volume ≥300m³/h, and set air inlets on the side walls to form convection.
- Extend the exhaust pipe outdoors to prevent odor backflow, and install a rain cover at the pipe opening.
4. Interior Decoration and Functional Optimization
- Walls and Floors:
- Use waterproof aluminum扣板 (aluminum panel) or PVC panels for the walls, and apply glass glue at the joints for sealing.
- Lay anti-slip floor tiles on the floor, with a slope of 1-2% towards the floor drain.
- Storage Design:
- The depth of the wall cabinets should be ≤30 cm, and hinge doors should be used to reduce space occupation.
- Install a mop pool in the corner, equipped with a high-pressure water gun for easy cleaning.
- Privacy Protection:
- Set up a 1.2-meter-high partition in the urinal area, with materials such as frosted glass or acrylic panels.
- Use a magnetic silent lock for the door to avoid noise interference when opening and closing.
5. Overall Hoisting and Commissioning
- Use a crane with a capacity of over 25 tons for hoisting, and lift the four corners simultaneously to prevent deformation.
- After installation, check the sealing of doors and windows and conduct a 24-hour water tightness test to confirm no leakage.
- Test all electrical equipment for power-on to ensure the normal operation of lighting, ventilation, and water supply systems.
Precautions: The renovation should comply with local building codes. The sewage system should be connected to the municipal sewer network or a septic tank. Regular cleaning and maintenance can extend the service life to more than 15 years.