
How to Install Mobile Toilets
The installation methods for mobile toilets vary depending on the type and manufacturer's design, mainly divided into two types: simple portable toilets and custom-made mobile toilets from manufacturers. Here are the specific installation steps:
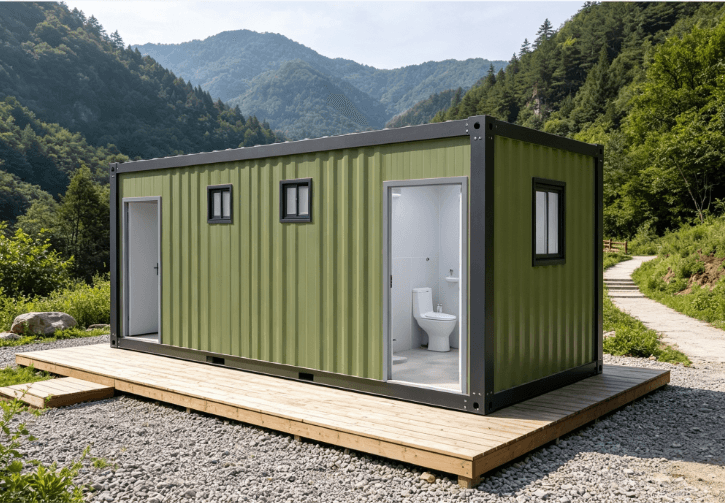
I. Installation of Simple Portable Toilets (Six-Step Method)
Unpacking and Inspection
Upon receiving the goods, open the packaging immediately and check the accessory list to ensure that the frame, sanitary ware, water tank, connectors, etc., are all present. If any items are missing or damaged, contact the manufacturer promptly for replacement or reshipment.Obtain Installation Guidance
Refer to the product manual or contact the manufacturer's customer service for detailed installation instructions. Some simple toilets may come with video tutorials to assist in understanding the assembly process.Assemble the Frame
Follow the instructions to piece together the metal or plastic frame. Typically, screws or clips are used to secure the structure, ensuring it is stable.Fix the Sanitary Ware
Install the toilet seat, bowl, and other sanitary ware onto the frame, aligning the connection points carefully to prevent future leaks or looseness.Connect the Water Tank
Link the water tank to the bowl using a water pipe, ensuring the sealing ring is properly installed to prevent leaks. Some water tanks may require pre-filling with water to test the pressure.Overall Debugging
After assembly, check that all components are secure. Test the flushing function with water to confirm there are no abnormalities before use.
II. Installation of Custom-Made Mobile Toilets from Manufacturers
Prepare Tools
Upon receiving the goods, prepare tools such as an electric drill, 4.2mm drill bit, and rivet gun for on-site fixation and assembly.Install Inner Corners and Panels
- Install the inner corners at the designated positions, ensuring accurate angles.
- Insert the wall panels into the slots, aligning the edges carefully to avoid large gaps.
Secure the Structure
Drill holes at the joints, insert rivets, and secure them with a rivet gun to ensure tight connections between the walls, floor, and other components. Some products may use screws or bolts for fixation; follow the instructions accordingly.Connect Pipes and Components
If the toilet includes a sewage pipe or water tank, connect them on-site and test for tightness. Some custom models may have undergone major assembly at the factory, requiring only simple fixation on-site.
III. Precautions
- Site Conditions: Ensure the ground is level before installation to prevent structural instability or poor drainage due to tilting.
- Handling Complex Models: If the toilet includes an electrical system or complex piping, it is advisable to contact the manufacturer for video guidance or arrange for professional installation to ensure safety and functionality.
- Component Inspection: During installation, repeatedly check that all components are secure to prevent malfunctions caused by looseness.



