
How to Convert a House into a Container
Converting a house into a container or using a container for renovation requires adherence to scientific planning and professional construction principles. The specific steps are as follows:
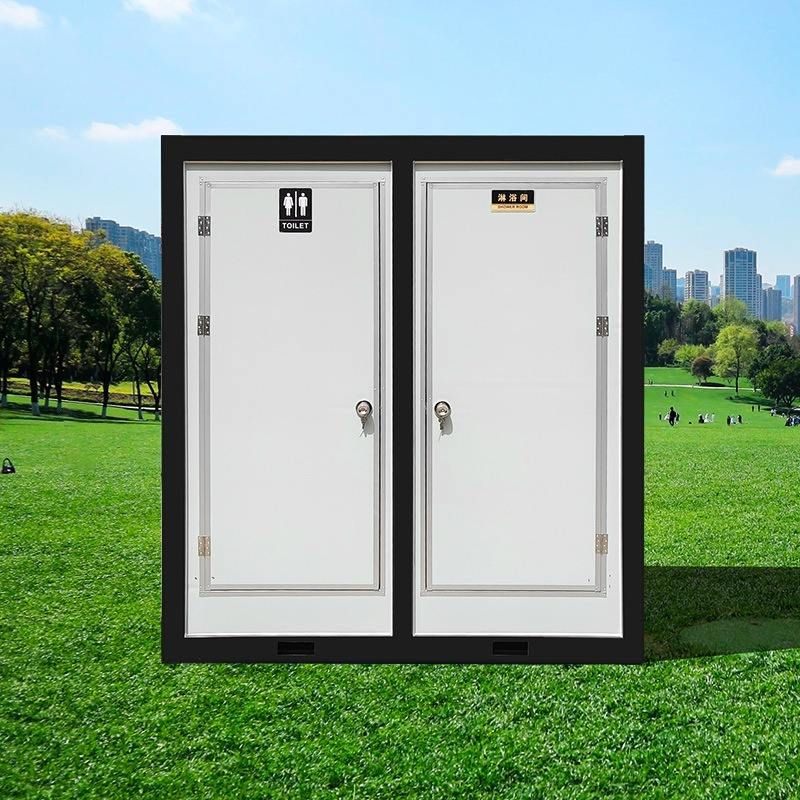
Planning and Design
Clarify the purpose of the renovation (such as residential, office, or commercial use), design the internal layout according to functional requirements, and accurately measure the container dimensions. It is essential to evaluate structural strength and reinforce key load-bearing components (such as corner posts and crossbeams) to prevent structural instability caused by cutting or modification. For example, if additional door or window openings are needed, avoid the main load-bearing points of the container and reinforce the cut areas by welding steel plates or adding steel beams.Structural Treatment and Reinforcement
Before cutting door or window openings, confirm the stress distribution of the container. After cutting, apply anti-rust treatment to the cut edges (such as spraying zinc-based coatings) and weld reinforcing steel plates. When joining multiple containers, weld the connections using angle steel or channel steel to ensure overall rigidity. For two-story or multi-story structures, independently design load-bearing supports (such as H-shaped steel frames) and secure them with bolts or welding. Additionally, perform comprehensive rust removal on the container, apply anti-rust paint and weather-resistant topcoats to extend its service life.Thermal Insulation and Heat Preservation Treatment
The metal walls of containers have high thermal conductivity, so fill the space between the inner and outer walls with thermal insulation materials such as rock wool or glass wool (recommended thickness: 50-100mm). Install a waterproof and thermal insulation layer on the roof (such as XPS extruded polystyrene boards) and lay a moisture-proof membrane and insulation board on the floor. Install thermal-break aluminum profiles for doors and windows and apply sealing strips to reduce thermal bridging effects. For use in cold regions, consider adding electric underfloor heating or air-source heat pump systems.Water and Electricity Installation
Pre-embed water supply and drainage pipes (such as PPR pipes) according to the design drawings. For residential use, equip with water tanks, pumps, and sewage treatment equipment; for commercial use, reserve drainage ditches or collection wells. The electrical system should use flame-retardant cables, with separate circuits for lighting, sockets, and air conditioning loads, and install leakage protection devices. All wiring should be protected with metal conduits to prevent mechanical damage.Wall and Floor Treatment
For walls, consider using light steel keel partitions covered with fire-resistant gypsum board or calcium silicate board, filled with sound-absorbing cotton. For floors, it is recommended to lay a moisture-proof pad and then install composite wood flooring or non-slip tiles. Ensure the base layer is level during construction, and seal joints with sealant to prevent moisture penetration.Door, Window, and Exterior Treatment
Select double-glazed insulated glass doors and windows, secure them with expansion bolts during installation, and fill the gaps between the window frames and walls with expanding foam sealant. For exterior painting, choose weather-resistant fluorocarbon or polyurethane paints, preferably in light colors to reduce heat absorption. For commercial displays, consider adding LED light strips or billboard brackets.Inspection and Maintenance
After renovation, conduct structural load tests, airtightness tests, and water pressure tests to ensure compliance with building safety regulations. Regularly inspect the container's anti-corrosion coating, sealing strips, and connectors, and perform comprehensive anti-corrosion maintenance every five years.



