Quay lại blog
Bài viết
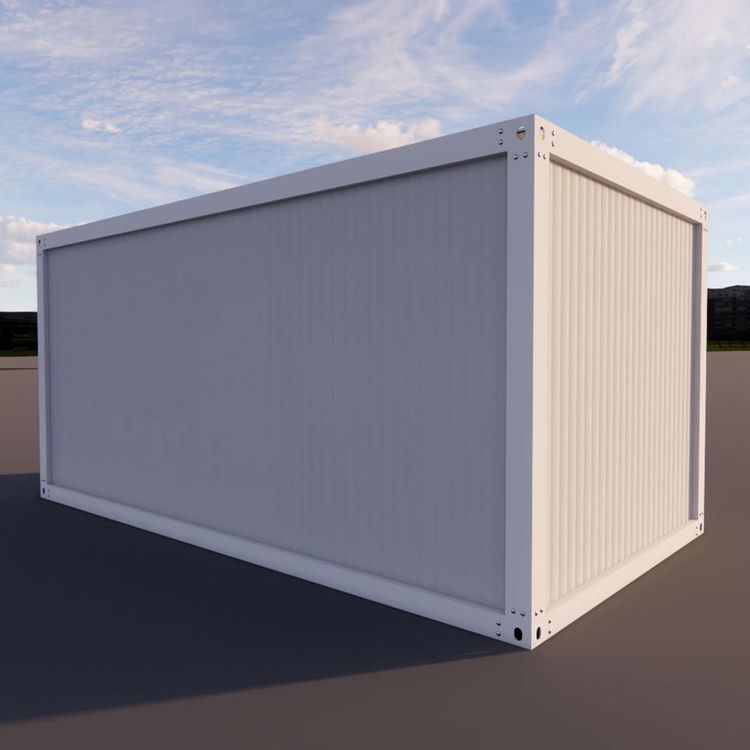
Corrugated Container House Installation
Quản trị 15 tháng 9, 2026
The installation of corrugated container houses should follow a scientific process, focusing on foundation treatment, component connection, and attention to detail to ensure structural stability and safety in use.

I. Pre-installation Preparation
- Site Survey and Foundation Treatment: Ensure that the installation ground is level and solid to prevent house deformation due to foundation settlement. For special structures like arched corrugated steel roofs, check the stability of the supporting structure in advance to ensure compliance with seismic and wind-resistant design standards.
- Material Inspection and Transportation Protection: Corrugated steel plates and other components should be protected from moisture and corrosion during transportation to avoid surface damage. Stack them in an orderly manner and take protective measures to prevent rusting due to damp weather.
- Tool and Personnel Preparation: Equip with specialized tools such as hexagon socket bolts, self-tapping screws, and round-head drill tail screws, and have them operated by a professional installation team to ensure construction standards.
II. Core Installation Steps
- Bottom Frame Installation:
- Connect the bottom corners of the container to the bottom beams and initially fix them with hexagon socket bolts. Tighten the bolts after leveling (ensuring that the diagonal difference of the bottom frame is ≤3mm).
- When installing π-shaped secondary beams, fix them according to the positioning holes of the long beams and reinforce the connection with the bottom beams using round-head drill tail screws.
- Floor Laying:
- Lay the floor base plates along the 6-meter direction, cut the corners at both ends according to the chalk line, and align the joints with the centerline of the π-shaped beams.
- Fix the floor with cross-flat-head燕尾丝 (Note: '燕尾丝' may be a specific term, here kept as is for accuracy; if it's a typo, replace with the correct term like 'screws'), with a nail spacing of 300-350mm. Ensure it is level, then apply PVC special adhesive and lay the floor covering.
- Roof Installation (Taking arched corrugated steel roofs as an example):
- Install from the low part of the roof upwards, ensuring that each steel plate is level and seamlessly connected to adjacent plates.
- Use self-tapping screws or special bolts for fixing points, place them accurately, and avoid over-tightening or under-tightening to ensure a stable connection between the steel plate and the supporting structure.
III. Quality Control Points
- Measurement and Layout: Accurately measure the roof level, slope, and longitudinal and transverse dimensions before installation to avoid roof tilting or misalignment.
- Component Connection: Tighten bolts in stages, fully fix them after leveling the bottom frame; strictly position the fixing points of steel plates according to the design drawings.
- Detail Handling: Weld or seal the joints of steel plates to prevent rainwater leakage; welding is recommended for the joints of floor coverings to enhance waterproofing.
- Safety Inspection: After installation, check all connection points for firmness to ensure that the house has seismic, wind-resistant, and flame-retardant properties.