
Leveling of Cement Boards in Container Houses
The leveling of cement boards in container houses requires following key steps such as base layer treatment, board processing, laying and installation, and joint treatment. The specific operations are as follows:
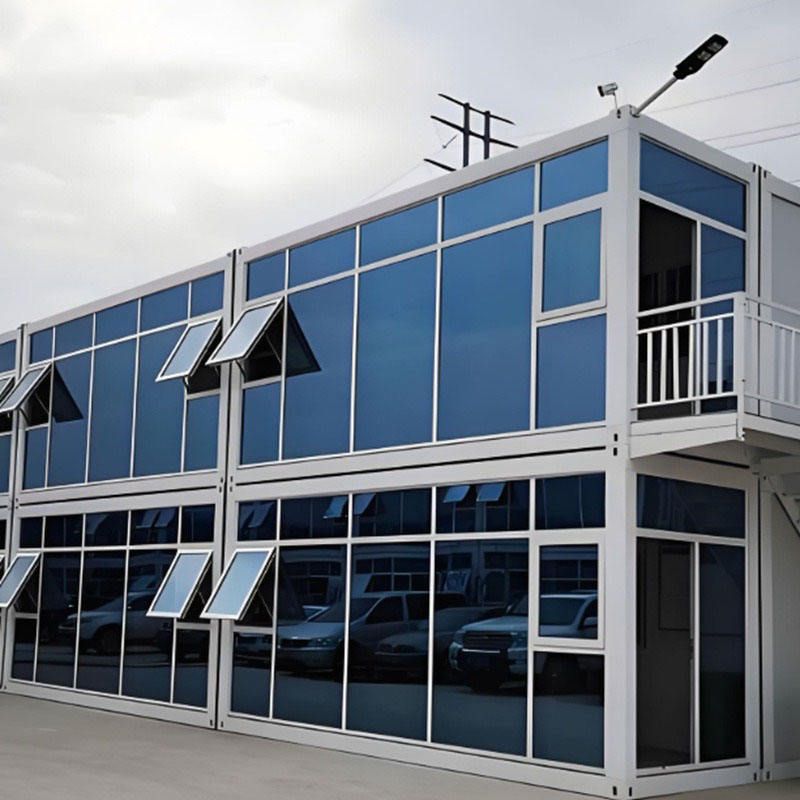
1. Base Layer Treatment: Ensure Flatness and Stability
The base layer is the foundation for leveling cement boards and directly affects the final result. First, use a 1:2 cement mortar to level the ground, ensuring uniform thickness. After letting it sit for 3-4 hours, use a cement trowel to smooth the surface, keeping the allowable deviation of the standard floor within 2mm. Key requirements: The cement mortar must be tightly bonded to the base, and the surface must be flat and smooth, free of gaps, pitted surfaces, or sanding. After the leveling layer is completed, it needs to be cured for at least 7 days to ensure complete drying, preventing board deformation or hollowing due to excessive humidity. For platform laying, special project design needs to be completed in advance, including technical preparations such as drawing review, drainage design, and surveying and setting out, as well as on-site preparations such as site leveling and temporary facility construction.
2. Board Processing: Adapt to Container Space
If cement boards are to be laid directly inside a container, they need to be cut, drilled, or carved according to design requirements. For example, to fit the corners of the container or equipment installation positions, the boards need to be precisely measured and then processed. Operation points: Use professional tools (such as angle grinders and electric drills) for processing to ensure smooth cuts without burrs; if pipeline channels need to be reserved, plan the hole positions in advance to avoid damaging the board structure later. After processing, clean the dust from the board surface to ensure no impurities interfere during adhesion or splicing.
3. Laying and Installation: Ensure Quality from Details
When laying, start from the wall edge and progress towards the center. The first board should have a 5mm expansion joint reserved from the wall edge to accommodate expansion and contraction due to temperature changes. Boards can be laid with gaps (usually 2-3mm) or tightly butted. When leaving gaps, use structural adhesive or filler to fill them, and when butting tightly, ensure the edges are aligned. Edge treatment: Use stainless steel inserts or trim strips to press the joints tightly, enhancing aesthetics and preventing the filler from falling off. For multi-layer laying, stagger the board joints to avoid structural weaknesses caused by overlapping straight joints.
4. Joint and Curing: Extend Service Life
Joint treatment is crucial for preventing water seepage and cracking. The structural adhesive should be fully filled, and the filler should be compacted and smoothed. After complete drying (usually 24-48 hours), proceed to the next construction step. Curing requirements: After laying, avoid heavy rolling or scratching by sharp objects, and keep the environment well-ventilated and dry. If used in a humid environment, apply a waterproof coating on the board surface to enhance durability.



