
Volver al blog
Artículo
Rural Self-Built Portable Toilet Tutorial
Admin 28 de septiembre de 2026
Rural self-built portable toilets can be achieved through the modification of water storage barrels or modular installation. Here is a detailed tutorial:
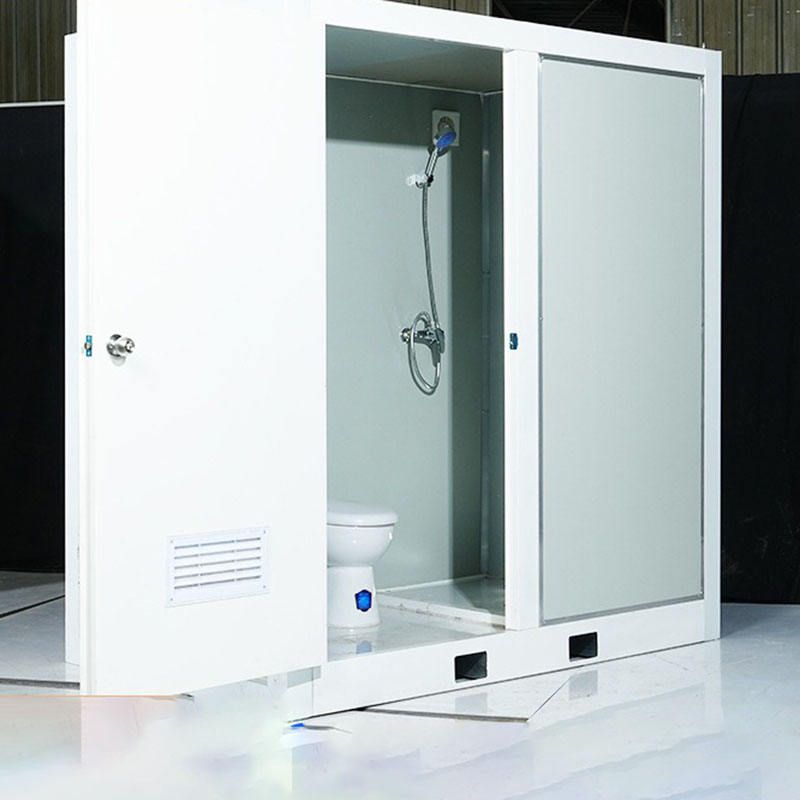
Method 1: Modification of Water Storage Barrels/Tanks (Suitable for DIY at Home)
Basic Structure Construction
- Cutting and Opening: Select a durable water storage barrel or tank (e.g., made of plastic), cut it horizontally into two parts in the middle, keep the bottom part as the main body of the toilet, and the top part can be transformed into a water tank or storage space. Cut an appropriately sized door opening on the side to ensure easy access for people.
- Mobility and Support: Install universal wheels at the four corners of the bottom for easy movement; build a frame with wooden strips or metal trays to increase the overall height (usually recommended to be 20-30 centimeters off the ground), and fix the wall materials (such as plastic soft boards, wooden boards, or lightweight partitions) with screws.
- Door Frame and Door Installation: Stick sponge strips or rubber strips around the door opening to reduce gaps and enhance sealing; install a simple door (such as a wooden board, honeycomb board, or PVC board), fix it with hinges, and ensure smooth opening and closing.
Functional System Installation
- Drainage System: Drill a hole at the center of the barrel bottom, install a drainage pipe with a diameter of about 50 millimeters, and connect it to a floor drain; if using a toilet, align the toilet's drainage outlet with the floor drain and seal the interface with glass glue to prevent leakage.
- Water Storage Device: Invert a small water storage tank (such as a 10-20 liter plastic barrel) on the top as a water tank, or directly connect it to a water inlet pipe (a float valve needs to be installed to control the water level); if space is limited, you can purchase a finished micro water tank.
- Shower Function (Optional): Install a water pipe-made bath heater bracket (or purchase a finished bracket) on one side of the wall, fix the shower hose, and connect a three-way valve to achieve hot and cold water supply; a drainage outlet needs to be reserved at the bottom and connected to the main drainage system.
- Sink: Install a stainless steel sink with a pipe cap opening on the other side of the wall, connect a drainage pipe below it, and ensure that the wastewater can be smoothly discharged into the main drainage system.
Detail Optimization
- Waterproofing and Aesthetics: Paint the wall surface with waterproof paint to enhance durability; fill the joints between the walls with foam strips or sealant to increase stability.
- Sealing Treatment: All water pipe connections need to be sealed with glue or glass glue to prevent water leakage; waterproof tape can be stuck at the contact area between the toilet and the ground.
Method 2: Modular Portable Toilet (Suitable for Quick Installation)
- Component Procurement: Purchase finished portable toilet components (such as aluminum alloy columns, snap-on wall panels, plastic toilets, sinks, etc.), no civil engineering foundation is required.
- Assembly Steps: Assemble the columns and wall panels according to the instructions and fix them with snaps; install components such as toilets and sinks, and connect the water inlet and drainage pipes; finally, install the door and canopy (optional).
Precautions:
- If using used water storage tanks, thoroughly clean them and check the sealing to avoid corrosion or odor diffusion caused by residues.
- In rural areas, it can be combined with a septic tank design (such as building a three-compartment septic tank), but portable toilets usually do not require digging a tank. The water storage barrel needs to be cleaned regularly or connected to the municipal sewage pipeline.
Relacionados



