
Rural Mobile Toilet Installation Method
The installation method for rural mobile toilets needs to be determined based on the type of toilet. The common types and installation steps are as follows:
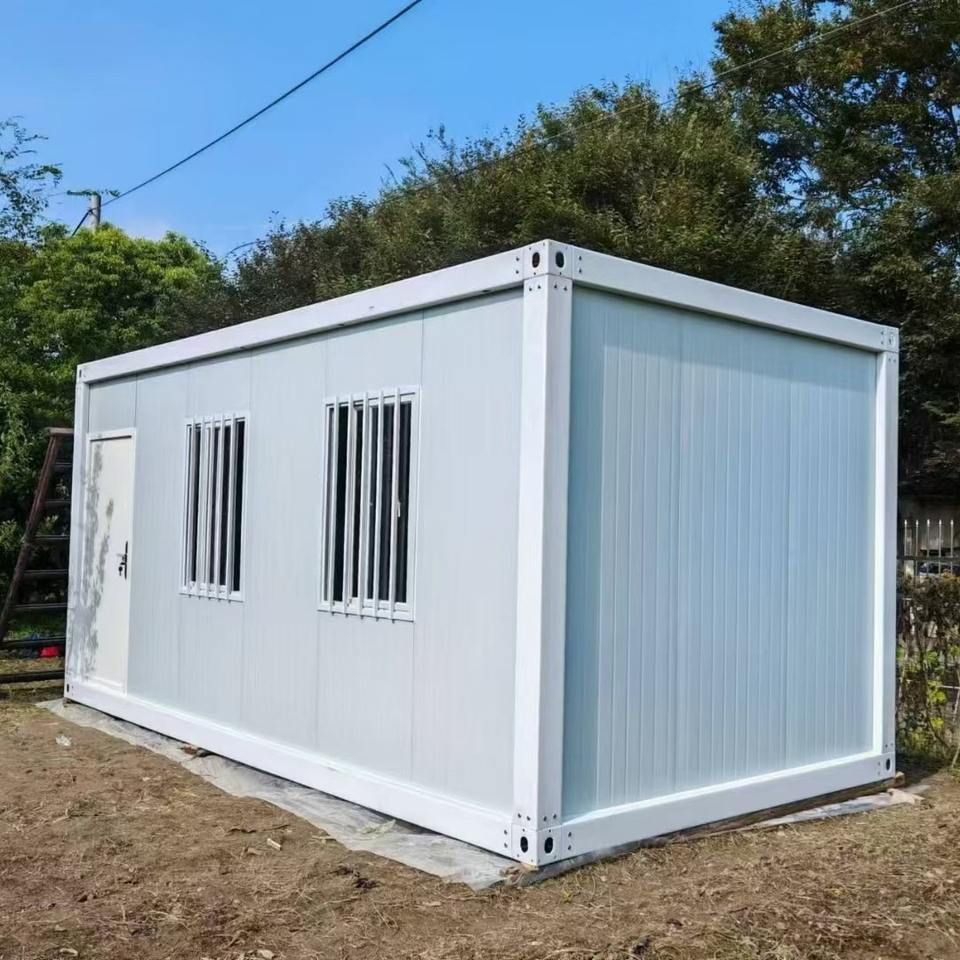
I. Installation of Factory-Finished Mobile Restrooms
These toilets have already had their internal water supply and drainage systems arranged in the factory, with external interfaces reserved, making installation relatively simple.
- Foundation Preparation: Choose a flat and dry ground surface as the installation location, avoiding low-lying or easily waterlogged areas.
- Interface Connection: Connect the reserved water inlet pipe of the toilet to the household water source (such as a tap water pipe) using a dedicated connector, ensuring tightness; connect the outlet pipe to the septic tank or sewage discharge system. If a fecal storage tank is used, it needs to be cleaned regularly.
- Power Connection Test: If the toilet is equipped with lighting, ventilation, or heating devices, connect the power supply and test whether the functions are normal. Note the use of waterproof sockets.
- Fixing and Debugging: Depending on the ground conditions, use expansion bolts or ground nails to fix the bottom of the toilet to prevent movement; check whether the flushing and sewage discharge systems are smooth, and adjust the water pressure to an appropriate range.
II. Installation of Mobile Toilets
Suitable for standalone mobile toilets, usually with a simple structure, the installation steps are as follows:
- Unpacking Inspection: After opening the package, check the accessory list (such as the toilet body, water tank, sewage discharge pipe, sealing ring, etc.) to ensure there are no missing or damaged parts.
- Assembling the Main Body: Connect the toilet base to the water tank according to the instructions, install the sewage discharge pipe and fix the sealing ring to prevent water leakage.
- Positioning and Installation: Place the toilet in the predetermined position, adjust the levelness, and ensure that the sewage discharge pipe is aligned with the interface of the septic tank or fecal storage tank.
- Function Testing: Inject clean water to test the flushing effect, check whether the sewage discharge pipe is unobstructed, and adjust the water level in the water tank to an appropriate height.
III. Installation of Integrated Restrooms
This type of installation requires purchasing accessories by oneself, and the process is complex, requiring professional operation:
- Foundation Treatment: Cut grooves in the ground according to the size of the restroom, pre-embed support feet and adjust the levelness to ensure structural stability.
- Pipe Layout: Install a vertical pipe tee, connect the water inlet pipe, sewage discharge pipe, and ventilation pipe. Pay attention to the slope during welding to avoid water accumulation.
- Equipment Installation: Fix electrical appliances such as bathroom heaters and exhaust fans. Use a leakage protector when wiring to ensure electrical safety; install a mixing valve to control hot and cold water.
- Sealing and Acceptance: Apply sealant at pipe interfaces, equipment edges, etc. to prevent leakage; test all functions with water and electricity supply, and seal with glue to complete the installation after checking for no abnormalities.
Precautions: Before installation, confirm the local drainage standards (such as whether direct discharge to the septic tank is allowed). For integrated restrooms, it is recommended to have them installed by a professional team to avoid rework or safety hazards due to improper operation.



