
Volver al blog
Artículo
Rural Mobile Toilet Assembly
Admin 26 de septiembre de 2026
The assembly of rural mobile toilets is generally straightforward and does not require complex underground engineering. The specific assembly method varies slightly depending on the type of toilet, but overall, it follows certain general steps.
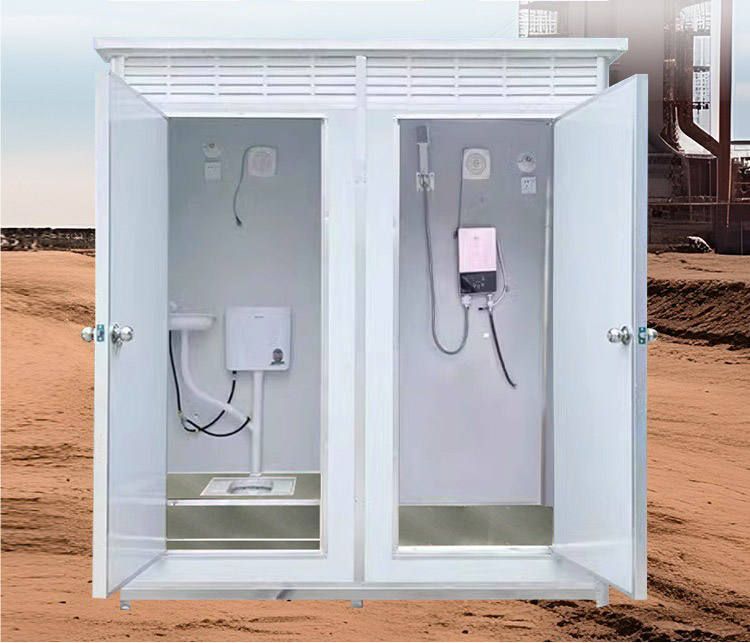
I. General Assembly Process
Rural mobile toilets are mostly purchased as finished products and feature a modular design, making the assembly process similar to 'building with blocks'. The core steps include:
- Tool Preparation: After receiving the goods, prepare tools such as an electric drill, a 4.2-millimeter drill bit, and a rivet gun to ensure quick fixation of components during assembly.
- Basic Frame Construction: Prioritize installing inner corner components and fix structures such as columns using buckles or bolts to form the main frame of the toilet. Ensure that each connection point is tightly fitted to avoid wobbling during subsequent use.
- Panel Assembly: Insert the prefabricated panels into the slots, align the upper and lower edges, drill holes at the preset positions with a drill bit, insert rivets, and secure them with a rivet gun. Pay attention to the direction of the panels in this step to avoid reverse installation, which could reduce sealing performance.
- Functional Module Installation: Install corresponding functional components based on the type of toilet (e.g., packing-type, biodegradable, or circulating water-flushing). For example, packing-type toilets require connecting to a fecal collection bag, while biodegradable toilets need the addition of bacteria and adjustment of the ventilation system.
II. Assembly Differences Among Different Types of Toilets
- Packing-Type Mobile Toilets: The focus of assembly is on the sealing of the fecal collection system. Check that the collection bag interface is secure to prevent leakage; simultaneously, adjust the automatic packing device to ensure smooth sealing after use.
- Biodegradable Mobile Toilets: An additional biological reaction tank needs to be installed and filled with specialized bacteria. After assembly, allow it to stand for more than 24 hours to fully activate the bacteria and ensure subsequent degradation efficiency.
- Circulating Water-Flushing Mobile Toilets: Connect the water tank to the flushing system and adjust the water pump pressure and water level sensor. After assembly, conduct a flushing test to check for pipeline leaks and whether the flushing force meets standards.
III. Assembly Precautions
- Site Selection: Before assembly, clear the ground to ensure it is flat and free of debris, preventing the toilet from tilting or components from being unevenly stressed.
- Safe Operation: When using tools such as an electric drill, wear safety goggles to prevent debris from flying; maintain stability when operating a rivet gun to avoid accidental injury.
- Acceptance Criteria: After assembly, check that all connection points are secure, that doors, windows, and other components open and close smoothly, and that functional modules (e.g., flushing, ventilation) operate normally.
Relacionados



