
Installation and Disassembly of Quick-Assembly Mobile Toilets
The installation and disassembly process of quick-assembly mobile toilets is simple and fast, consisting of two main steps: installation and disassembly. Attention to detail in key steps is essential to ensure efficiency and safety.
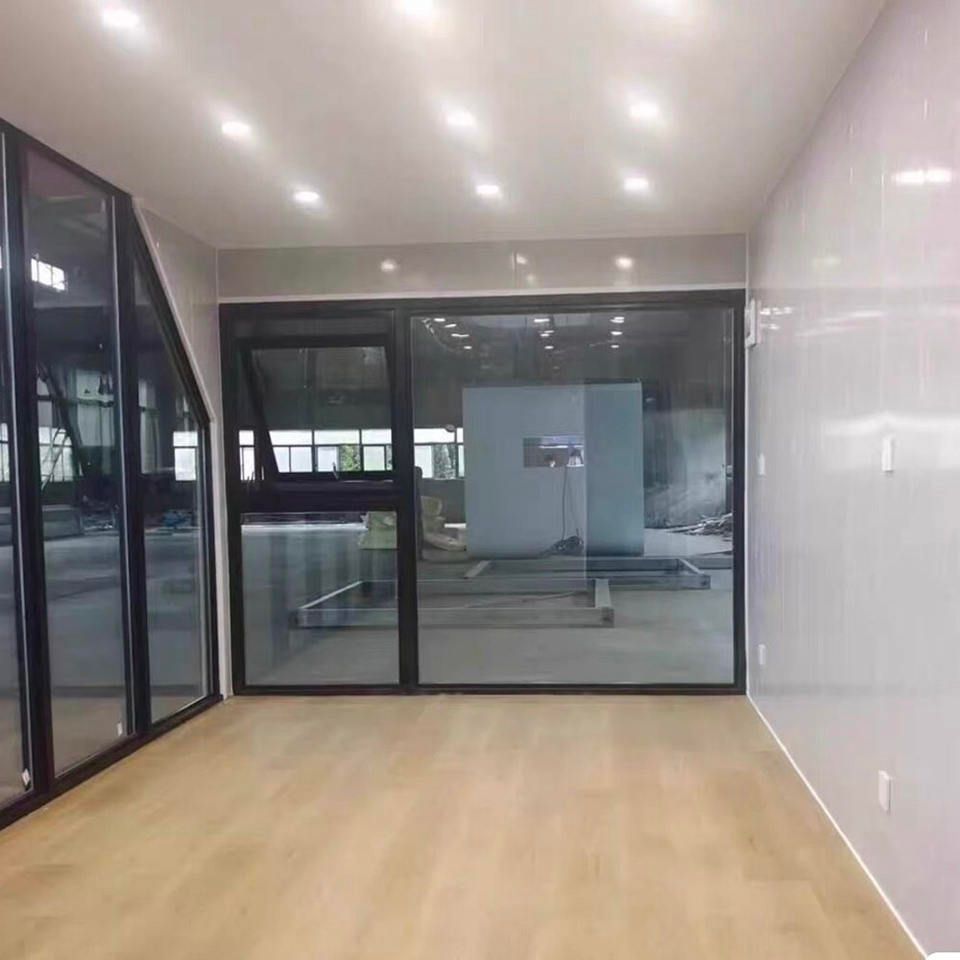
Installation Process
Positioning and Foundation Treatment
Determine the toilet location based on site planning, ensuring a solid ground and smooth drainage. If the ground is uneven or the soil is soft, harden it in advance or lay steel plates to prevent later settlement from affecting structural stability. This step is the foundation of installation and directly impacts subsequent efficiency.Main Structure Assembly
- Chassis and Frame Placement: Use a forklift or manual labor to place the prefabricated steel structure chassis steadily, adjust the levelness, and ensure the frame is stable.
- Wall and Roof Panel Installation: Insert the sandwich panel walls into the chassis slots and secure them with bolts or clips; then install the roof panels and seal the joints to prevent rainwater leakage. Wall installation can usually be completed within 1-2 hours, with modular design significantly shortening assembly time.
Internal Facility Connection
Install partitions, toilets, flushing systems, sinks (optional), and lighting and ventilation equipment. The connection of water and electricity pipelines should be operated by professionals, but the modular quick-connector design simplifies the process and reduces time consumption.Function Inspection and Debugging
Conduct flushing tests, circuit checks, and leak tests to ensure all functions operate normally. For example, check if the flushing pressure meets standards, if there are any short circuits in the circuit, and if the doors and windows are tightly sealed.
Disassembly Process
Disconnect Water, Electricity, and Sewage
Turn off the main power and water valves, remove external water and electricity lines and sewage pipes, clean the connection ports, and seal them to prevent residual leakage or environmental pollution.Remove Internal Facilities
Carefully dismantle movable components such as partitions and accessories, and package them separately for subsequent transportation or storage. Avoid violent disassembly that may damage the components.Disassemble Main Structure
Remove the structure in the order of "roof panel - wall panel - chassis", paying attention to protecting the edges of the panels (e.g., sandwich panels are prone to deformation from bumps). A skilled team can complete the disassembly of a standard split-type toilet within 1-3 hours.Clearance and Storage
Stack the dismantled components neatly to avoid confusion. For long-term storage, choose a dry and ventilated environment to prevent metal components from rusting or panels from getting damp.
Key Factors Affecting Convenience
- Toilet Type: Integrated box-type toilets have the fastest installation and disassembly and the lowest requirements for on-site construction.
- Foundation Treatment: Poor ground conditions require additional hardening or steel plate laying, increasing initial time.
- Supporting Facilities: Connecting to municipal sewage networks or septic tanks prolongs installation time; flush-free or biodegradable toilets are more efficient.
- Team Experience: Professional construction teams familiar with the process and equipped with complete tools can significantly improve efficiency.
Industry Standards and Maintenance: Installation must comply with the "Hygiene Standards for Mobile Toilets" (GB/T 21239-2023). Regularly check if bolts and seals are loose or aged to ensure structural safety and hygiene standards.



