
Prefabricated House Construction Guide
The prefabricated house construction guide is mainly divided into two types: modular prefabricated houses and prefabricated detachable container houses. The specific construction methods are as follows:
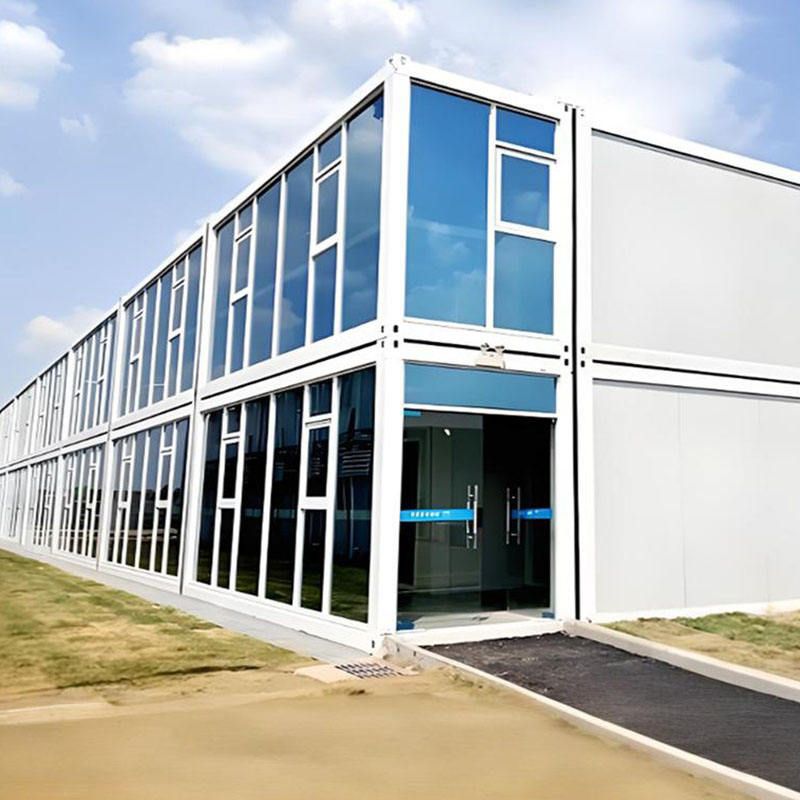
Modular Prefabricated House Construction Method
Factory Prefabrication
The entire building is disassembled into independent modules, and standardized manufacturing of components such as ceilings, floors, walls, and water and electricity pipelines is completed in the factory. For example, the waterproof layer and wall decoration layer of the bathroom are all completed on the assembly line to ensure the consistency of the craftsmanship of each module. Connection interfaces need to be reserved during module production for subsequent assembly.On-site Assembly
The prefabricated modules are transported to the construction site and assembled according to the design drawings using lifting equipment. Each module is labeled with 'ID' information (such as project name, product model, and production date) to ensure accurate assembly sequence and position. Special connecting pieces are required to fix the interfaces between modules during assembly to form an overall structure.Precision Control
Errors need to be controlled in millimeters during module assembly, such as steel bar positioning and module对接 (docking) gaps. Real-time monitoring is carried out using laser positioning instruments or total stations to ensure that the perpendicularity and levelness meet the design requirements and avoid structural instability caused by error accumulation.
Prefabricated Detachable Container House Construction Method
Bottom Frame Installation
- Connect the lower corner fittings to the bottom sill and fix them with bolts;
- Install the purlins and measure the diagonal lines to ensure the frame is perpendicular;
- Connect the columns to the bottom frame (the bolts are not tightened temporarily);
- Lay MGO boards, reserve gaps for wall panels, and level the ground with a level gauge.
Top Frame Installation
- Connect the upper corner fittings to the top longitudinal beams and tighten the bolts;
- Connect the upper corner fittings to the columns (the bolts are not tightened temporarily);
- Install the top short beams and adjust the perpendicularity of the columns with a level;
- Reinforce the connections between the upper and lower corner fittings and the columns, and install the top longitudinal and short wiping strips.
Drainage System Installation
- Install drainage channels along the edges, embed them at the top, and then fix the drainage pipes (fix them every 25 cm with self-drilling screws and apply glue at the connections);
- Install the downspouts to ensure a smooth drainage path.
Sealing and Wall Panel Installation
- Stick sealing strips on the inner sides of the columns, bottom sills, and top sills;
- Install the wall panels and fix them at the top and bottom. Reservations need to be made for door and window positions, and they should be supported by wall panels on both sides.
Ceiling and Interior Decoration
- Install the ceiling: When there are wall panels, square tubes need to be added on both sides for fixation; when there are no wall panels, it is directly fixed to the top sill;
- Drill holes in the walls for wiring and fix them on steel wires;
- Lay glass wool to the roof, cover it with roof tiles, and fix them on the inner side of the drainage channels.



