
Mobile Toilet Renovation Steps Order
The renovation steps for a mobile toilet are as follows: component preparation → assembly and installation → detail handling, without the need for complex civil engineering processes like those in conventional toilets. Its core feature is "overall finished product installation, ready for use upon placement", with specific steps outlined below:
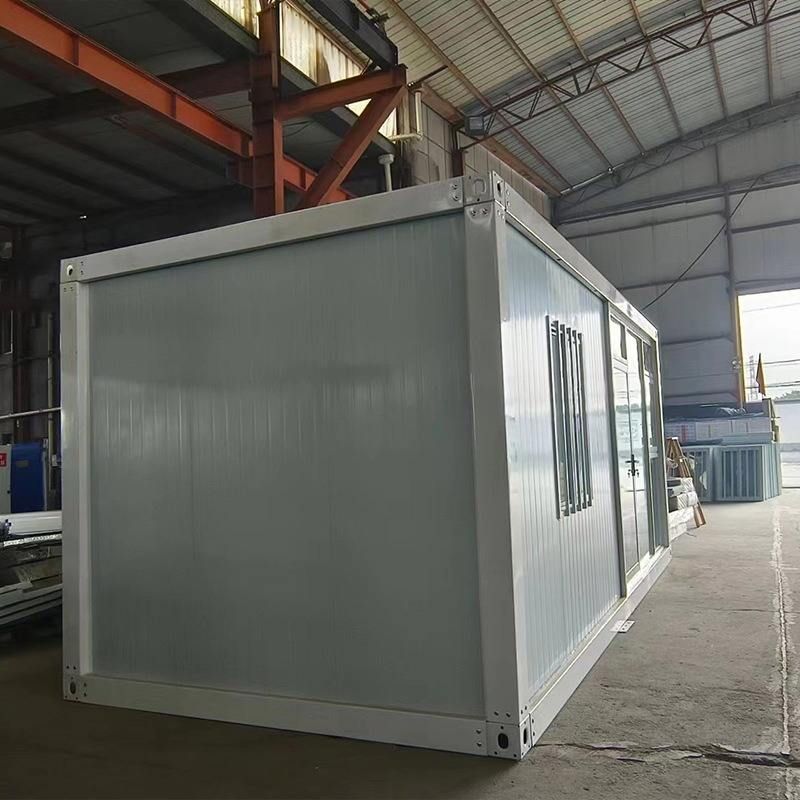
1. Component Preparation: Transportation and Inventory
The renovation of a mobile toilet is based on modular design. The first step involves transporting all prefabricated components to the installation site. These components typically include columns, wall panels, roof structures, door and window assemblies, and internal facilities (such as toilets and sinks). During transportation, attention must be paid to the integrity of the components to avoid deformation or damage due to collisions. Upon arrival at the site, the quantity of components should be checked against the design drawings, and the completeness of connectors such as buckles and screws should be verified to ensure the smooth progression of the subsequent assembly process. The key to this step is to ensure that all components are intact, providing a fundamental guarantee for subsequent installation.
2. Assembly and Installation: Modular Assembly and Fixation
The installation of a mobile toilet adopts a "building block"-style assembly method, requiring no professional construction team. Specific operations include:
- Structural Assembly: Using columns as support points, wall panels are fixed layer by layer with buckles or bolts to form the main framework of the toilet. The roof structure, typically made of lightweight materials (such as aluminum alloy or plastic), is connected to the walls through slots to ensure overall stability.
- Facility Installation: After the main structure is completed, internal facilities such as toilets, urinals, and sinks are installed. These facilities are mostly prefabricated finished products, directly connected to the walls or floor with fixtures, eliminating the need for additional pipeline laying (some mobile toilets use integrated septic tanks, pre-encapsulated in the base).
- Door and Window Assembly: Finally, door and window assemblies are installed to ensure airtightness and prevent odor leakage. The entire assembly process requires no cement, tiles, or other materials, nor does it involve water and electricity trenching or waterproofing, significantly shortening the construction period.
3. Detail Handling: Sealing and Debugging
After assembly, detail optimization is required:
- Buckle Sealing Check: Focus on checking whether the buckles at the connections between components are tightly fitted to avoid structural wobbling or water leakage due to looseness.
- Function Testing: Debug systems such as toilet flushing, sink drainage, and lighting to ensure all functions operate normally.
- Appearance Cleaning: Remove dust or stains generated during installation to enhance overall aesthetics. Unlike conventional toilets, mobile toilets do not require waiting for cement to dry or waterproof layers to cure, and can be put into use immediately after installation.
The renovation process for a mobile toilet centers on "modularity and rapidity", omitting complex steps such as base treatment, water and electricity modification, and waterproofing found in conventional toilet renovations, making it more suitable for temporary venues or emergency needs.



