
Mobile Toilet Renovation Sequence Steps
The renovation sequence steps for mobile toilets primarily involve modular installation, without the need for complex civil engineering. The core processes include the assembly and fixation of parts and overall assembly. Its uniqueness lies in the omission of traditional renovation steps such as base layer treatment and water and electricity modification, placing greater emphasis on the rapid assembly and functional debugging of standardized components. Here are the specific steps:
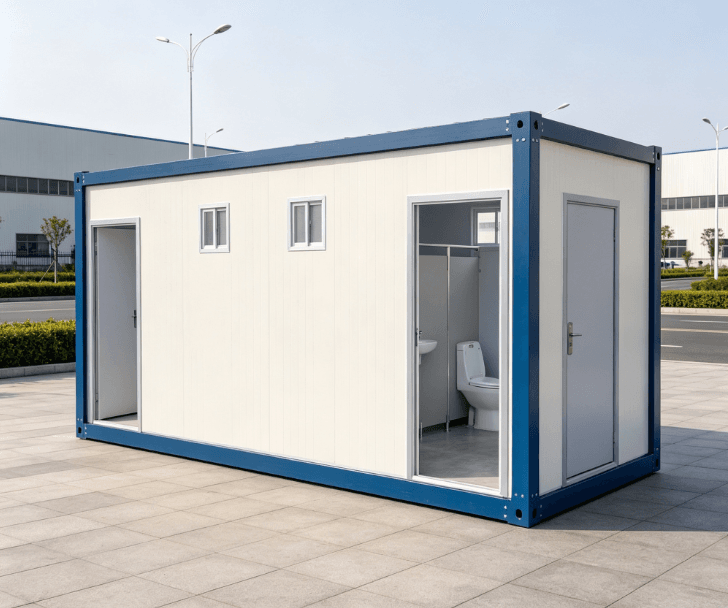
Step 1: Basic Preparation and Site Cleaning
Before installation, ensure that the site is flat and dry, and remove any debris and sharp objects from the ground to prevent damage to the bottom structure of the mobile toilet. If there are significant irregularities on the ground, use shims or adjust the height of the support feet to level the surface and ensure overall stability. Although this step does not involve the 'base layer treatment' in traditional renovation, it provides the basic conditions for subsequent installation through simple physical adjustments.
Step 2: Modular Part Assembly
According to the design drawings, assemble the prefabricated components such as columns, walls, and roofs in sequence. Key operations include:
- Snap-fit Alignment: Ensure that the snaps or connectors of adjacent components are precisely engaged to prevent excessive gaps that could lead to water leakage or structural looseness;
- Bolt Fixation: Use bolts to secure nodes that require additional reinforcement (such as the connection between columns and walls), with torque meeting the requirements specified in the product manual;
- Verticality Inspection: Verify the verticality of the columns using a level or plumb line, with deviations controlled within ±2mm to prevent tilting during subsequent assembly.
Step 3: Functional System Integration
After completing the main structure, install the core functional modules:
- Sewage System: Connect the fecal storage tank or sewage pipe, ensuring that the sealing ring is intact and undamaged to prevent odor leakage;
- Ventilation System: Install an exhaust fan or natural ventilation opening, and test whether the air volume meets the standard (usually ≥8m³/h);
- Lighting and Circuitry: If equipped with a power supply, wire according to regulations and install waterproof sockets, with the wiring hidden in dedicated wire channels to avoid exposure.
Step 4: Overall Debugging and Acceptance
After assembly, conduct a comprehensive inspection:
- Structural Stability: Gently push the four corners of the toilet to confirm that there is no shaking or abnormal noise;
- Functional Testing: Operate the flushing, ventilation, lighting, and other systems one by one to ensure they are fault-free;
- Seal Testing: Spray a small amount of water inside and observe whether there are any signs of leakage on the outside.
The renovation of mobile toilets is essentially 'finished product assembly', which is much more efficient than traditional renovation. However, it requires strict adherence to modular design logic, as any negligence in any step may affect the overall service life and user experience.



