
Volver al blog
Artículo
Mobile Toilet Relief Panel Installation
Admin 08 de octubre de 2026
The installation of relief panels for mobile toilets must be carried out strictly in accordance with standardized procedures. The specific steps and precautions are as follows:
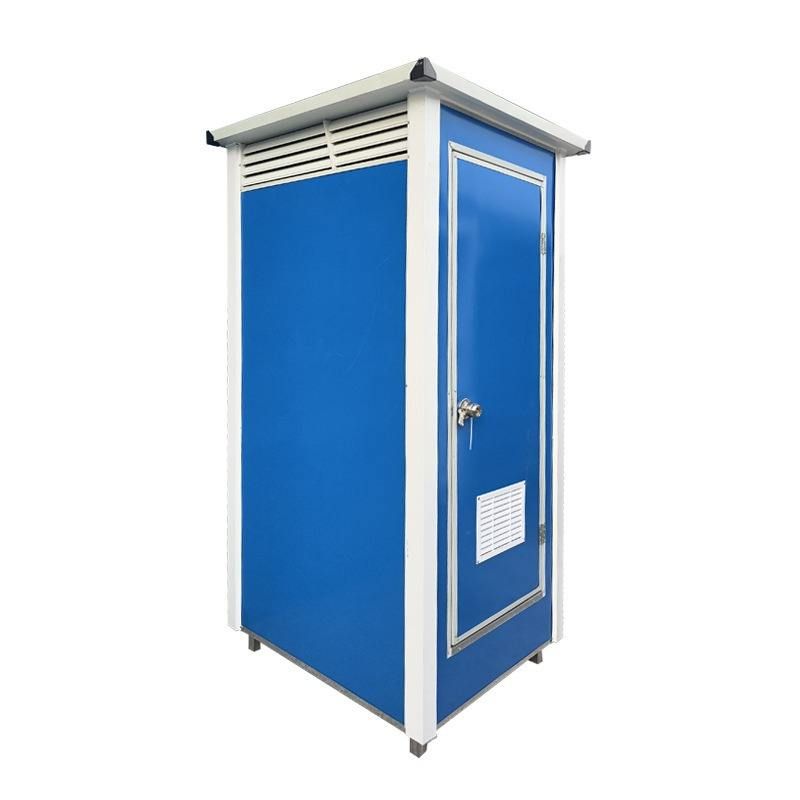
I. Pre-installation Preparation
- Confirm Installation Location: Use tools such as steel rulers and spirit levels to accurately measure the installation area according to design requirements, marking the fixing points and edge contours of the relief panels. Ensure the location is flat and unobstructed to avoid installation deviations later.
- Clean the Base Surface: Remove debris, dust, oil, and other contaminants from the installation surface, keeping it dry and clean. If the base surface is concrete or metal, roughen it by sanding to enhance the adhesive's grip.
- Verify Materials: Check that the dimensions, colors, and sticker positions of the relief panels match the design specifications to prevent rework due to material errors.
II. Tool and Material Preparation
- Tools: Cordless drill (for drilling holes), electric screwdriver (for auxiliary fixing), spirit level (for leveling), steel ruler/tape measure (for measuring), scraper (for removing air bubbles).
- Materials: Expansion tubes/corrugated pipes (for fixing holes), steel nails (for auxiliary fixing), steel wire (for connecting fixing points), cement (for sealing steel wire), professional adhesive (for pasting relief panels).
III. Installation Steps
- Mark Fixing Points: Use a steel ruler and spirit level to mark drilling positions on the base surface according to the dimensions of the relief panels, ensuring uniform spacing and compliance with design requirements.
- Drill Holes and Fix:
- Drill holes at the marked points using a cordless drill, with a depth matching the length of the expansion tubes or corrugated pipes.
- Install the expansion tubes or corrugated pipes to form fixing holes.
- Fix with Steel Wire: Thread the steel wire through the holes and tighten it, sealing the gaps between the steel wire and holes with cement. Proceed to the next step after the cement has fully dried.
- Paste Relief Panels:
- Apply professional adhesive evenly on the back of the relief panel, covering an area larger than the fixing area.
- Slowly press the relief panel into the fixing position, exerting force to expel air and water to ensure no hollow areas.
- Install Stickers: Paste stickers according to the design positions, using a scraper or fingernail to remove air bubbles and wrinkles, keeping the surface flat.
IV. Precautions
- Location and Dimension Calibration: Repeatedly verify the location and dimensions before installation to avoid distortion or misaligned seams of the relief panels due to errors.
- Safety Protection: Wear protective gloves and goggles when using electric tools to prevent injury from flying debris or electric shock.
- Steel Wire Fixing Force: Avoid applying excessive force when fixing the steel wire to prevent scratching the surface layer of the relief panel or causing deformation.
- Air Bubble Handling: If air bubbles form during sticker application, immediately press them out from the center to the edges using a scraper to ensure aesthetics.
- Environmental Requirements: The installation environment temperature should be above 5℃ to prevent poor adhesive curing or cement cracking due to low temperatures.
By following standardized procedures, you can ensure that the relief panels for mobile toilets are installed firmly, with a flat appearance, extending their service life and enhancing overall aesthetics.
Relacionados



