
Volver al blog
Artículo
Mobile Toilet Installation Plan
Admin 23 de septiembre de 2026
The mobile toilet installation plan should follow the following steps and specifications to ensure safety, functionality, and stability:
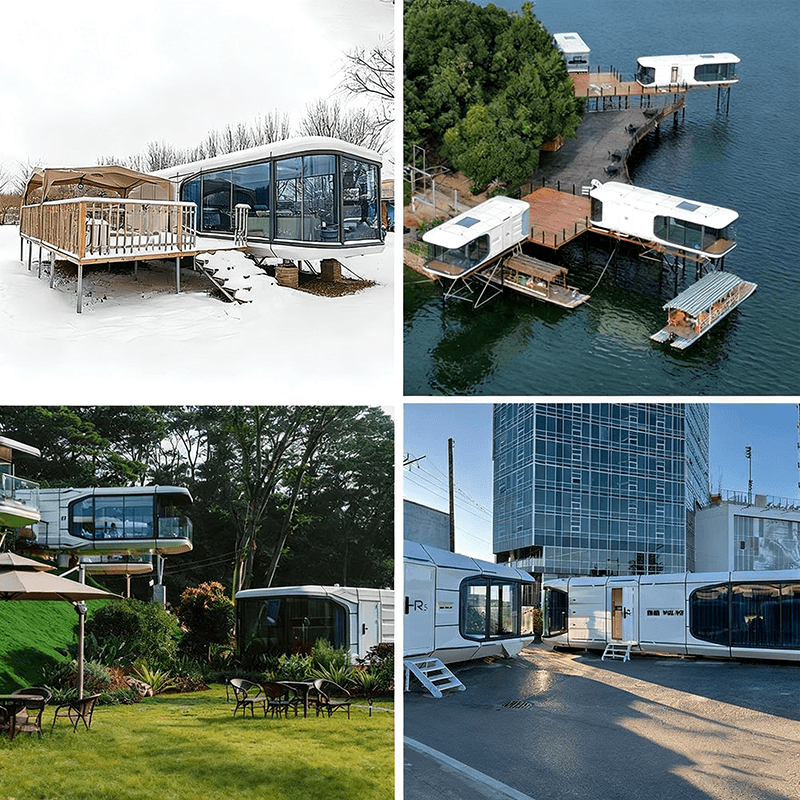
I. Pre-installation Preparation
- Site Planning: Select a flat and solid foundation, avoiding low-lying areas, slopes, and high-voltage power line zones. Measure the site dimensions to ensure a passage width of at least 1.2 meters.
- Material Inspection: Verify the completeness of the toilet model and accessories (such as sewage pipes and flushing devices), check for no damage on the exterior and that internal facilities are intact.
- Tools and Personnel: Equip with tools such as wrenches and spirit levels, arrange 2-3 professional personnel, and use cranes for assistance in handling when necessary.
II. Main Structure Installation
- Foundation Fixation: Hoist the toilet to the designated position, adjust the levelness with a spirit level (deviation ≤ 3mm), and secure it with expansion bolts or counterweights to prevent tipping due to wind.
- Component Assembly: Assemble the base plate, wall panels, and roof cover according to the instructions, fasten the buckles or bolts, and ensure the roof is tightly sealed to prevent rainwater infiltration.
- Special Terrain Handling: For sloped land, build a platform for leveling. When combining multiple units, maintain a reasonable spacing. In windy areas, install ground anchors for fixation.
III. System Connection and Debugging
- Sewage System:
- Water-flush type: Ensure a slope of at least 2% for the sewage pipe and install sealing rings at the connections.
- Waterless type: Place the sewage storage tank and ensure it is sealed. In winter, empty the stored water to prevent freezing.
- Water Supply System: Connect a water pipe with a diameter of at least DN20, test the flushing function and drainage sealability, and take water pipe insulation measures in cold areas.
- Ventilation System: Install exhaust fans or ventilation ducts, equip the ventilation openings with insect screens and waterproof covers, and secure the power cords to avoid exposure.
IV. Internal Facilities and Safety Measures
- Facility Installation: Fix accessories such as toilet seats and sinks, ensure the sanitary ware is sealed with the walls, and connect the drainage pipes to the designated pipes.
- Anti-slip Treatment: Lay anti-slip mats or flooring with a concave-convex pattern on the ground, and paste warning strips on steps.
- Electrical Safety: Select waterproof lighting fixtures, protect the circuits with sleeves, and install switches in dry locations.
V. Acceptance and Delivery
- Function Testing: Flush continuously 3 times to check the drainage, step on the top to test the load-bearing capacity, and confirm that doors, windows, and ventilation equipment are operating normally.
- Cleaning and Delivery: Clean up debris, disinfect the interior, place consumables such as toilet paper, provide an Equipment Installation Acceptance Form, and indicate the warranty period.
VI. Precautions
- Safety Specifications: Wear safety harnesses for high-altitude work, prohibit construction in winds of grade 5 or above, stay away from fire sources, and prohibit open flames.
- Construction Management: Mark off warning areas, equip night construction with lighting and reflective strips, and prevent unrelated personnel from approaching.
Relacionados



