
Volver al blog
Artículo
Mobile Toilet Installation and Removal Plan
Admin 29 de septiembre de 2026
The installation and removal plan for mobile toilets focuses on simplicity and speed, with specific procedures adjusted according to the toilet type, site conditions, and industry standards. Below is a general operational guide:
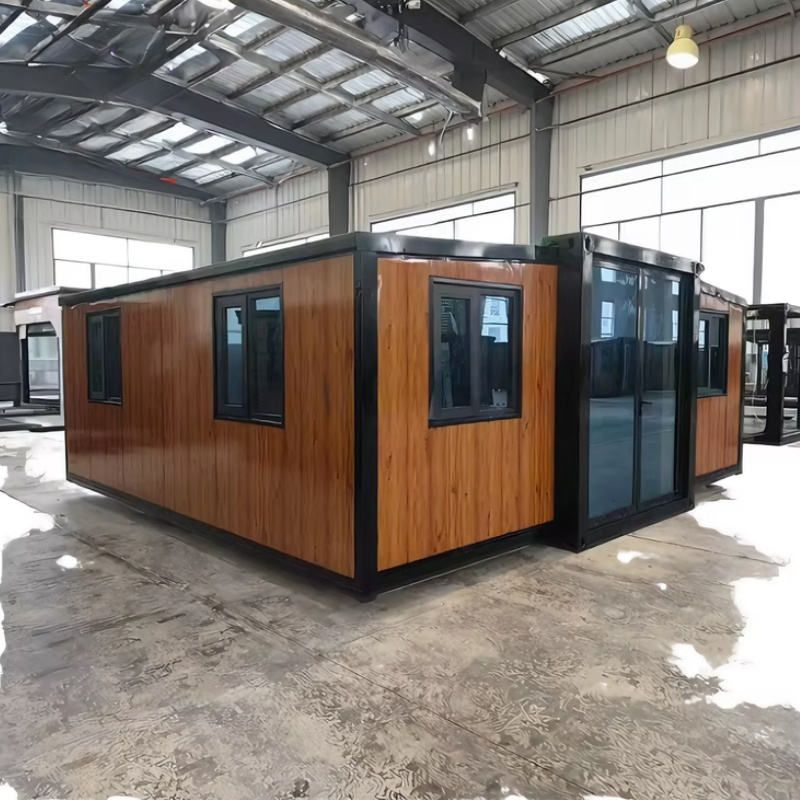
Installation Plan
Preparation
- Sewage and Ground Inspection: Ensure that the sewage pipes are unobstructed and that the ground level meets the requirements (error ≤ 5mm) to avoid later tilting or leakage.
- Tool and Material Preparation: Select tools (such as impact drills and wrenches) and materials (such as expansion screws and sealing rings) based on the toilet type. For split-type toilets, additional sandwich panel connectors are required.
- Site Clearance: Remove obstacles to ensure the construction area is dry and free of debris. Integrated toilets require reserved lifting space.
Installation Process
- Foundation Construction: Pour a C20 concrete foundation (thickness ≥ 15cm). In areas with soft soil, steel plates or hardening treatment are required.
- Main Body Assembly:
- Split-Type Toilet: Install the chassis (secure with expansion screws), walls (insert sandwich panels into slots and reinforce with bolts), and roof in sequence. Apply waterproof sealant to gaps.
- Integrated Toilet: Use a crane to lift the entire unit onto the foundation, adjust the level, and secure the anchor bolts.
- Facility Connection: Install toilets, flushing systems (modular interfaces can reduce installation time to within 30 minutes), lighting, and ventilation equipment. Use quick connectors for water and electrical lines.
- Functional Testing: Conduct flushing tests (3 consecutive times without blockage), circuit insulation tests (resistance ≥ 0.5MΩ), and leak tests (spray test for no leakage).
Time Reference
- Wall installation for split-type toilets takes approximately 1-2 hours, with overall installation time varying by type (integrated toilets take about 2-4 hours).
Removal Plan
Preparation
- Water and Power Disconnection: Close the water supply valve, disconnect the main power line, clean pipe interfaces, and seal them (to prevent foreign objects from entering).
- Tools and Protection: Prepare tools such as wrenches and screwdrivers, and wear protective gear like gloves and goggles.
Removal Process
- Internal Facility Removal: Disassemble reusable components such as partitions, toilets, and sinks in sequence, package them separately, and label them.
- Main Structure Disassembly:
- Split-Type Toilet: Remove in the order of “roof-wall panels-chassis”. Protect the edges of the panels when cutting bolts with an angle grinder.
- Integrated Toilet: Release the anchor bolts and lift the entire unit away from the site with a crane.
- Clearance and Storage: Stack components on wooden blocks to prevent moisture. Apply anti-rust oil to metal parts and store in an environment with humidity ≤ 60%.
Time Reference
- A skilled team can disassemble a standard split-type toilet in approximately 1-3 hours.
Key Influencing Factors
- Toilet Type: Integrated toilets are the most efficient, while foldable toilets, although quick to install, have lower durability.
- Foundation Treatment: An uneven ground requires an additional 1-2 hours for leveling or hardening.
- Supporting Facilities: Connecting to municipal sewage networks extends the connection time by 1-2 hours, while waterless toilets can omit sewage pipe construction.
Industry Standards and Maintenance: Installation must comply with the Mobile Toilet Hygiene Standards (GB/T 21239-2023). Check bolt tightness and seal aging every quarter.
Relacionados



