
How to Install and Disassemble Mobile Toilets
The installation and disassembly process of mobile toilets is designed to be simple, consisting mainly of two steps: installation and disassembly. Operations must follow regulations to ensure safety and efficiency.
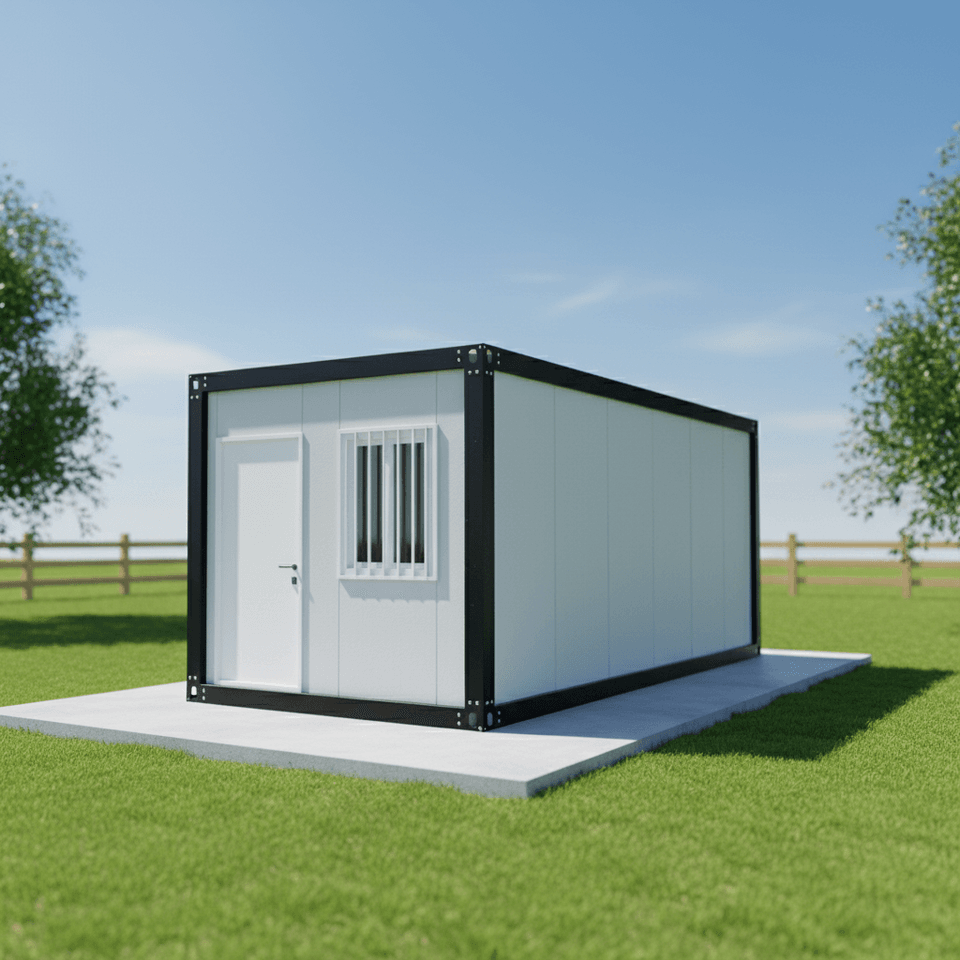
Installation Process
Positioning and Preparation
Determine the installation location based on site planning, ensuring the ground is solid, flat, and has good drainage. If the ground is soft or uneven, it should be hardened or covered with steel plates in advance to prevent subsequent settlement from affecting stability.Chassis and Frame Placement
Use a forklift or manual labor to place the prefabricated chassis steadily at the predetermined location. Adjust it to a level state using a spirit level to provide a stable foundation for subsequent structural installation.Wall and Roof Panel Installation
Insert the wall panels into the chassis slots one by one and secure them with bolts or clips. Then, install the roof panels and seal the joints to prevent rainwater leakage. For integrated box-type toilets, which have already been internally decorated in the factory, this step can be skipped, and they can be directly hoisted into place.Internal Facility Connection
Install partitions, toilets, flushing systems, sinks, and other facilities, and connect water and electricity pipelines. The modular interface design can significantly shorten connection time, but it is essential to ensure pipeline sealing to prevent water or electricity leaks.Function Inspection and Debugging
Conduct flushing tests, circuit checks, and sealing inspections to ensure all functions operate correctly. Integrated toilets usually have shorter debugging times due to their high integration level.
Disassembly Process
Disconnect Water, Electricity, and Sewage
Turn off the main power and water valves, remove external wiring and sewage pipes, clean the connection ports, and seal them to prevent residual leakage or foreign object entry.Remove Internal Facilities
Carefully dismantle movable components such as partitions and accessories, package them separately, and label them for easy transportation or reinstallation later.Disassemble the Main Structure
Remove the structure in the order of 'roof panel - wall panel - chassis,' paying attention to protecting the edges of the panels to avoid damage from bumps. Integrated toilets only need to be disconnected and then hoisted away as a whole, simplifying the process.Clearance and Storage
Stack the dismantled components neatly to avoid deformation from squeezing. Secure them firmly during transportation to prevent sliding. For long-term storage, choose a dry and ventilated environment to prevent metal parts from rusting or panels from molding.
Key Influencing Factors
- Toilet Type: Integrated box-type toilets have the fastest installation and disassembly, while split-type toilets require on-site assembly and take longer.
- Foundation Conditions: Improper ground treatment can prolong preparation time and even require rework.
- Supporting Facilities: Connecting to municipal sewage networks or septic tanks requires additional construction, while waterless toilets are more convenient.
- Team Experience: Professional teams familiar with the process can shorten working hours and reduce losses.
The installation and disassembly process must strictly adhere to the 'Mobile Toilet Hygiene Standards' (GB/T 21239-2023) to ensure structural safety and hygiene compliance.



