Mobile Toilet Floor Tile Renovation and Decoration
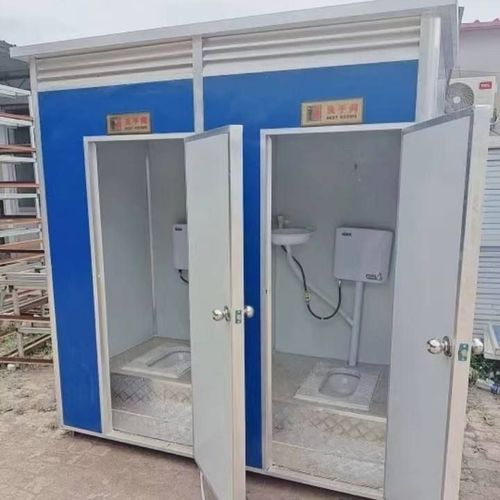
If you want to renovate and decorate the floor tiles of a mobile toilet without damaging the original tiles, you can achieve this by adjusting the position of the downpipe, performing simple floor renovation, addressing uneven floors and water accumulation, and using other renovation methods.

Adjusting the Position of the Downpipe: If the original toilet position is restricted by the downpipe, a 5-centimeter offset connector can be used to extend the drainage pipe path, allowing the toilet to be moved horizontally by about 5 centimeters and avoiding damage to the floor tiles. However, the length of the offset connector should not exceed 30 centimeters, as it may easily cause blockages. After installation, the interface should be sealed with waterproof glue, and a closed-water test should be conducted to ensure no leakage.
Simple Floor Renovation:
- Cleaning and Repair: Thoroughly clean the gaps and surfaces of the floor tiles with a descaling agent, and remove mildew spots. For locally damaged floor tiles, repair cracks with marble adhesive and polish them flat.
- Laying SPC Click-Lock Flooring: Choose SPC stone-plastic flooring (waterproof and wear-resistant) with a thickness of 3-5 millimeters and lay it directly on the original floor tiles, connecting them with click-lock joints without the need for glue. Before laying, ensure that the floor is free of sanding and hollowing; otherwise, use self-leveling compound to level it.
- Applying Floor Protective Paint: If the color of the floor tiles is acceptable but the surface is rough, apply transparent or colored waterproof paint (such as epoxy floor paint) to enhance slip resistance and aesthetics. The floor should be sanded to a rough finish first, and then painted in two coats with an interval of more than 4 hours between each coat.
Addressing Uneven Floors and Water Accumulation:
- Local Leveling: Fill low-lying areas with cement mortar or self-leveling compound to solve drainage problems. The thickness of the self-leveling compound should be controlled (not exceeding 5 millimeters), and a defoaming roller should be used to eliminate bubbles and prevent surface shelling.
- Installing Water Guide Grooves: Cut 1-2 centimeter wide water guide grooves in the gaps between the floor tiles in the shower area, and embed stainless steel or plastic water guide strips to direct water flow to the floor drain and reduce water accumulation.
Other Renovation Methods:
- Wallpaper Affixing Renovation: Choose moisture-proof and dirt-resistant wallpaper, measure the tile size, cut it accordingly, and affix it to the tile surface with glue.
- Wall Coating Spray Painting Renovation: Purchase the desired color of spray paint and directly spray it onto the surface of the old tiles, paying attention to color matching and protecting the floor and other furnishings.
- Sticker Tile and Decal Renovation: Choose favorite sticker tiles or decals, ensure they fit properly, and then proceed with the operation for a custom design.
- Background Wall Panel Composite Renovation: Choose background wall panels made of non-beech and non-solid wood materials, sand the surface of the old tiles, cut the wall panels to size, and tightly bond them together by leaving gaps.