
Volver al blog
Artículo
Mobile Toilet Drainage Installation Steps
Admin 28 de septiembre de 2026
The installation steps for mobile toilet drainage mainly fall into two types: direct-discharge mobile toilets and mobile restrooms. The specific installation steps are as follows:
Direct-Discharge Mobile Toilet Drainage Installation Steps
- Planning and Preparation Before Installation
- Site Assessment and Selection: Choose a solid and flat ground, such as a cement-hardened ground or an asphalt ground. For muddy ground, foundation treatment is required. Confirm that there is an accessible municipal sewage network or a pre-set septic tank interface near the installation point. Measure the distance between the interface and the predetermined position of the toilet to ensure that the sewage hose can be smoothly connected and the pipeline runs smoothly. At the same time, ensure that there is enough space around the toilet for people to use and pass through. Reserve a safe and barrier-free passage, avoid selecting low-lying areas prone to waterlogging, and consider placing the toilet downwind according to the wind direction.
- Infrastructure Preparation: At the predetermined installation point, lead the underground sewage pipeline interface to the ground in advance. Install a well-sealed anti-odor floor drain or a docking flange with an interface diameter that matches the sewage outlet of the mobile toilet. If the toilet requires lighting, an exhaust fan, or an automatic flushing device, reserve a safe and waterproof power interface. If water is needed for hand washing or enhanced toilet flushing, reserve a water supply pipe interface. Prepare fixing devices according to the on-site environment, such as ground fixing pull rings, expansion bolts, or windproof cables.
- Equipment Inspection: Before lifting or moving, check the main structure of the toilet against the list to ensure it is intact, the doors and windows open and close smoothly, and the internal accessories are complete and secure. Especially check whether the bottom sewage valve switch is flexible and whether the sealing rubber ring is intact.
- Positioning and Leveling of the Main Body
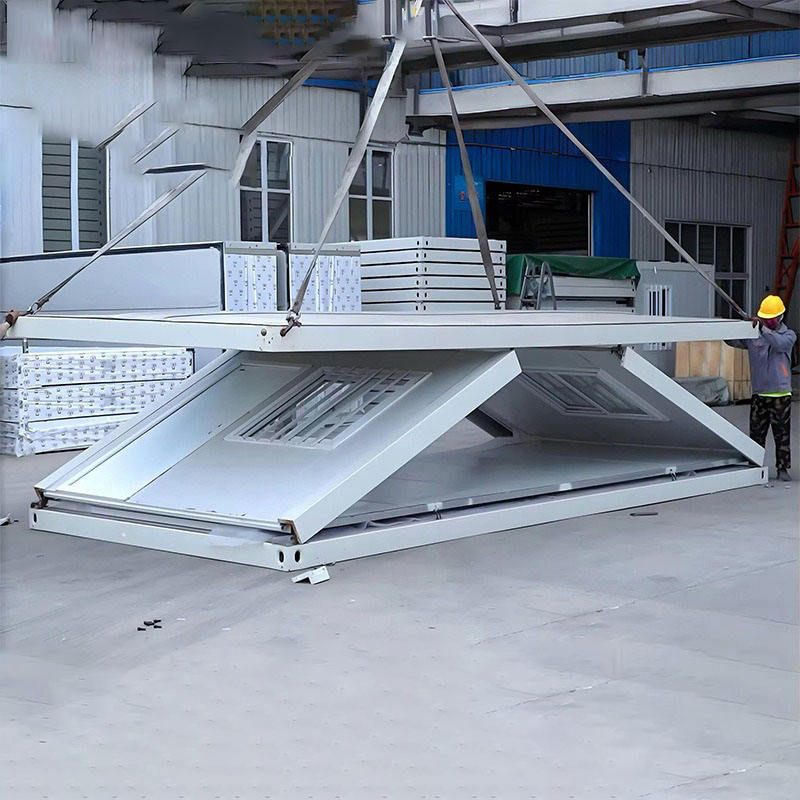
- Transportation and Lifting: Usually, a forklift or a crane is used for movement and positioning. The lifting belt or forklift tines should act on the special load-bearing structure at the bottom of the toilet. It is strictly prohibited to directly hook the roof, walls, or railings and other non-load-bearing parts. The commander and the operator need to cooperate closely and move slowly to avoid violent shaking or collision.
- Precise Positioning: Slowly lower the toilet so that its bottom sewage outlet is as close as possible to above the pre-set sewage pipeline interface on the ground. Usually, several fine adjustments are required to align it.
- Level Adjustment: After positioning, perform level adjustment to ensure that the toilet is placed steadily.
Mobile Restroom Drainage Installation Steps
- Determine the Drainage Position: Select an area closest to the bottom of the restroom and convenient for connecting to the municipal network. A slope of ≥2% (a drop of 2 cm per meter) is recommended to ensure self-flow drainage.
- Pipeline Laying: Use PVC-U pipes (recommended outer diameter of 110 mm and inner diameter of 103 mm). Adopt a bell-and-spigot connection and apply special glue. Seal the interfaces with rubber rings.
- Anti-Seepage Treatment: Install a waterproof flange at the connection between the pipeline and the restroom base and fill the gaps with weather-resistant sealant.
- System Testing: Inject water to check for leaks. The drainage flow rate should be ≥0.6 m/s to avoid sedimentation. Right-angle bends in the pipeline are strictly prohibited (45° elbows should be used). In winter, install an insulation layer to prevent freezing and cracking.
Relacionados



