
How to Repair the Damaged Bottom of a Mobile Toilet
Repairing the damaged bottom of a mobile toilet requires taking targeted measures based on the specific damage situation. Here are some common repair methods:
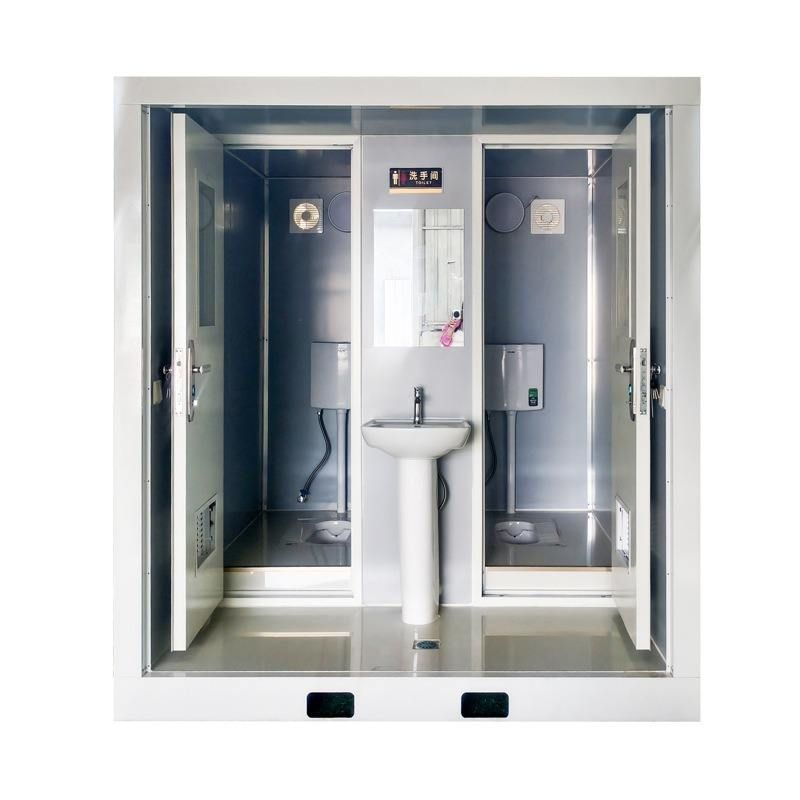
For minor damage (such as tiny cracks or small pieces falling off), first clean the damaged area, removing dust, debris, and loose parts to ensure the surface is dry and clean. Then, mix the tile repair agent or tile adhesive according to the product instructions and apply it evenly to the damaged area. Use a small piece of tile or similar material close to the original material to paste and repair it. Finally, sand it smooth so that the repaired area transitions naturally with the surrounding surface. This method is suitable for minor local damage and is relatively simple to operate. However, pay attention to the compatibility of the repair material with the original material to avoid secondary cracking due to differences in expansion coefficients.
If there are cracks in large ceramic components (such as the base), choose a repair method according to the degree of the cracks. Small cracks can be filled and sealed with special ceramic repair adhesive. Before repairing, thoroughly clean the inside of the cracks to ensure there are no impurities. After repairing, let it stand and cure for the specified time to avoid repair failure due to premature use. If the cracking range is large, there is water leakage or deformation, it is more prudent to directly replace it with a new toilet. Because after large-scale damage to the ceramic structure, its load-bearing capacity and sealing performance will significantly decline, and forced repair may cause safety hazards.
If the bottom damage is caused by water leakage from the ground due to damage to the waterproof layer, the repair process is relatively complex. First, remove the tiles and the old waterproof layer at the damaged area, expose the base layer, and clean it thoroughly. Then, apply flexible waterproof coating (such as polyurethane or acrylic) evenly, ensuring no omission, especially paying attention to easily leaking areas such as the junctions between walls and floors and the roots of pipes. After the waterproof layer is dry, conduct a closed-water test (the water storage height should be no less than 2 cm, lasting for 24-48 hours). After confirming there is no leakage, restore the tile paving according to the original process. Such operations involve concealed works, and it is recommended to contact a professional master for handling to ensure the waterproof effect and construction quality.



