
Indoor Mobile Toilet Installation
The installation of an indoor mobile toilet (mobile commode) can be carried out following these steps:
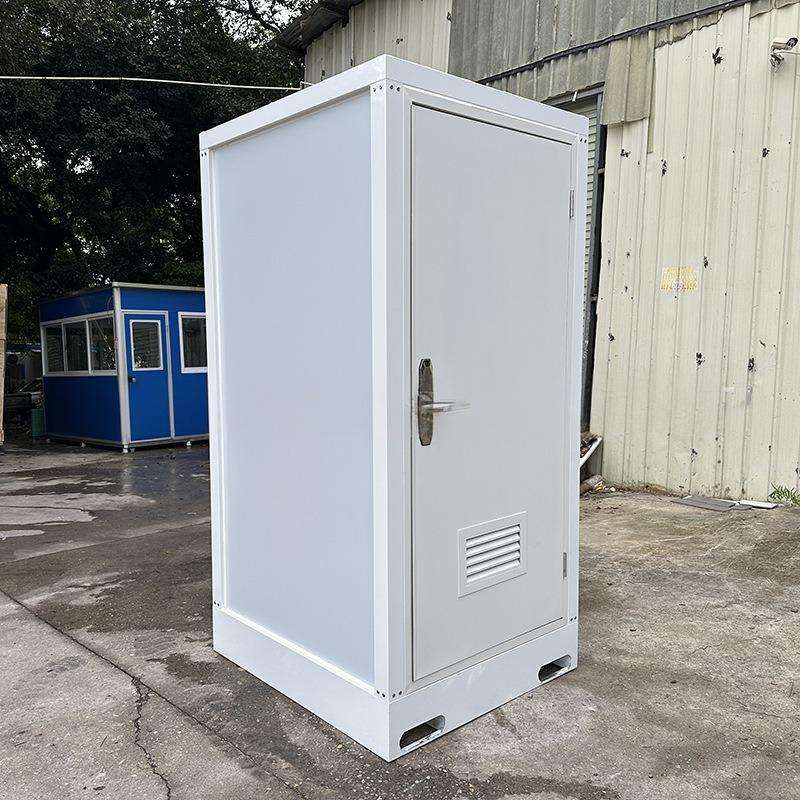
1. Check the completeness of accessories
Upon receiving the package, unpack it immediately and check the accessory list. Standard accessories typically include the upper and lower toilet bodies (including the toilet lid and seat ring), silicone anti-slip pads, buckle components, and an instruction manual. If any accessories are missing or damaged (such as a lost anti-slip pad or a broken buckle), contact the supplier immediately for a replacement to avoid affecting subsequent installation due to incomplete parts. This step is the foundation for ensuring a smooth installation and requires strict verification.
2. Install the anti-slip components
Insert the silicone anti-slip pads into the dedicated grooves at the four corners of the toilet's bottom. Some models of toilets have four arc-shaped anti-slip strips at the bottom, which are designed to increase friction with the ground and prevent displacement during use in wet environments such as bathrooms. If the anti-slip strips are missing, request a replacement from the merchant. If the usage environment is dry (such as a bedroom), this step can be skipped, but it is recommended to install them first for safety. Ensure that the anti-slip pads fit snugly into the grooves to avoid looseness.
3. Assemble the toilet body
Align the upper toilet body (including the lid and seat ring) with the lower body and connect them using the buckle structure. The specific operation is as follows: Align the upper body with the buckle slot of the lower body and press down slowly until you hear a 'click' sound, indicating that the buckle has been securely engaged. Then, gently shake the toilet to check if the upper and lower bodies are tightly connected without any wobbling or gaps. If the buckle is not fully engaged, readjust the position and press down again to avoid separation during use due to a loose connection.
Precautions
- Ensure that the ground is level before installation to prevent the toilet from tilting due to unevenness.
- If the toilet needs to be connected to a sewage pipe (such as in some models with wastewater discharge design), plan the pipe position in advance and use a dedicated sealing ring to prevent leakage.
- After installation, it is recommended to perform a no-load test: Gently press the seat ring to check if the buckles and anti-slip components are secure; if equipped with a flushing function, test if the water flow is smooth and there are no leaks.
The entire installation process does not require professional tools and can be completed independently by ordinary users. If you encounter difficulties in engaging the buckles or installing the anti-slip pads, refer to the illustrations in the instruction manual or contact customer service for video guidance.



