
Volver al blog
Artículo
How to Waterproof Container Houses
Admin 17 de septiembre de 2026
Waterproofing container houses requires a comprehensive approach involving design, external waterproofing, gap treatment, and other integrated measures, achieved through scientific material selection and standardized construction for long-lasting water resistance.
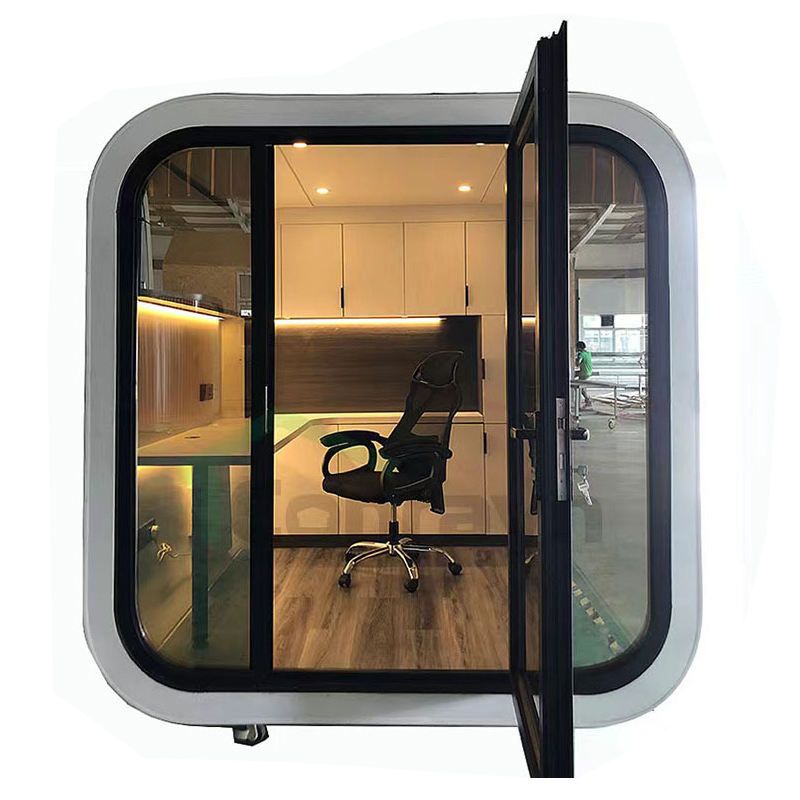
I. Waterproof Planning During the Design Phase
- Site Selection and Environmental Assessment
Consider climatic factors (such as rainfall intensity and groundwater levels) along with on-site drainage conditions to determine roof pitch, ground drain locations, and the direction of external moisture barriers. In high-humidity areas, adopt sunken ground drainage, exterior wall moisture bands, and moisture barriers to minimize water accumulation risks from the outset. - Material and Structural Compatibility
Select roofing materials with strong impermeability (such as metal panels or waterproof membranes). Walls should be coated with waterproof paint or covered with waterproof membranes, with gaps sealed and ventilation channels for moisture removal retained. Insulation materials should have low water absorption and include a breathable waterproof barrier between the insulation layer and the structure to prevent moisture buildup. - Steam and Moisture Control
Design mechanical or natural ventilation systems reasonably to ensure smooth pathways for indoor moisture removal. In humid areas, add dehumidification equipment and plan the direction of steam isolation layers to prevent water vapor condensation within walls.
II. Key External Waterproofing Measures
- Roof Waterproofing
Employ a three-layer defense system consisting of a base waterproof layer, a reinforcement layer, and a surface protective coating. Focus on sealing gaps around roof panels, drains, and vents using flexible materials like polyurethane coatings or modified asphalt membranes. Ensure a roof pitch of at least 5% for rapid rainwater drainage and to prevent water accumulation and leakage. - Exterior Walls and Window/Door Surrounds
Extend the waterproof layer on exterior walls to cover vulnerable areas like corners and transitions, and leave drainage space between the waterproof layer and the insulation. Use a three-layer or more structure for window and door seals, with weather-resistant sealing strips to prevent water infiltration channels during opening and closing.
III. Gap Sealing Materials and Construction
- Sealant Selection
- Butyl Sealant: Wide temperature range (-40°C to 120°C), strong adhesion, suitable for long-term outdoor use.
- Neoprene Sealant: Cures quickly, ideal for emergency repairs, with some models paintable for concealment.
- MS Sealant: Highly elastic, can stretch up to four times, accommodating dynamic deformation of containers.
- Construction Specifications
Apply sealant only after gaps are clean and dry. Avoid touching for 24 hours after application to ensure complete curing.
IV. Other Auxiliary Waterproofing Measures
- Drainage System Optimization
Install drainage channels and holes on roofs (e.g., for open-top containers) to prevent rainwater accumulation; design ground slopes to direct water flow to drains. - Regular Maintenance and Inspection
Inspect the waterproof layer, drainage system, and sealant condition quarterly, promptly repairing any cracks or blockages. - Enhanced Waterproof Layers
Add waterproof membranes or coatings to roofs and walls to improve overall rain resistance.
Relacionados



