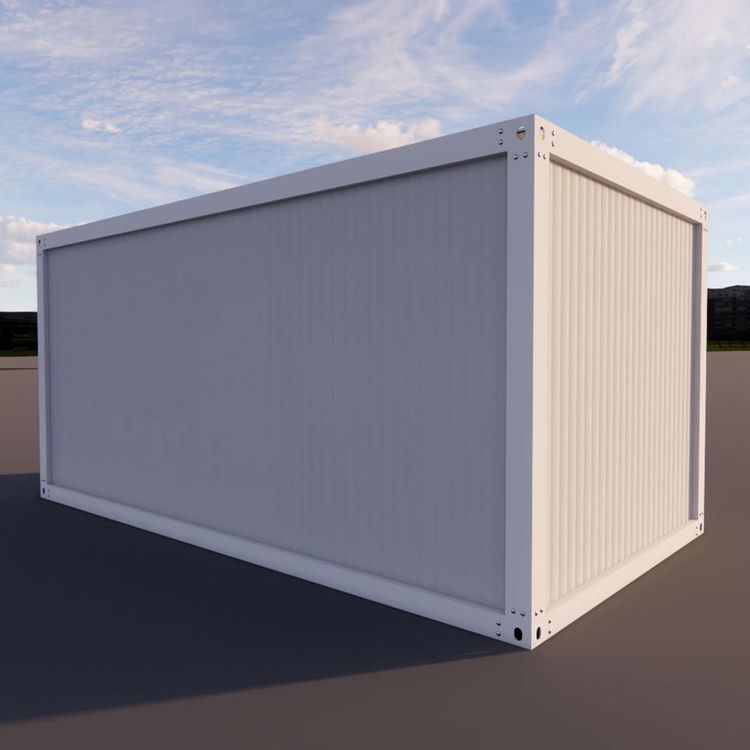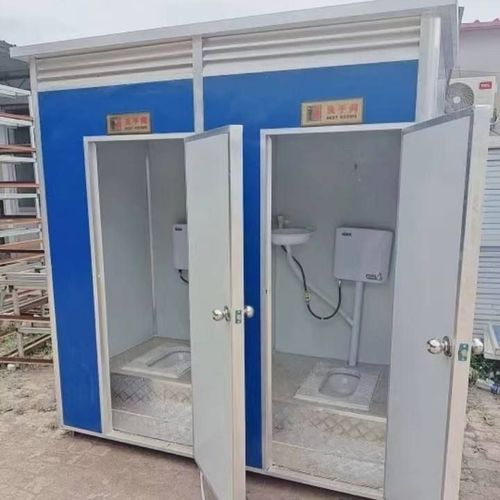
How to Inspect Prefabricated Houses
The inspection of prefabricated houses requires a clear process, key milestones, and critical pitfalls to be identified, with step-by-step rigorous checks to ensure quality.

I. Clarify Delivery Milestones and Standards
Before inspection, confirm clear delivery milestones (such as production, transportation, installation, etc.) and inspection standards with the manufacturer. It is recommended to include the 10 key milestones in the contract annex to avoid disputes due to ambiguous standards.
II. Inspection of 10 Key Delivery Milestones
- Plan Finalization: Confirm that the house type, appearance, and configuration list are consistent with the contract, and both parties sign for confirmation.
- Production Schedule: Verify whether the factory departure date and shipping date are executed as planned.
- Factory Inspection: Check for scratches or deformations on the house exterior, ensure doors and windows open and close smoothly, and verify that basic functions (such as electrical wiring pre-installation) are normal.
- Packing List: Verify that the serial numbers and quantities match the list, and check if there are spare part instructions for fragile items (such as glass and sealing strips).
- Transportation Plan: Confirm that the transportation route avoids bumpy roads, that the arrival time does not affect the installation schedule, and that the unloading method (such as crane) is safe.
- Site Conditions: Check if the site is hardened and level, if the road width meets the requirements for transportation vehicle passage, and if sufficient space is reserved for lifting operations.
- On-site Installation: Record whether the installation cycle complies with the contract, if the personnel allocation is professional, and if the daily progress is behind schedule.
- Water and Electricity Commissioning: Test whether lighting and sockets are powered, if drainage is smooth, and if equipment (such as air conditioners and water heaters) operates without abnormal noise.
- Waterproofing and Sealing: Focus on checking the integrity of the waterproof layer on the bathroom floor and walls, whether the door and window sealing strips fit properly, and if there are leaks at the roof joints.
- Final Delivery Inspection: Confirm inspection standards (such as allowable error ranges), problem rectification timelines (such as repairing leaks within 7 days), and warranty details (such as a 5-year warranty for waterproofing work) are clearly stated.
III. Focus on Three 'High-Risk Pitfalls' During Inspection
- Bathroom: Check waterproofing through a 24-hour closed water test, verify if the drainage slope is reasonable, and if the floor drain emits odors.
- Door and Window Sealing: Use tissue paper to test for air leaks at the sealing strips and check for window frame water infiltration during rainy weather.
- Noise and Comfort: Test indoor noise levels after closing doors and windows (e.g., should be below 40 decibels at night) and check if wall insulation materials affect temperature regulation.
IV. Other Considerations
If lacking inspection experience, request the manufacturer to provide a 'delivery scope' list to avoid additional charges being added at the last minute. Carefully verify repair and modification records (such as wall hole repairs) and quality, ensuring that documents (such as certificates of conformity and warranty cards) are complete.