How to Build the Roof of a Mobile Toilet
The method of constructing the roof of a mobile toilet depends on the type of toilet, with common types and key construction points as follows:
I. Integrated Finished Installation Type
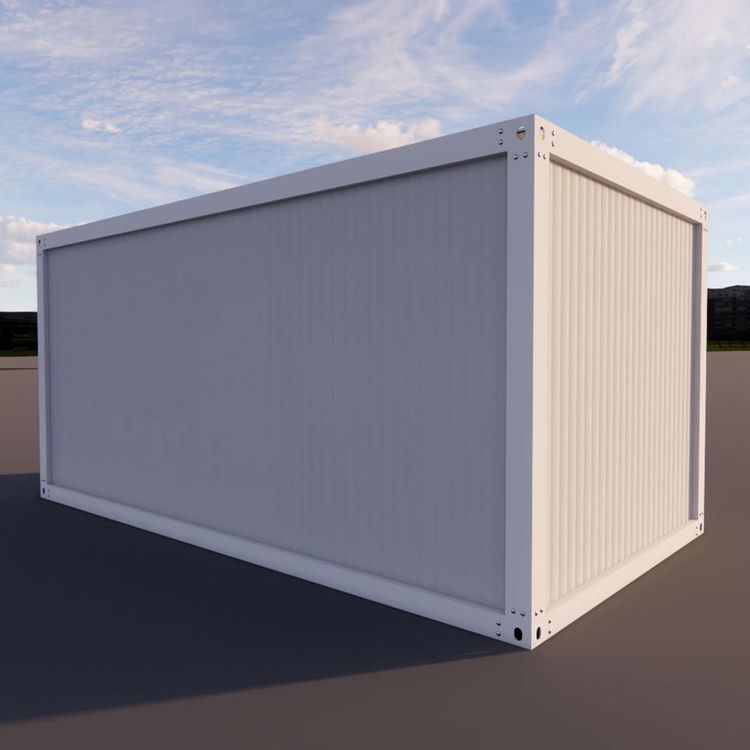
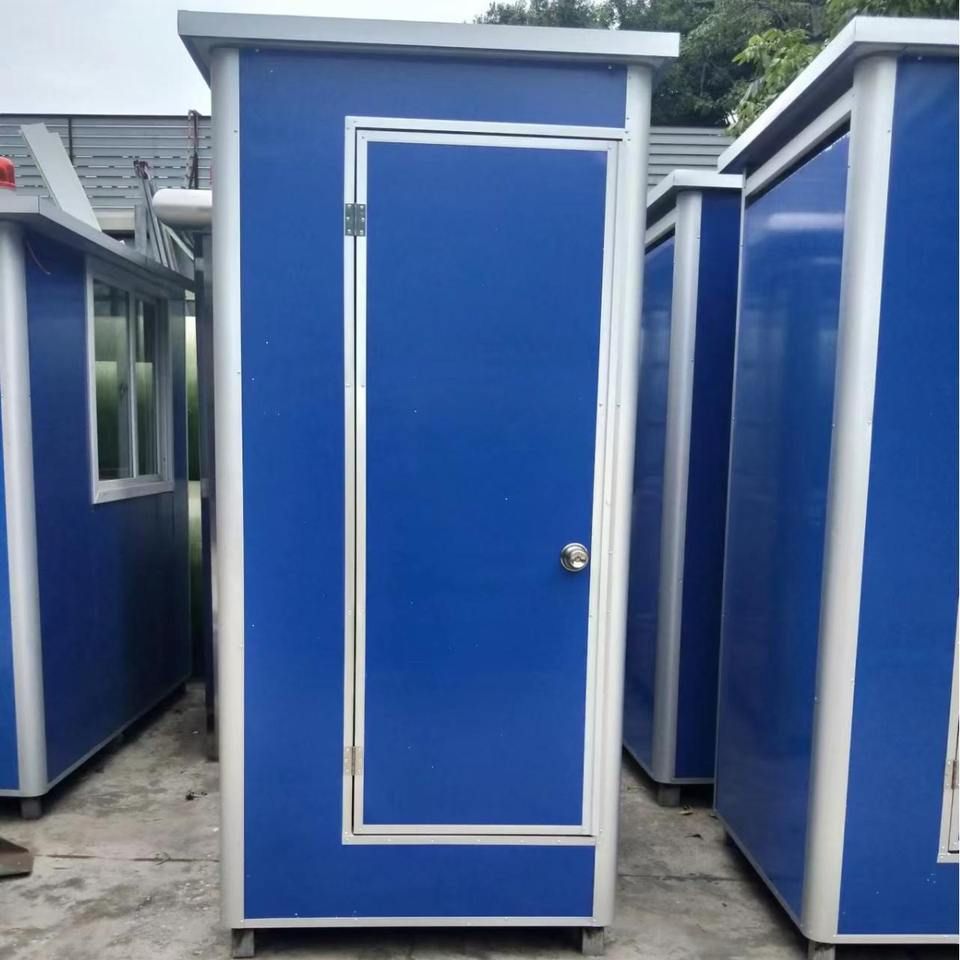
The roof of this type of mobile toilet is a prefabricated integral structure, requiring no complex civil engineering during installation. The core steps are column fixation and module assembly: First, securely install the columns on the ground using expansion bolts or ground nails, ensuring a verticality error of ≤2mm; then align the prefabricated roof modules with the column buckles and fix them with high-strength bolts or special connectors, ensuring a buckle gap of ≤0.5mm for airtightness. Advantages include a short construction period (usually completed in 1-2 hours), making it suitable for emergency scenarios or temporary events.
II. Thatched Roof Mobile Toilet
- Basic Framework and Fixation
The roof adopts a single-slope design to optimize drainage, with a framework made of aluminum alloy or 304 stainless steel skeleton, fixed with expansion bolts (for concrete foundations) or ground nails (for soft soil foundations), with a wind resistance rating of at least 8. The skeleton spacing should be ≤40cm to ensure structural stability. - Waterproofing and Corrosion Prevention
The thatch should be made of synthetic materials soaked in fire-retardant and anti-corrosive agents, with a combustion performance meeting the B1 standard; the roof slope should be ≥30° to prevent water accumulation, with seams sealed with silicone weather-resistant adhesive, and a 1.5mm thick SBS waterproof membrane installed at the bottom, with an elongation rate of ≥40% to accommodate slight structural deformation. - Mobility Design
If frequent movement is required, heavy-duty universal wheels (with a load capacity of ≥500kg) or embedded rails can be installed, with the wheels equipped with brake devices; water and electricity interfaces should adopt quick-release designs, and drainage pipes should be corrugated hoses (with an inner diameter of ≥110mm) for easy extension and disassembly.
III. Modular Mobile Toilet
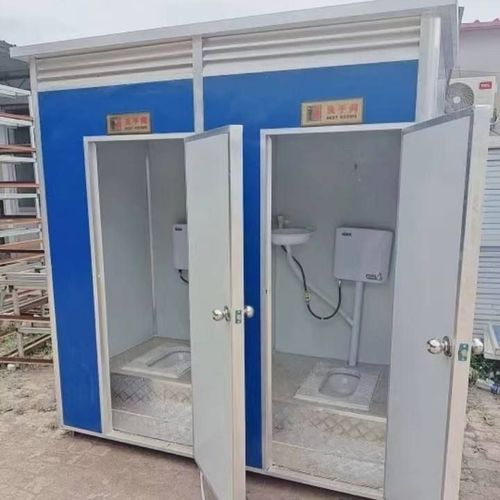
The roof module is an independent unit, with the installation sequence being wall panel fixation → ventilation duct embedding → roof hoisting. The ventilation duct is connected to the reserved holes in the wall panels using aluminum foil hoses, with the connection secured by stainless steel clamps, requiring a clamp torque of 15-20N·m to prevent air leakage; the joints between the roof and wall panels are filled with polyurethane foam, with the surface coated with waterproof paint (such as polymer cement-based paint), with a thickness of ≥1.5mm. Suitable scenarios include public toilets that are used permanently but require modular maintenance.
Precautions: All connectors should be made of stainless steel or hot-dip galvanized materials to prevent rusting; the ground flatness should be checked before construction (with an error of ≤5mm) to avoid roof deformation due to foundation settlement.