
How to Assemble & Install Portable Toilet Movable Step by Step
The assembly and installation steps for portable toilets vary depending on the type, mainly divided into two categories: easy-to-assemble models (for personal use) and commercial models (for public or commercial use). The specific steps are as follows:
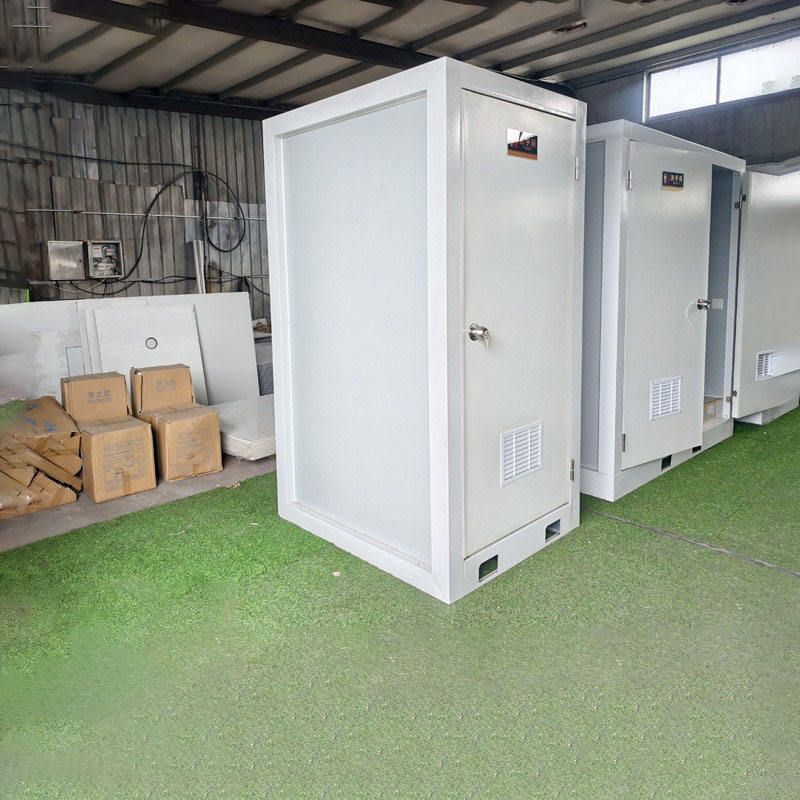
Easy-to-Assemble Portable Toilets (e.g., for camping or temporary household use)
Unpacking and Retrieving Components
Portable toilets are usually transported in compact packaging. First, open the packaging box or storage bag and retrieve all components, including the frame, seat ring, and special degradable bags. Be sure to check the completeness of the components to avoid missing key parts.Frame Assembly
These toilets often feature a modular design that requires no complex tools. Align the various parts of the frame and secure them using snaps or quick-connect structures. For example, some models can be assembled in just 3 minutes: align the bracket snaps and press down to ensure all connection points fit tightly, forming a stable structure.Installing the Seat Ring
Place the seat ring on top of the assembled frame, ensuring it fits perfectly into the frame's slots. The seat ring is usually designed with an ergonomic curve to enhance comfort during use.Placing Special Degradable Bags
Insert a special degradable bag inside the toilet. These bags can be used with coagulant powder to quickly convert liquids into solids, effectively preventing odors and leaks. Replace the degradable bags regularly based on usage frequency.
Commercial Portable Toilets (for public or commercial use)
Preliminary Preparation
Ensure all components and tools are complete, including the frame, seat ring, water tank (if applicable), and sealing materials. If the toilet comes in separate pieces, carefully unpack and store the components by category to avoid damage.Frame Construction
- Steel or steel-aluminum alloy frames should be connected according to the manufacturer's instructions. Typically, one person can assemble 7-10 units in one hour. Ensure bolts or snaps are tightened during connection to prevent frame wobbling.
- Check the frame's stability and adjust it with a level if necessary to ensure there is no risk of tilting after installation.
Installing Internal Components
- Install the seat ring, water tank, and other accessories (such as a flushing system) based on custom requirements.
- For waterproof or fireproof models, pay special attention to checking that sealing strips and thermal insulation materials are in place. For example, apply waterproof glue at the water tank connections to prevent leakage.
Final Inspection
- Test the toilet's stability by shaking the frame to confirm there is no looseness.
- Verify that custom features (such as size, color, and internal layout) meet requirements. For example, check the sensitivity of the flush button or the water tank capacity.
Note: The installation of commercial toilets must strictly adhere to safety regulations, especially when used in public places. Regular maintenance is required to extend their service life.



