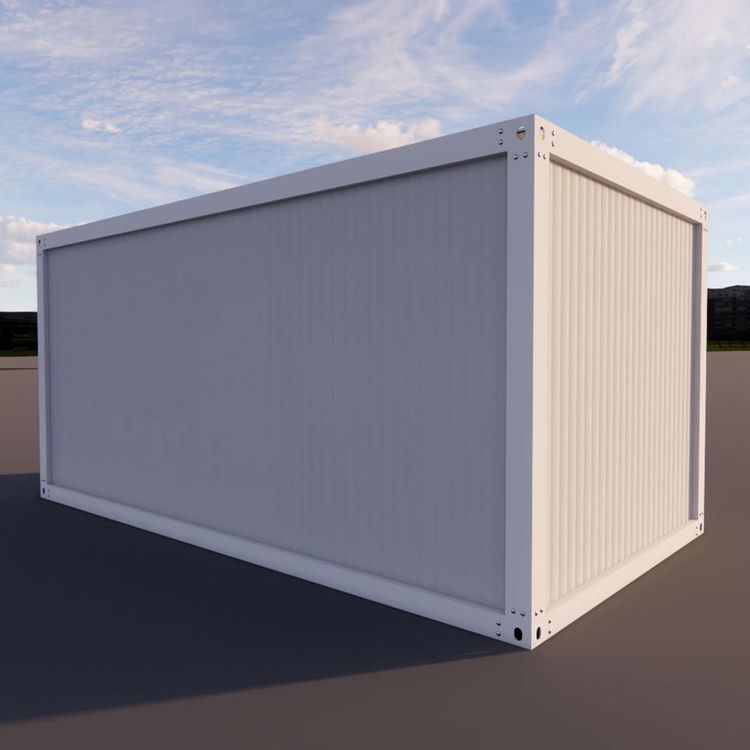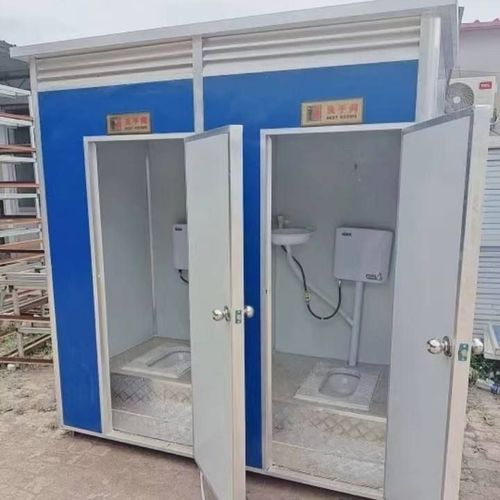
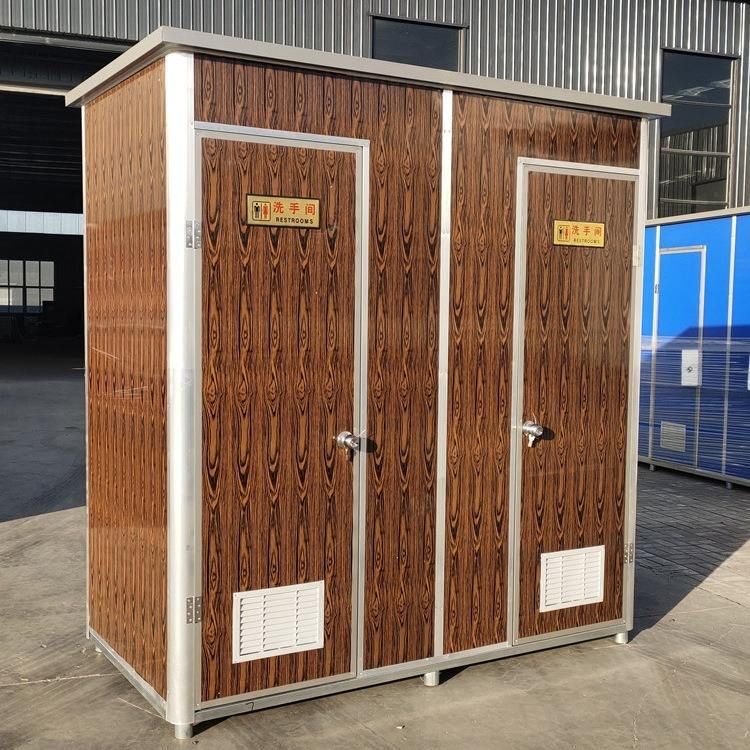
How to Assemble & Install Portable Toilet Color Steel Step by Step
The steps for assembling and installing a portable toilet with a color-steel structure are as follows:
Design and Planning
Determine the size, structure, and functional layout of the portable toilet based on actual needs and usage scenarios. For example, clarify the floor area of the toilet, whether it requires space separation (such as separate areas for men and women), and whether it is equipped with special features (such as barrier-free facilities). During the design phase, fully consider transportation convenience. If the toilet needs to be disassembled for transportation, plan for detachable structural nodes.Material Selection and Processing
Choose durable, waterproof, and corrosion-resistant materials as the base materials. Color-coated steel sheets are a common choice. The frame is usually made of steel: channel steel or I-beams are welded at the bottom to enhance load-bearing capacity, and square steel is used for columns to ensure vertical stability. In addition to color-coated steel sheets, wall materials can also be fiberglass or stainless steel, depending on budget and durability requirements. All materials need to be cut and drilled according to the design dimensions and undergo rust prevention treatment (such as spraying anti-corrosion paint).Component Assembly
Assemble the processed materials into a stable structure:
- Frame Construction: First, fix the bottom steel structure, then install the columns, connecting them with bolts or welding to ensure that the verticality error is within the allowable range.
- Wall Installation: Attach the color-coated steel sheets or other wall materials to the frame using rivets or self-tapping screws. The joints need to be sealed to prevent leakage.
- Roof Installation: If the toilet is a standalone unit, install a waterproof roof, usually using color-coated steel sheets or lightweight composite panels. The slope design should facilitate drainage.
- Water Supply and Drainage Pipe Installation
Connecting the water inlet and drainage pipes is a crucial step:
- Water Inlet System: Install water pipes according to the location of the water source, ensuring stable water pressure and equipping with a check valve to prevent backflow.
- Drainage System: Connect the sewage pipe to the septic tank or municipal sewage network. The pipe slope must comply with regulations (usually not less than 2%) to avoid blockages.
- Seal Test: After installation, conduct a water flow test to check for leaks at each joint.
- Electrical Wiring Layout
If the toilet is equipped with lighting, ventilation, or heating equipment, wiring must be done in accordance with regulations:
- Use waterproof cables and lay the wires along dedicated wire trays to avoid direct contact with metal structures.
- Install leakage protection devices to ensure electrical safety.
- Switches and sockets should be installed in dry areas at heights that conform to ergonomic principles.
- Decoration and Installation of Supporting Facilities
After completing the basic structure, proceed with interior decoration:
- Floor Treatment: Lay non-slip tiles or PVC flooring, sealing the joints.
- Wall Decoration: Apply moisture-resistant wallpaper or paint with waterproof coating to enhance aesthetics.
- Sanitary Equipment Installation: Fix toilets, sinks, and other facilities, ensuring they are securely connected and well-sealed.
Precautions: Some portable toilets support disassembly for transportation and need to be pre-assembled on-site according to the instructions. Specific operations must strictly follow the product manual or consult the manufacturer. For complex projects, it is recommended to be completed by a professional team to ensure safety and functionality.