
Volver al blog
Artículo
Homemade Mobile Dry Toilet
Admin 22 de septiembre de 2026
A homemade mobile dry toilet can be made using methods such as utilizing water storage tanks with pallets or plastic buckets. Here are the specific methods:
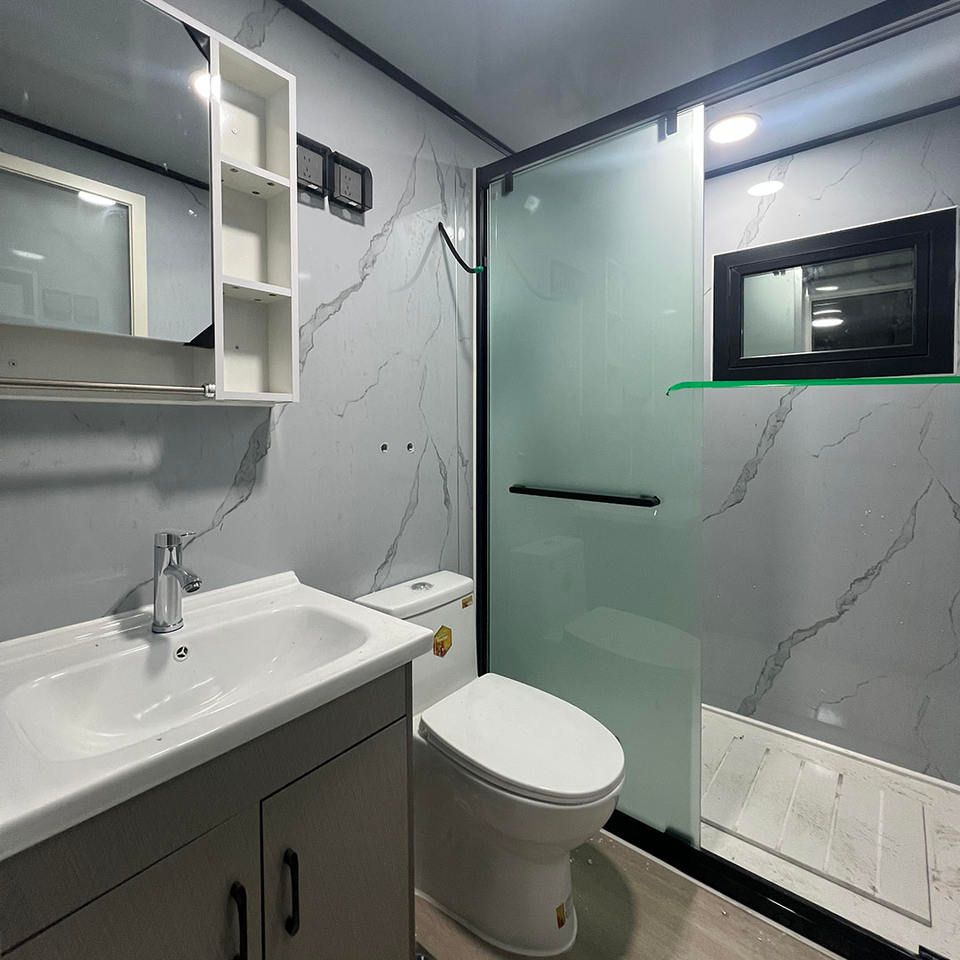
Making with Water Storage Tanks and Pallets
- Install the mobile device: Use tools to fix universal wheels at each of the four corners on the bottom of the pallet, enabling the entire structure to be mobile and facilitating use and movement at different locations.
- Process the water storage tank: Place the water storage tank retrieved from a garbage station on the pallet. Use an angle grinder to cut along the marked line on the top of the tank to form an open-top tank. Invert another open-top water storage tank and stack it on top of the first one. Secure the outer frame with self-tapping screws to ensure structural stability.
- Create an entrance: Cut a rectangular opening on the tank to form the entrance to the toilet, allowing easy access for people.
- Install the drainage system: Make a hole in the floor inside the water storage tank, insert an elbow, and connect a water pipe for sewage discharge. Install and secure the toilet. Fix water pipes on the wall with clips, install a faucet, and connect a water pipe with a hole at the bottom as the drainage outlet to ensure smooth sewage discharge.
- Install hand-washing facilities: Make a hand-washing basin with a stainless steel basin and secure it. Connect the water inlet pipe of the toilet tank and the shower hose, install a shower bracket and a toilet seat, and install a spray-type showerhead made of water pipes to meet daily hand-washing needs.
- Make and install the door: Make a door for the toilet with wooden boards and hinges, and install a door handle to ensure normal use and privacy of the door.
Making with Plastic Buckets
- Cut and install wheels: Cut the bucket at the one-third mark of its body and install a wheel device at the bottom to make the plastic bucket mobile.
- Raise the bucket body: Hammer several wooden strips into the bucket body to increase its height and expand the usable space.
- Create an entrance: Make two slits on the bucket body as the entrance to the toilet. Fix two synthetic wooden boards on the edge of the iron sheet to make the entrance sturdy.
- Improve the structure: Place iron sheets in the middle of the raised wooden strips and cover the top with a cut plastic bucket. Overlap the iron sheet connections to prevent peeping. Apply anti-corrosion paint on the wooden strips to extend their service life.
- Make and install the door: Use the remaining wooden floorboards from your father-in-law to overlap and screw them together to make a door for the toilet. Install hinges and test the door's opening and closing to ensure smooth operation.
- Install the drainage system: Drill holes to install drainage outlets. Take a large trash can and modify it. Drill holes in the body and bottom of the can and install water pipe connectors to serve as a water storage tank. Make a showerhead with PVC pipes, use strong adhesive to connect the water pipes, and install a three-way connector on the main water pipe to distribute the water flow, enabling sewage discharge and the supply of hand-washing water.
Relacionados



